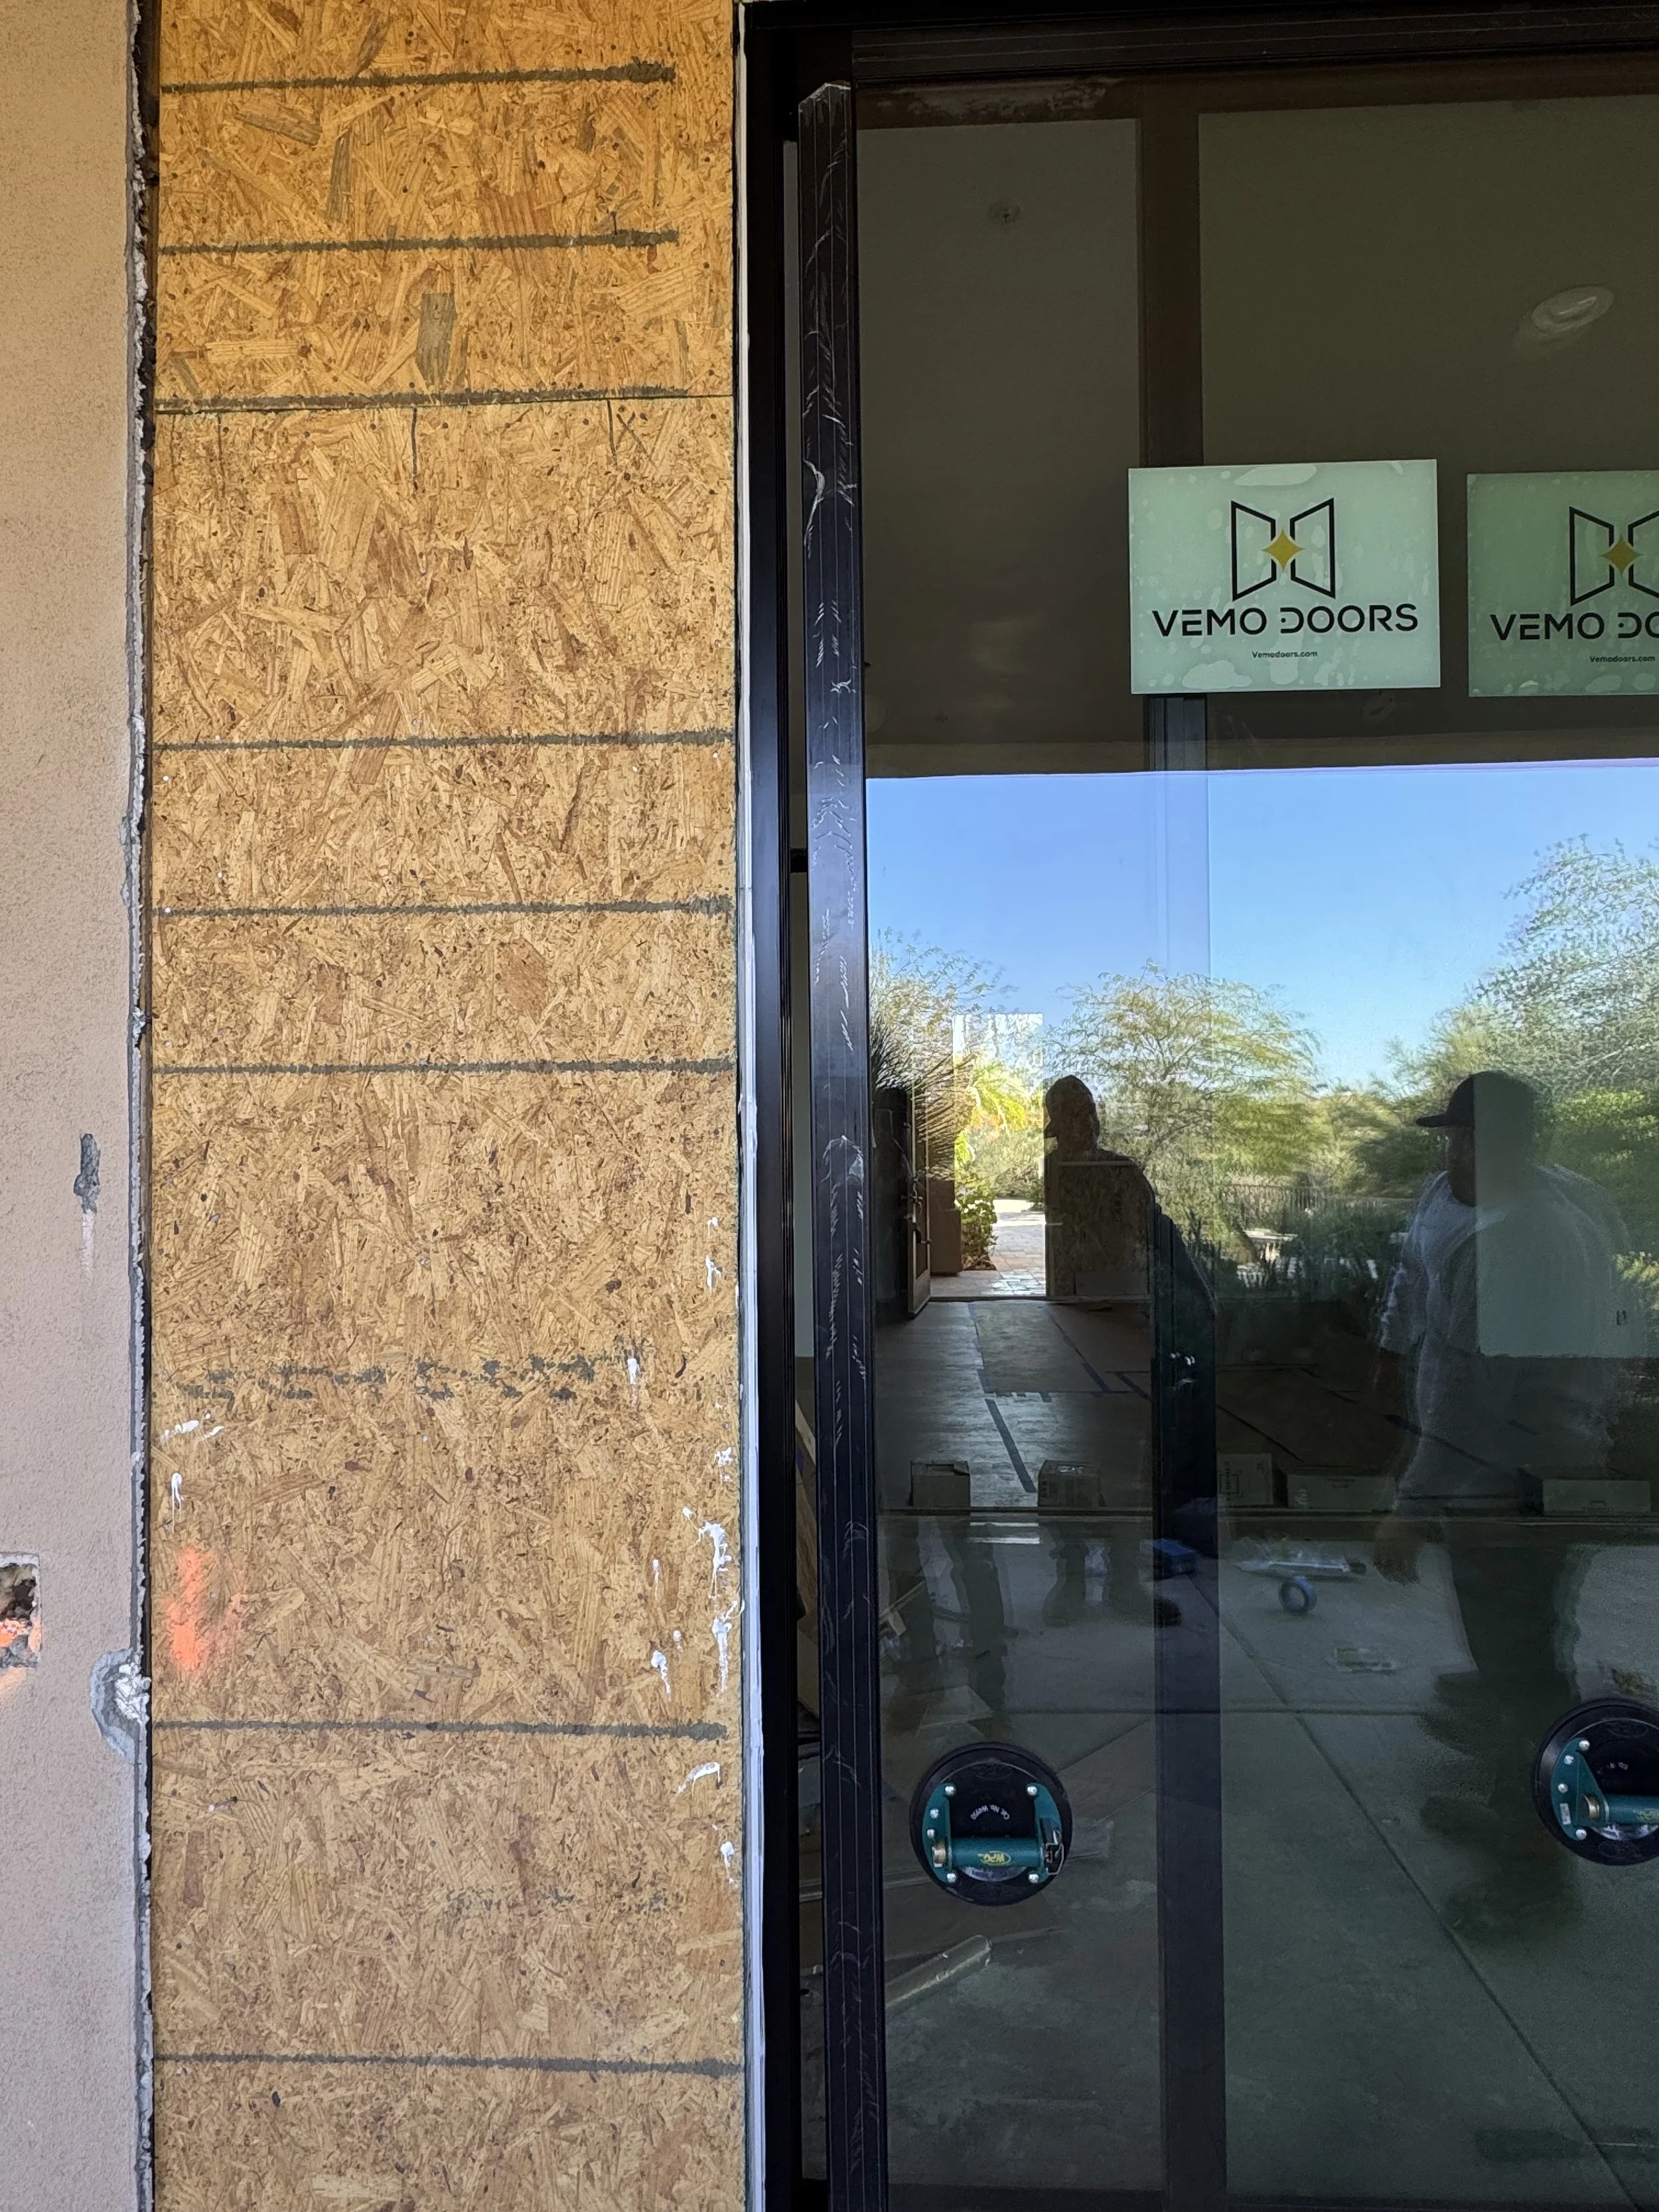
1. Preparation
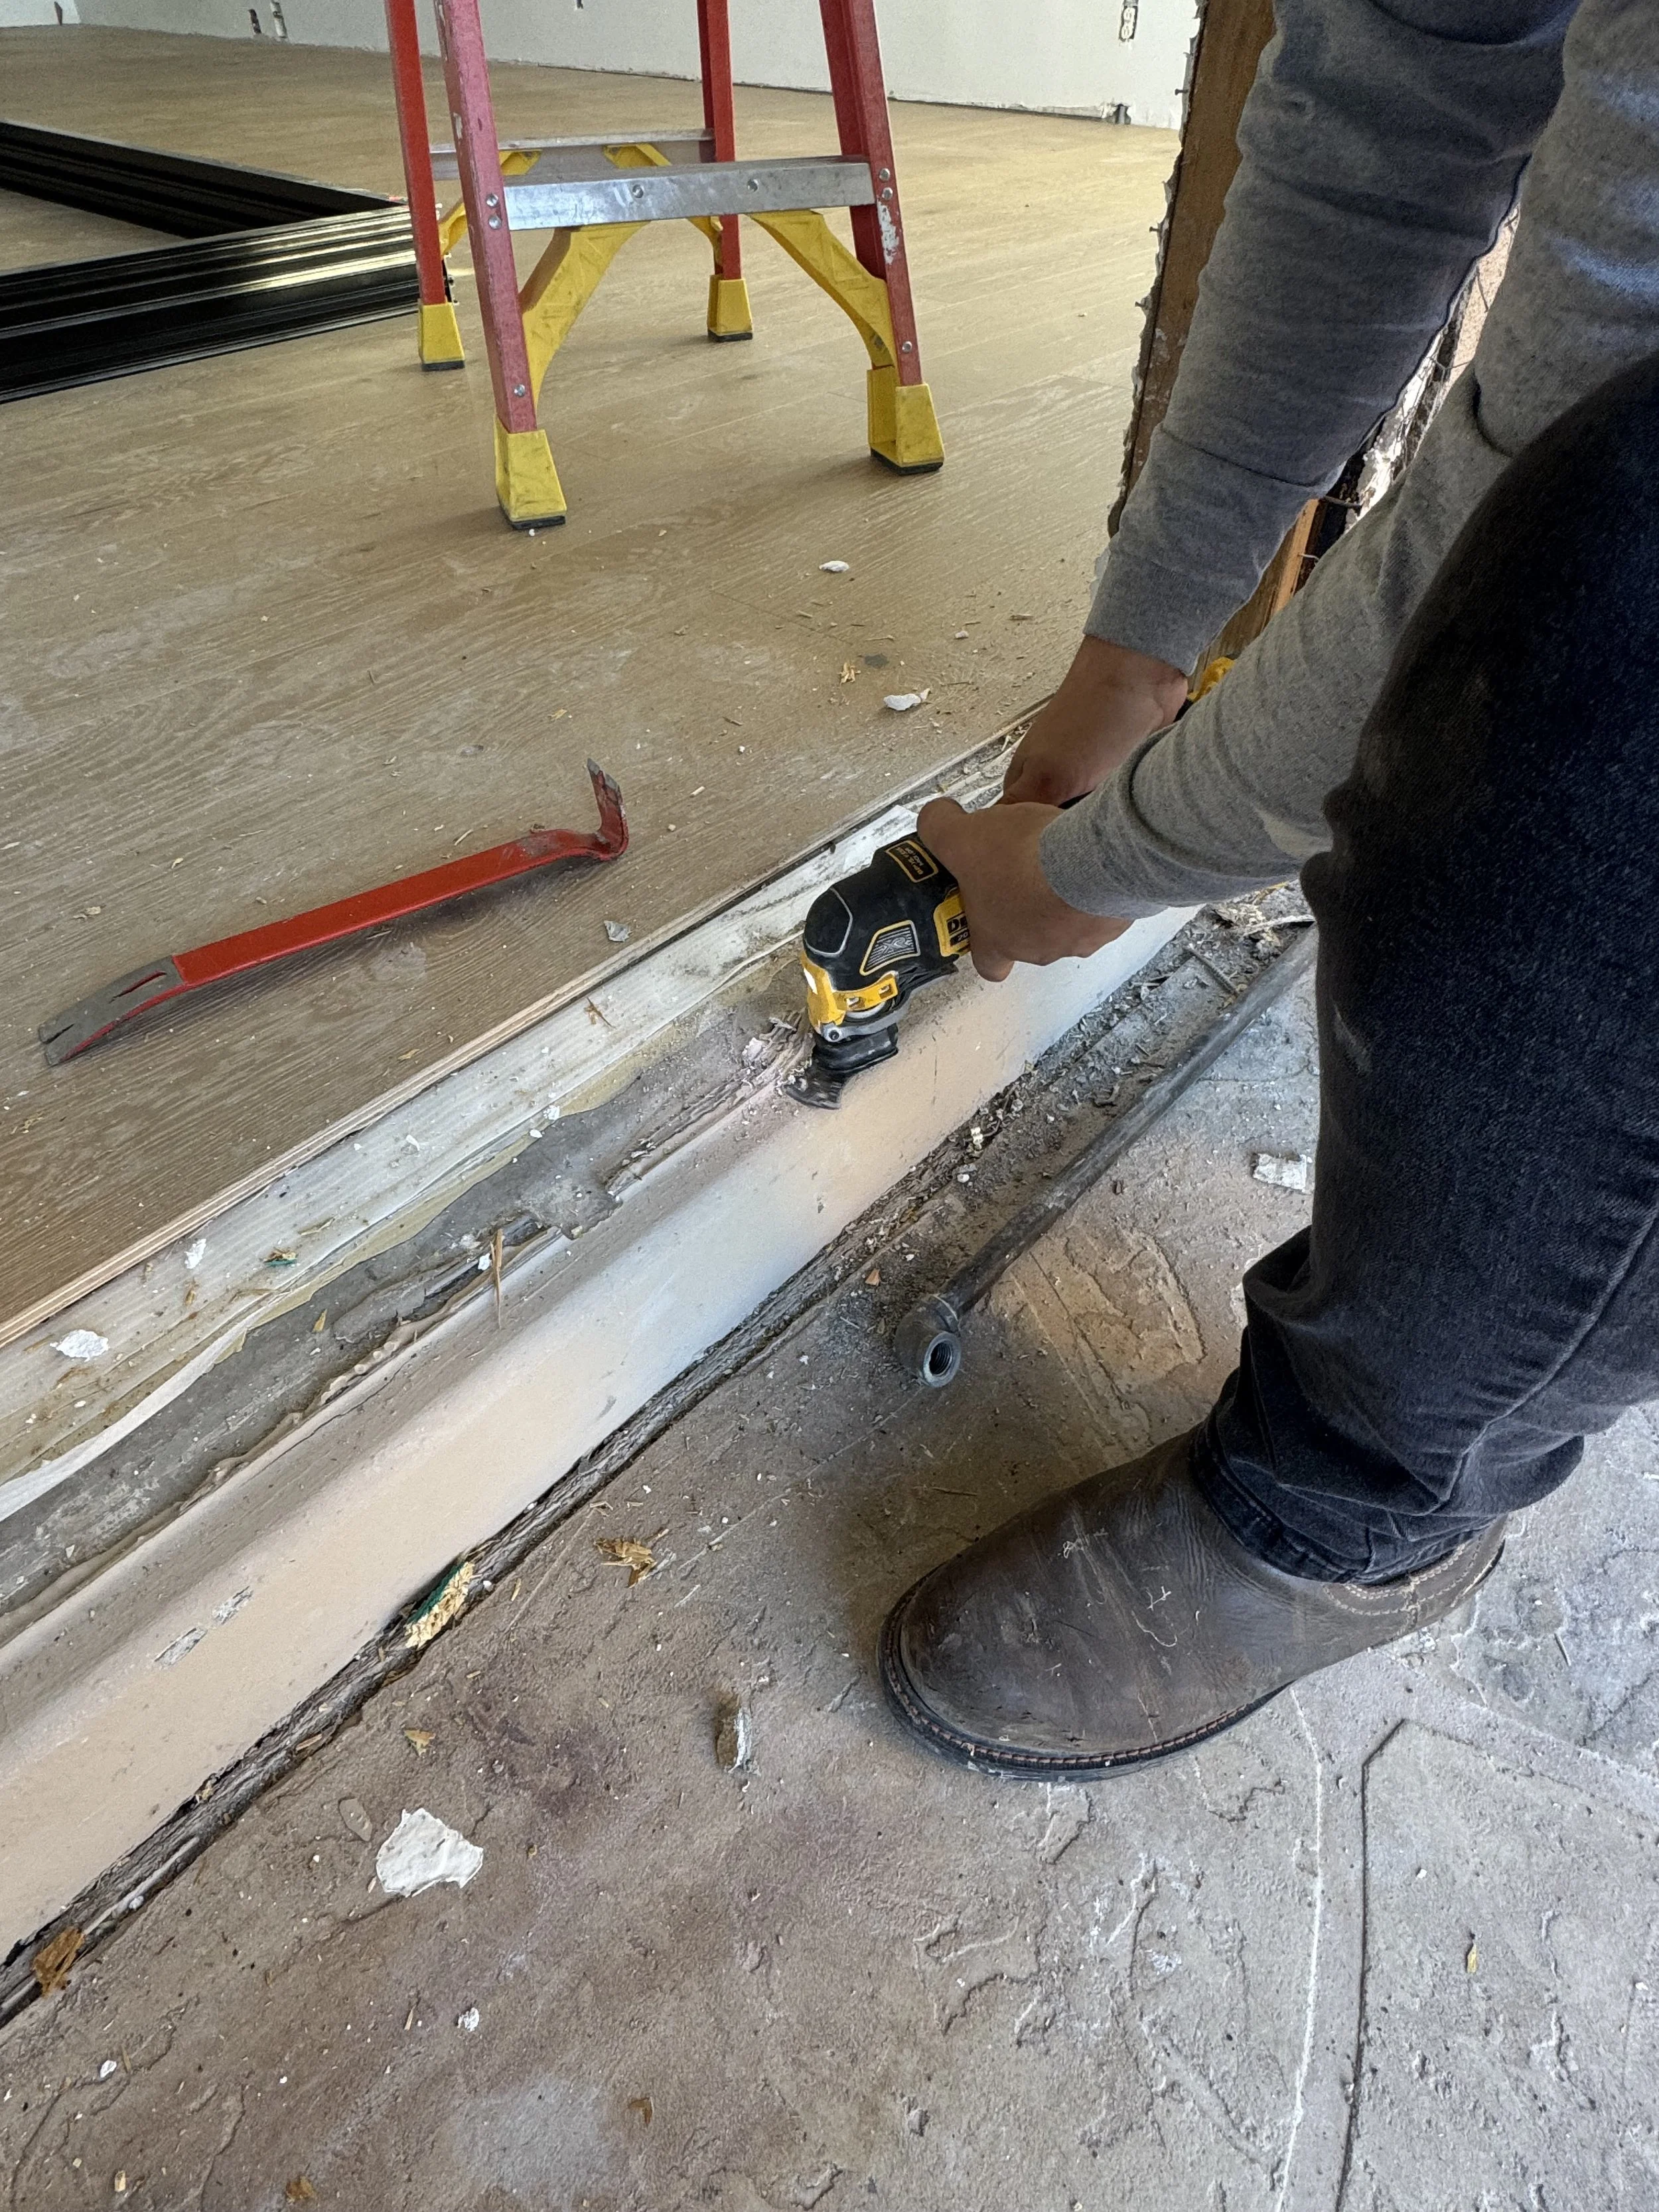
Remove old door (if applicable) using all tools necessary.
Clean the rough opening of debris and old sealant.
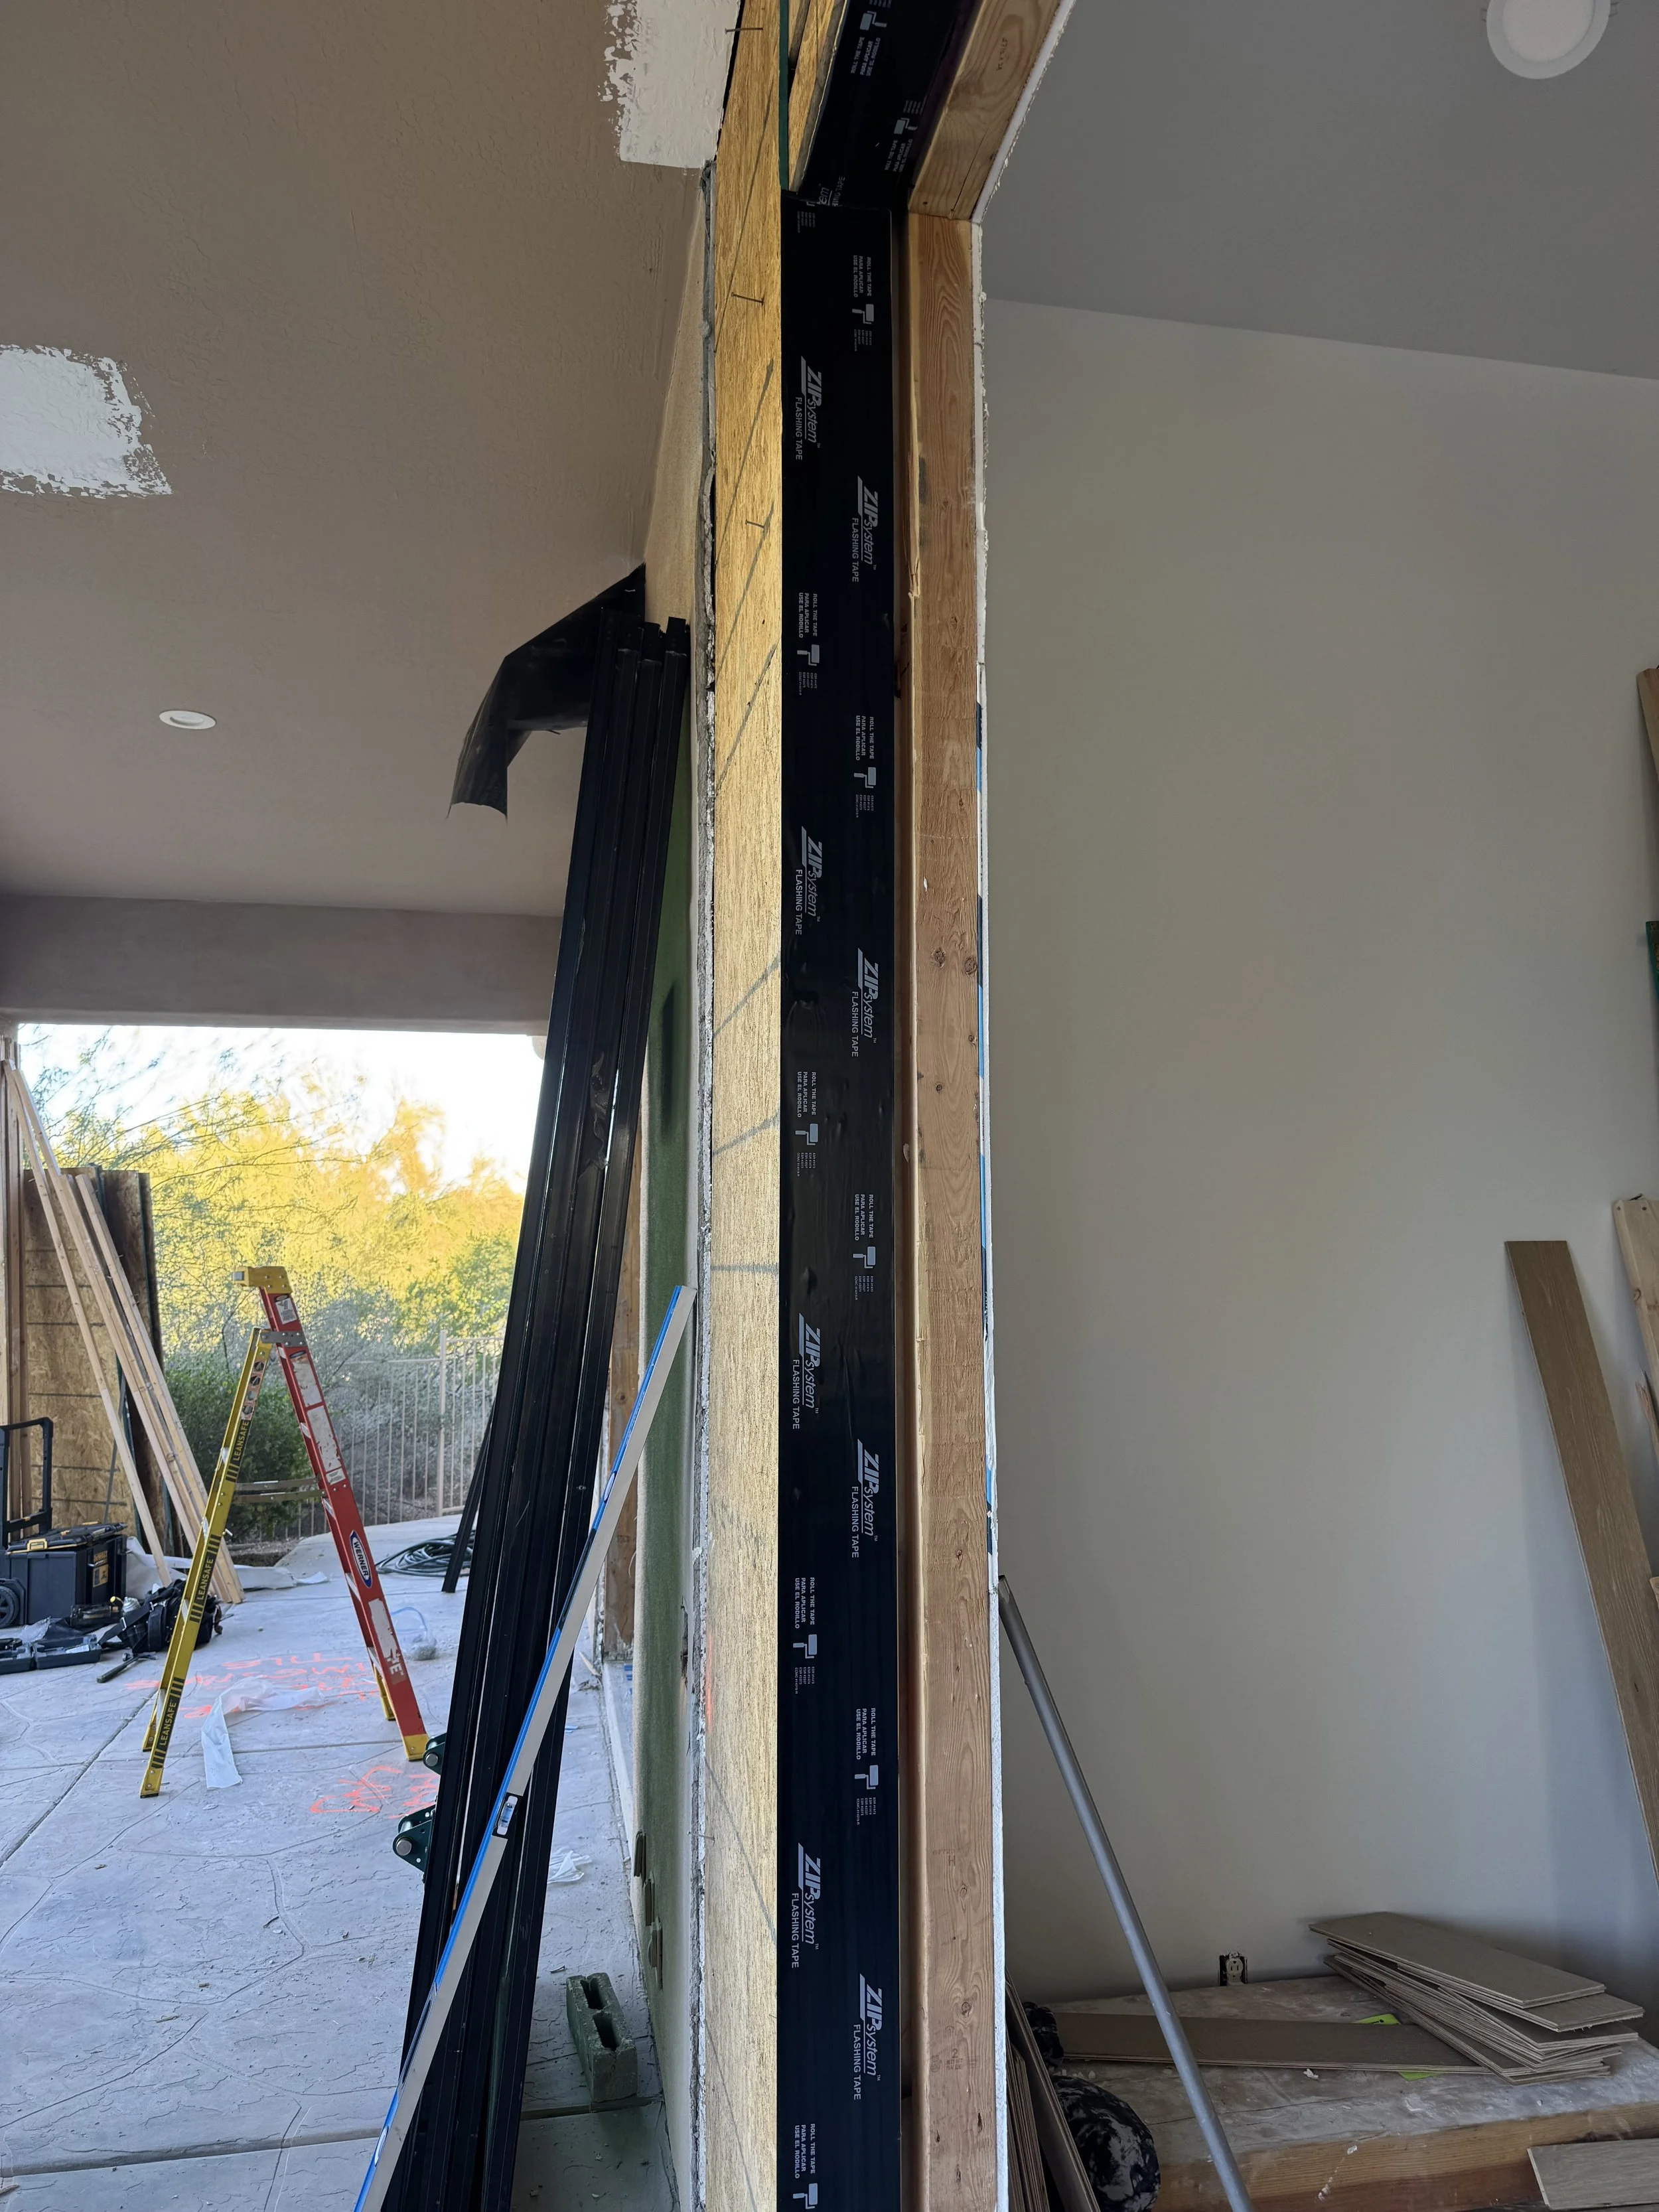
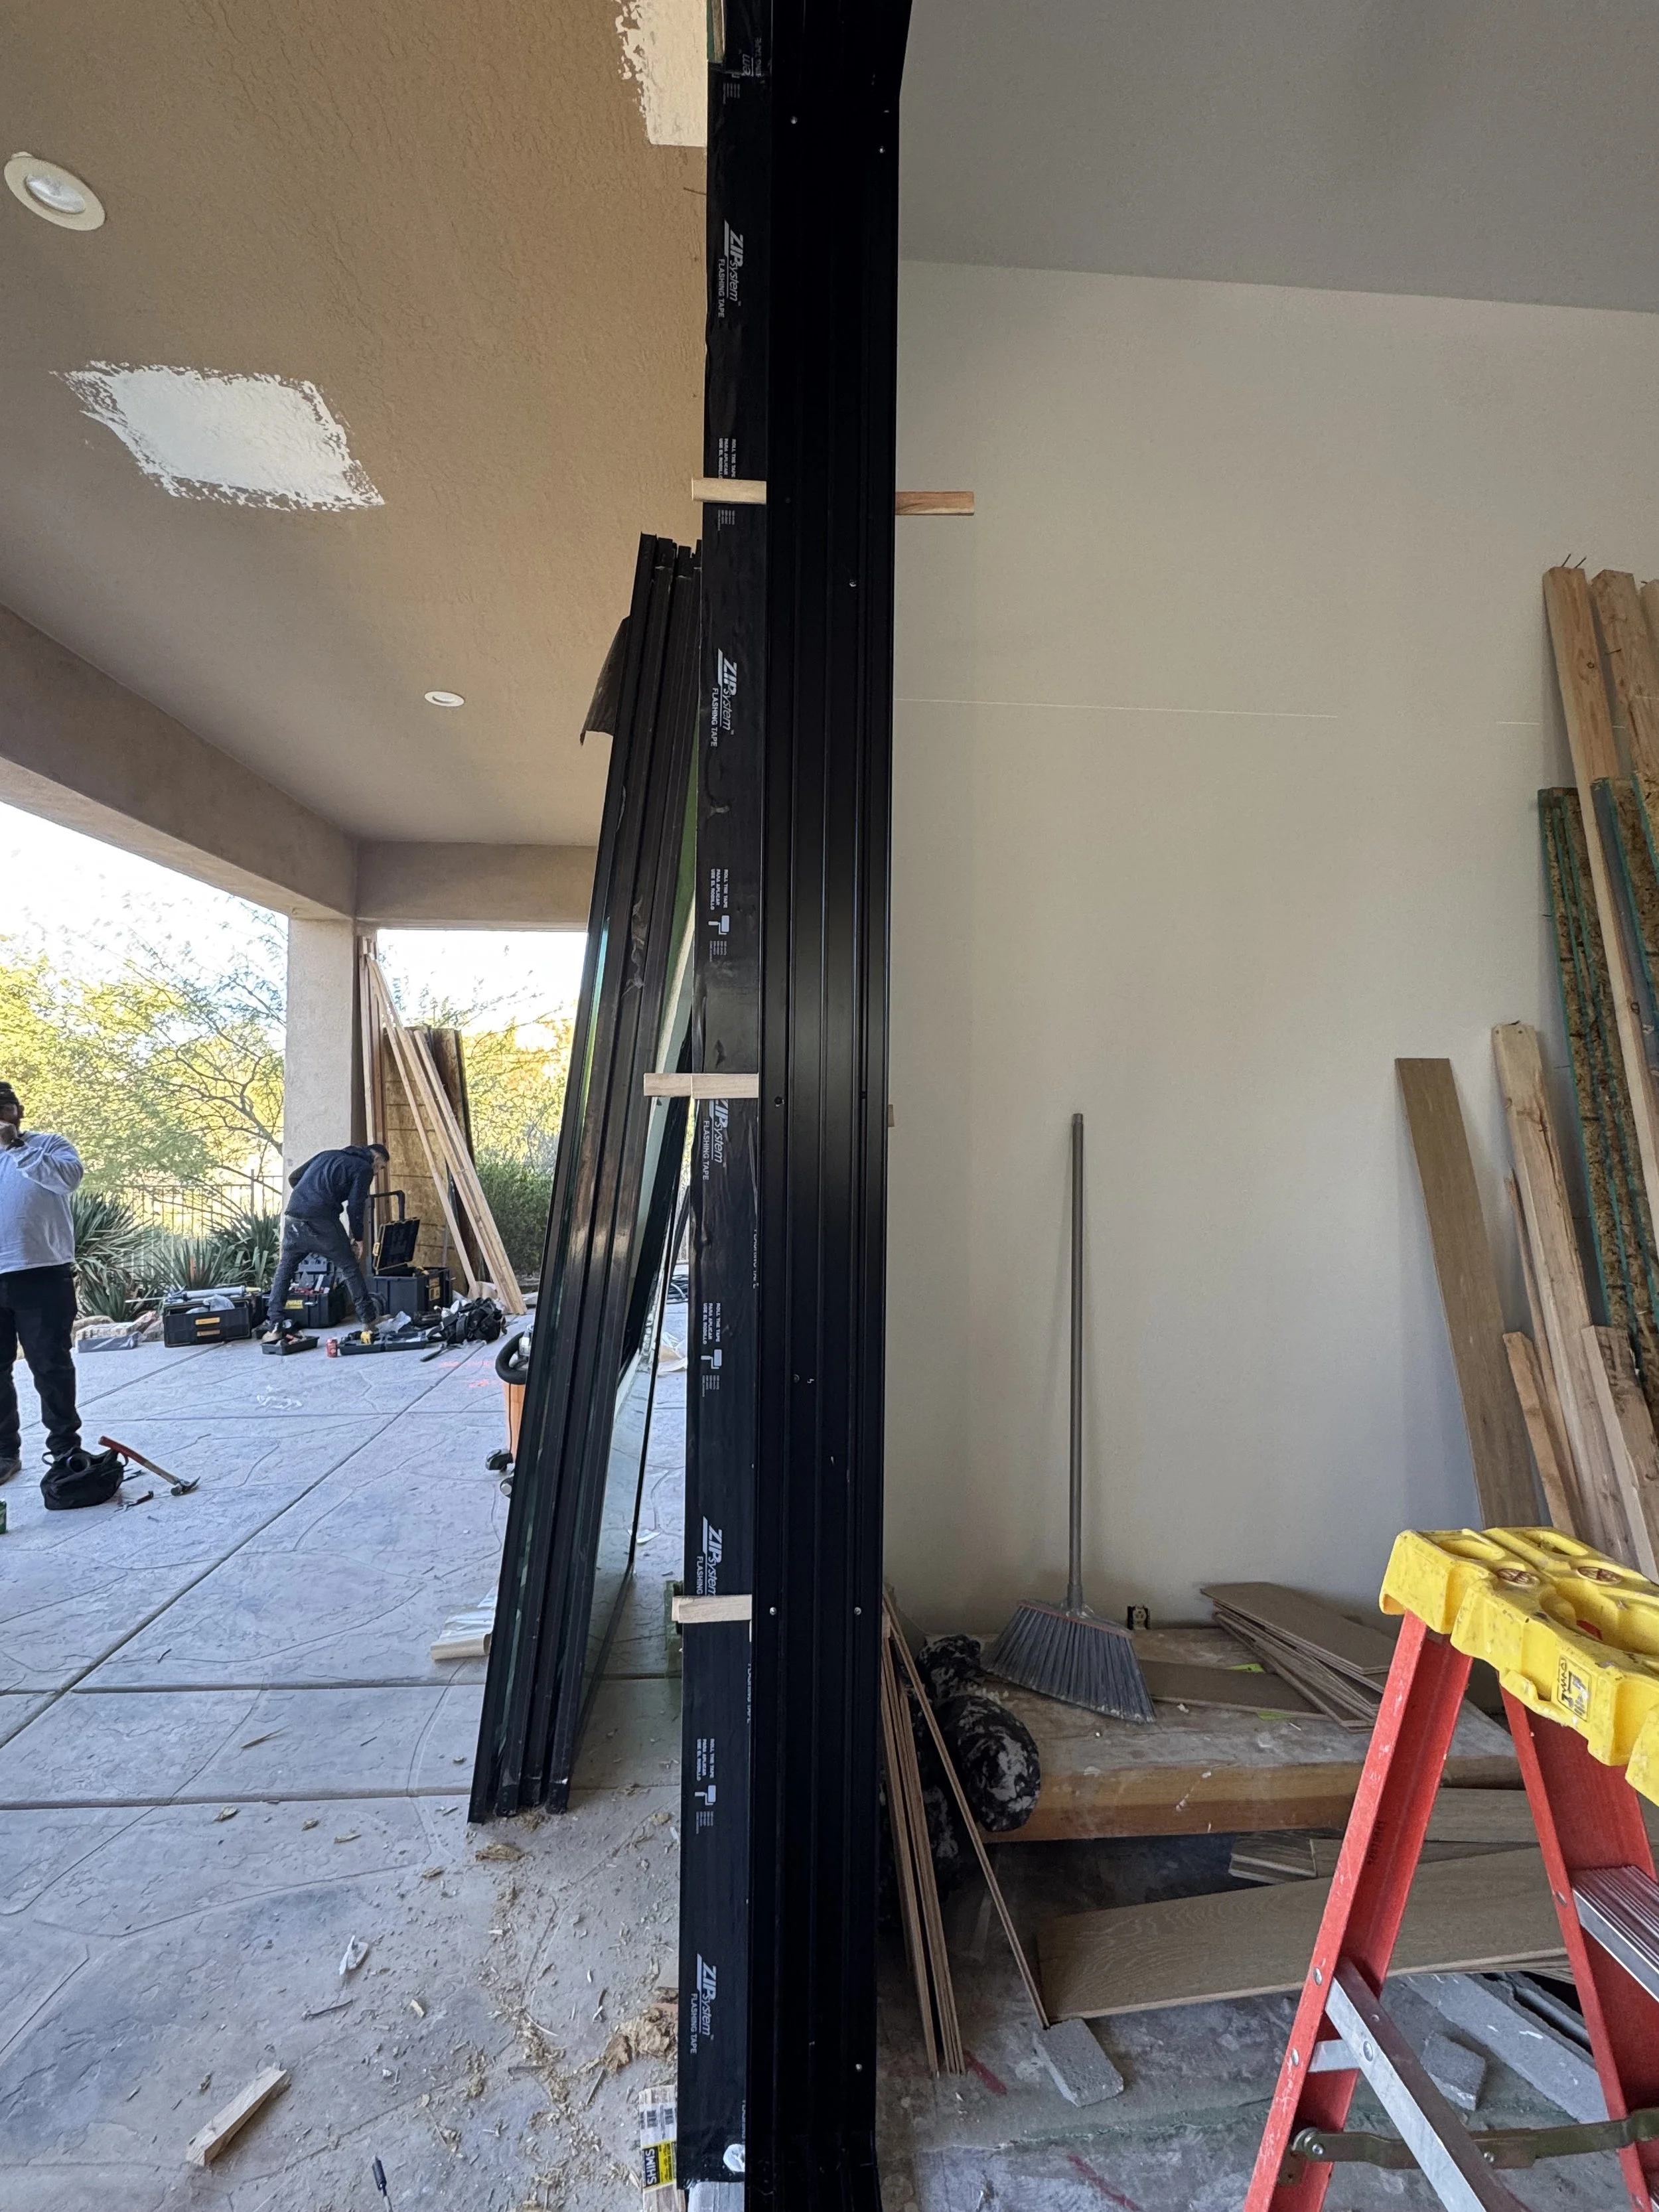
Apply the WRB (Water Resisting Barrier) papering or flashing.
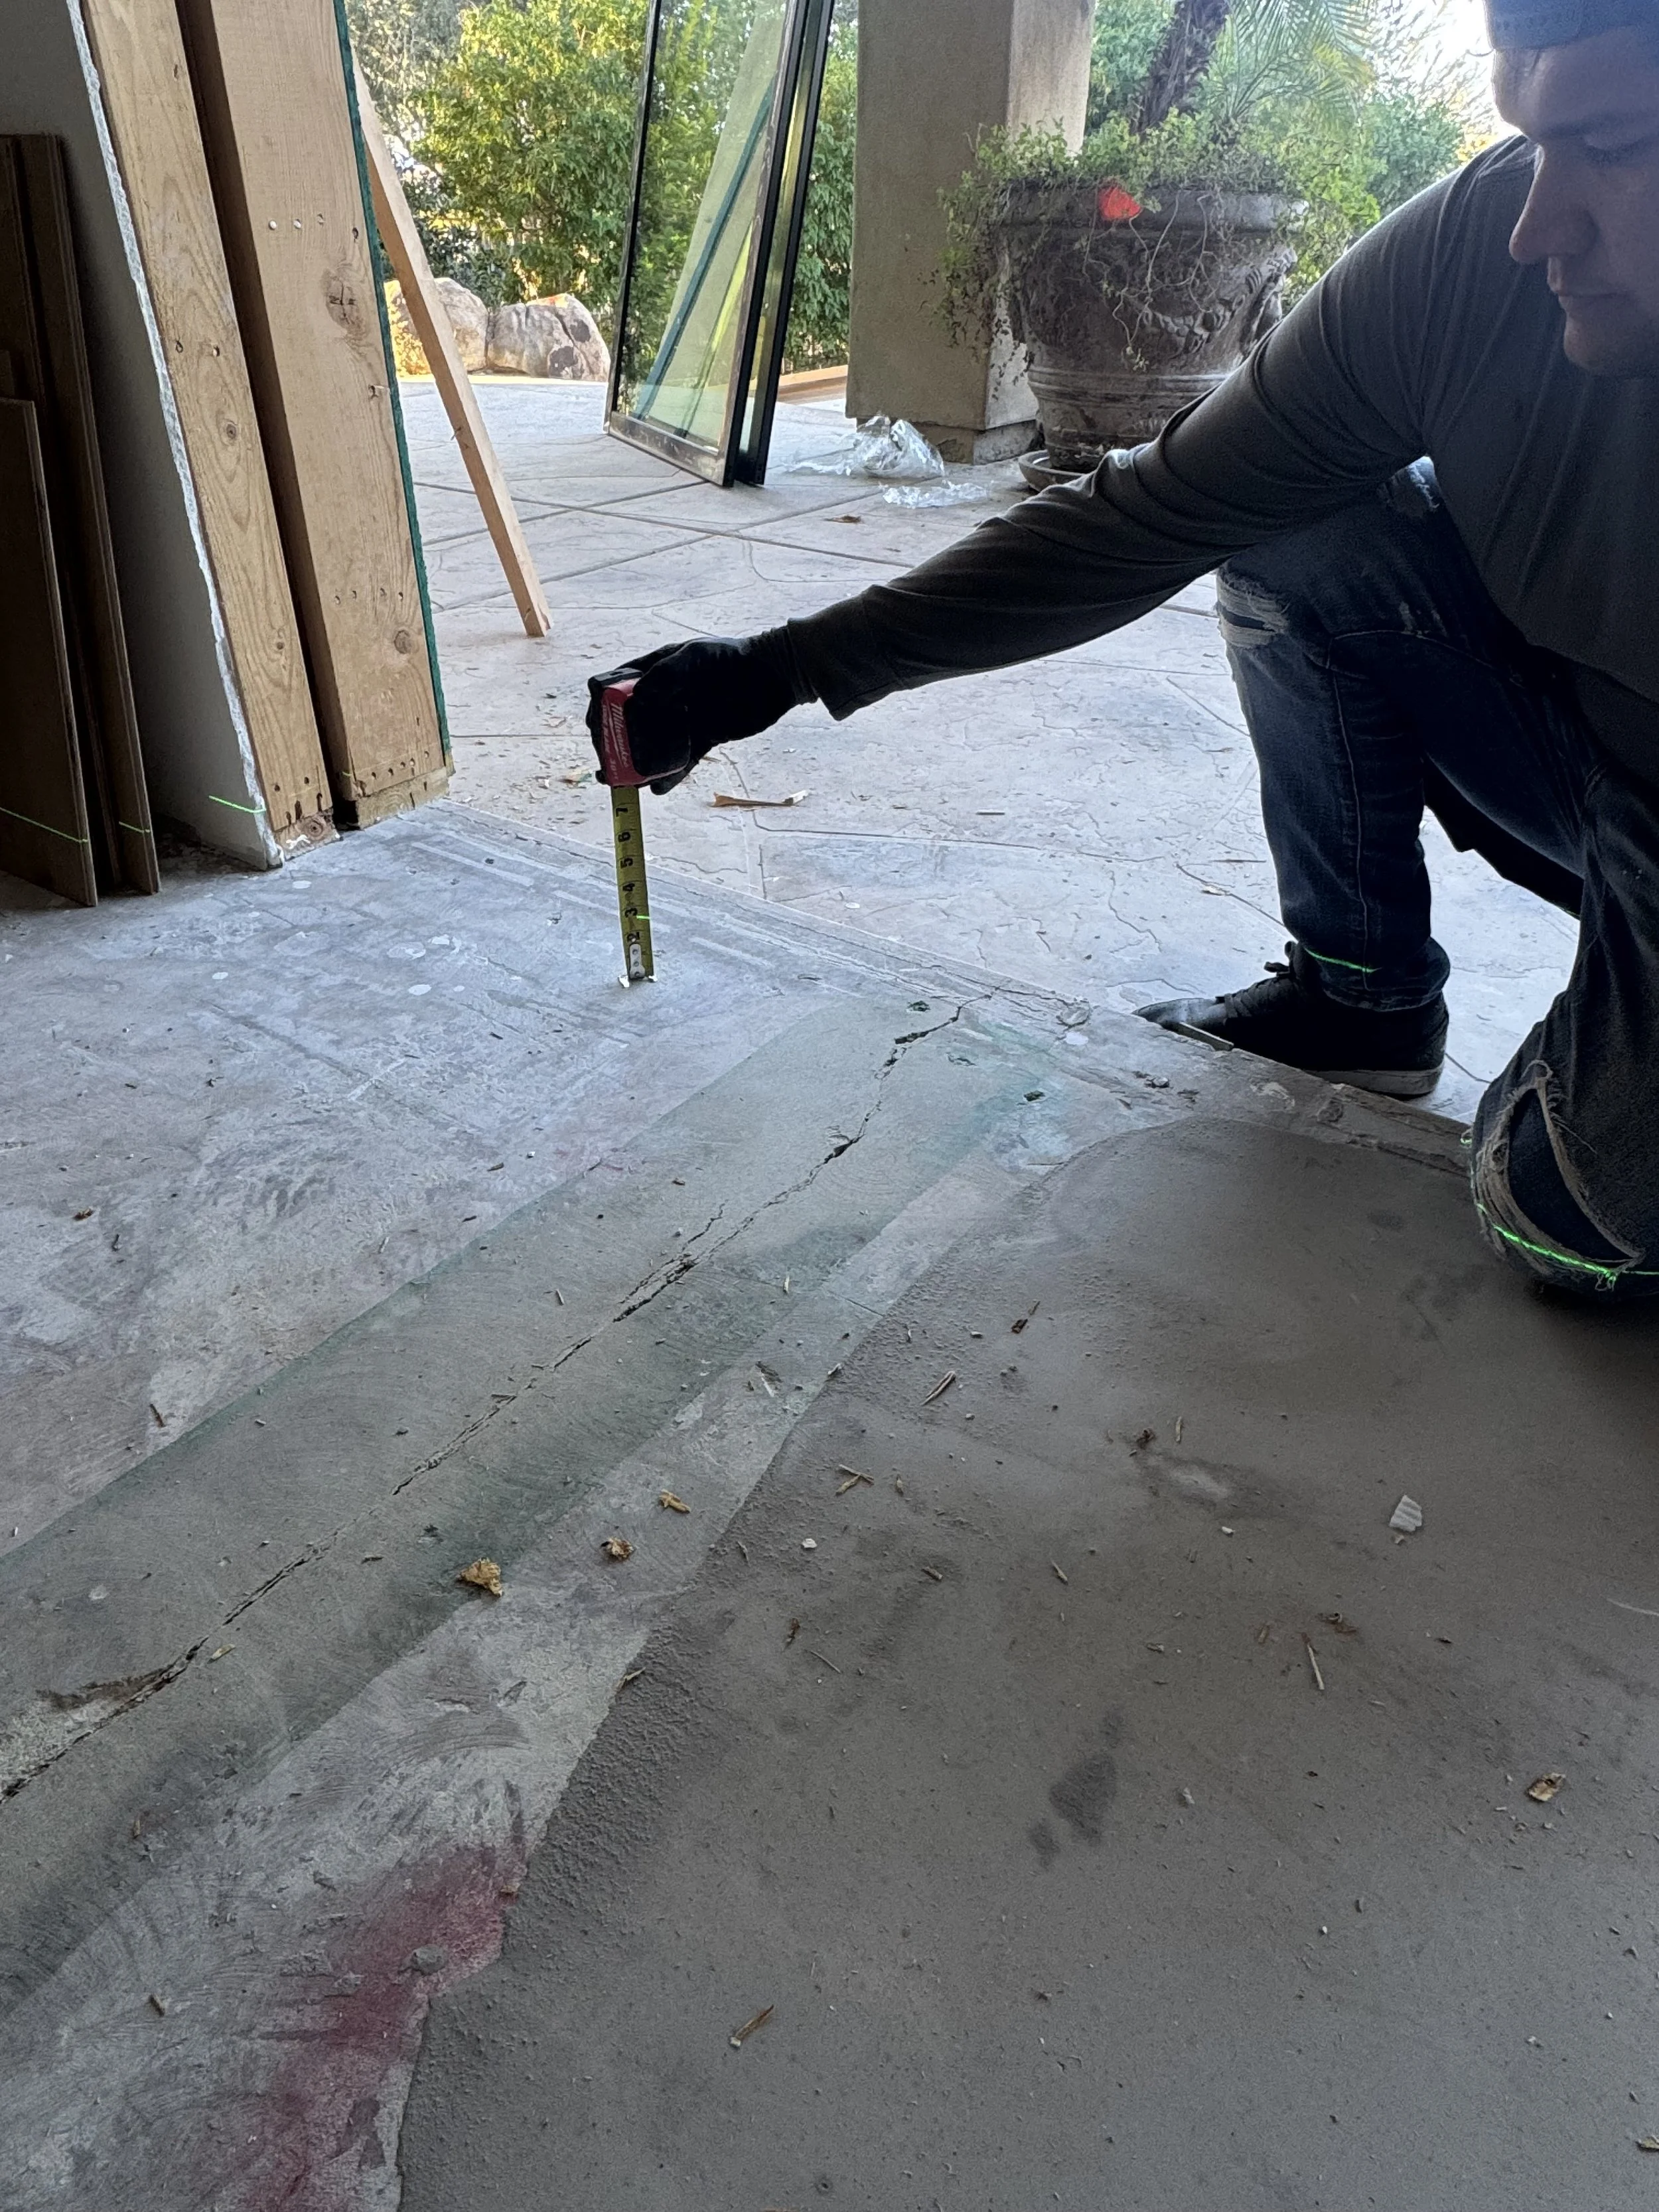
2. Check Rough Opening Dimensions
Verify that the rough opening is approximately 1/2" to 3/4" wider and taller than the door frame to allow for proper shimming and insulation. Additionally, confirm the following:
The subfloor is level across the entire width of the opening, with a maximum allowable deviation of 1/4".
The side jambs are plumb (vertically straight).
The header is level, and the opening is square (diagonals should measure equally).
Accurate framing ensures smooth door operation, effective weather sealing, and long-term performance.
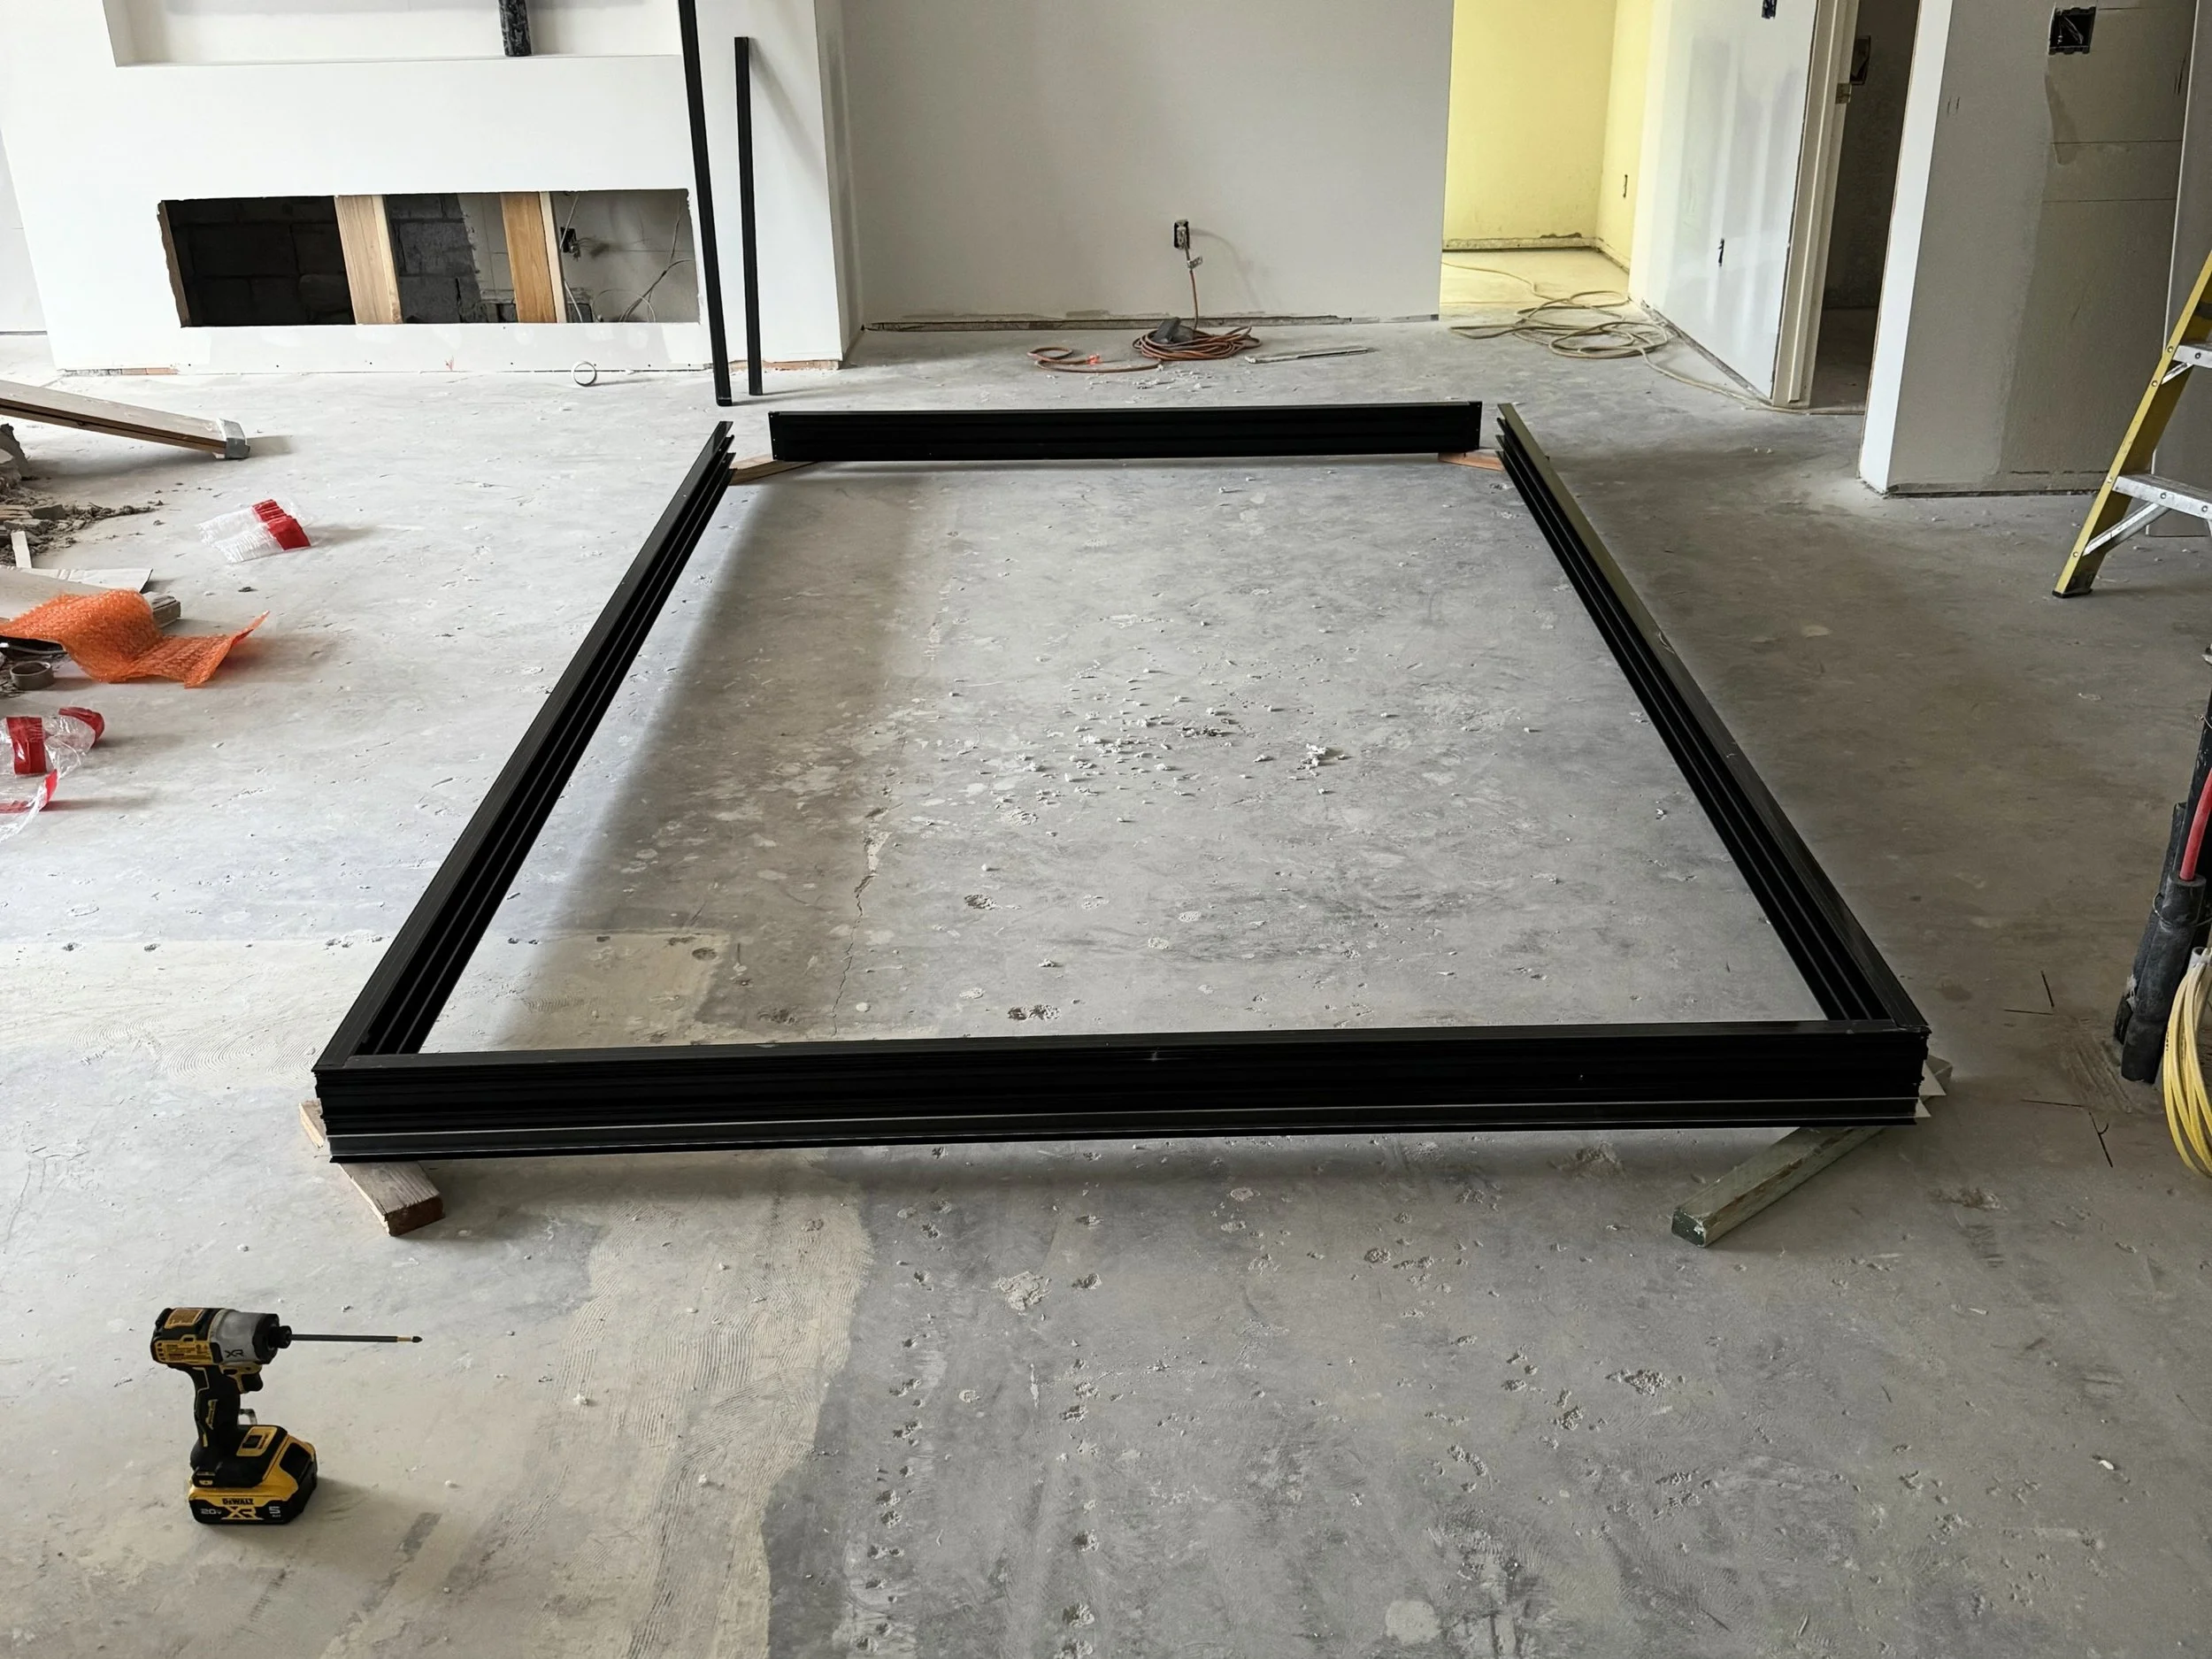
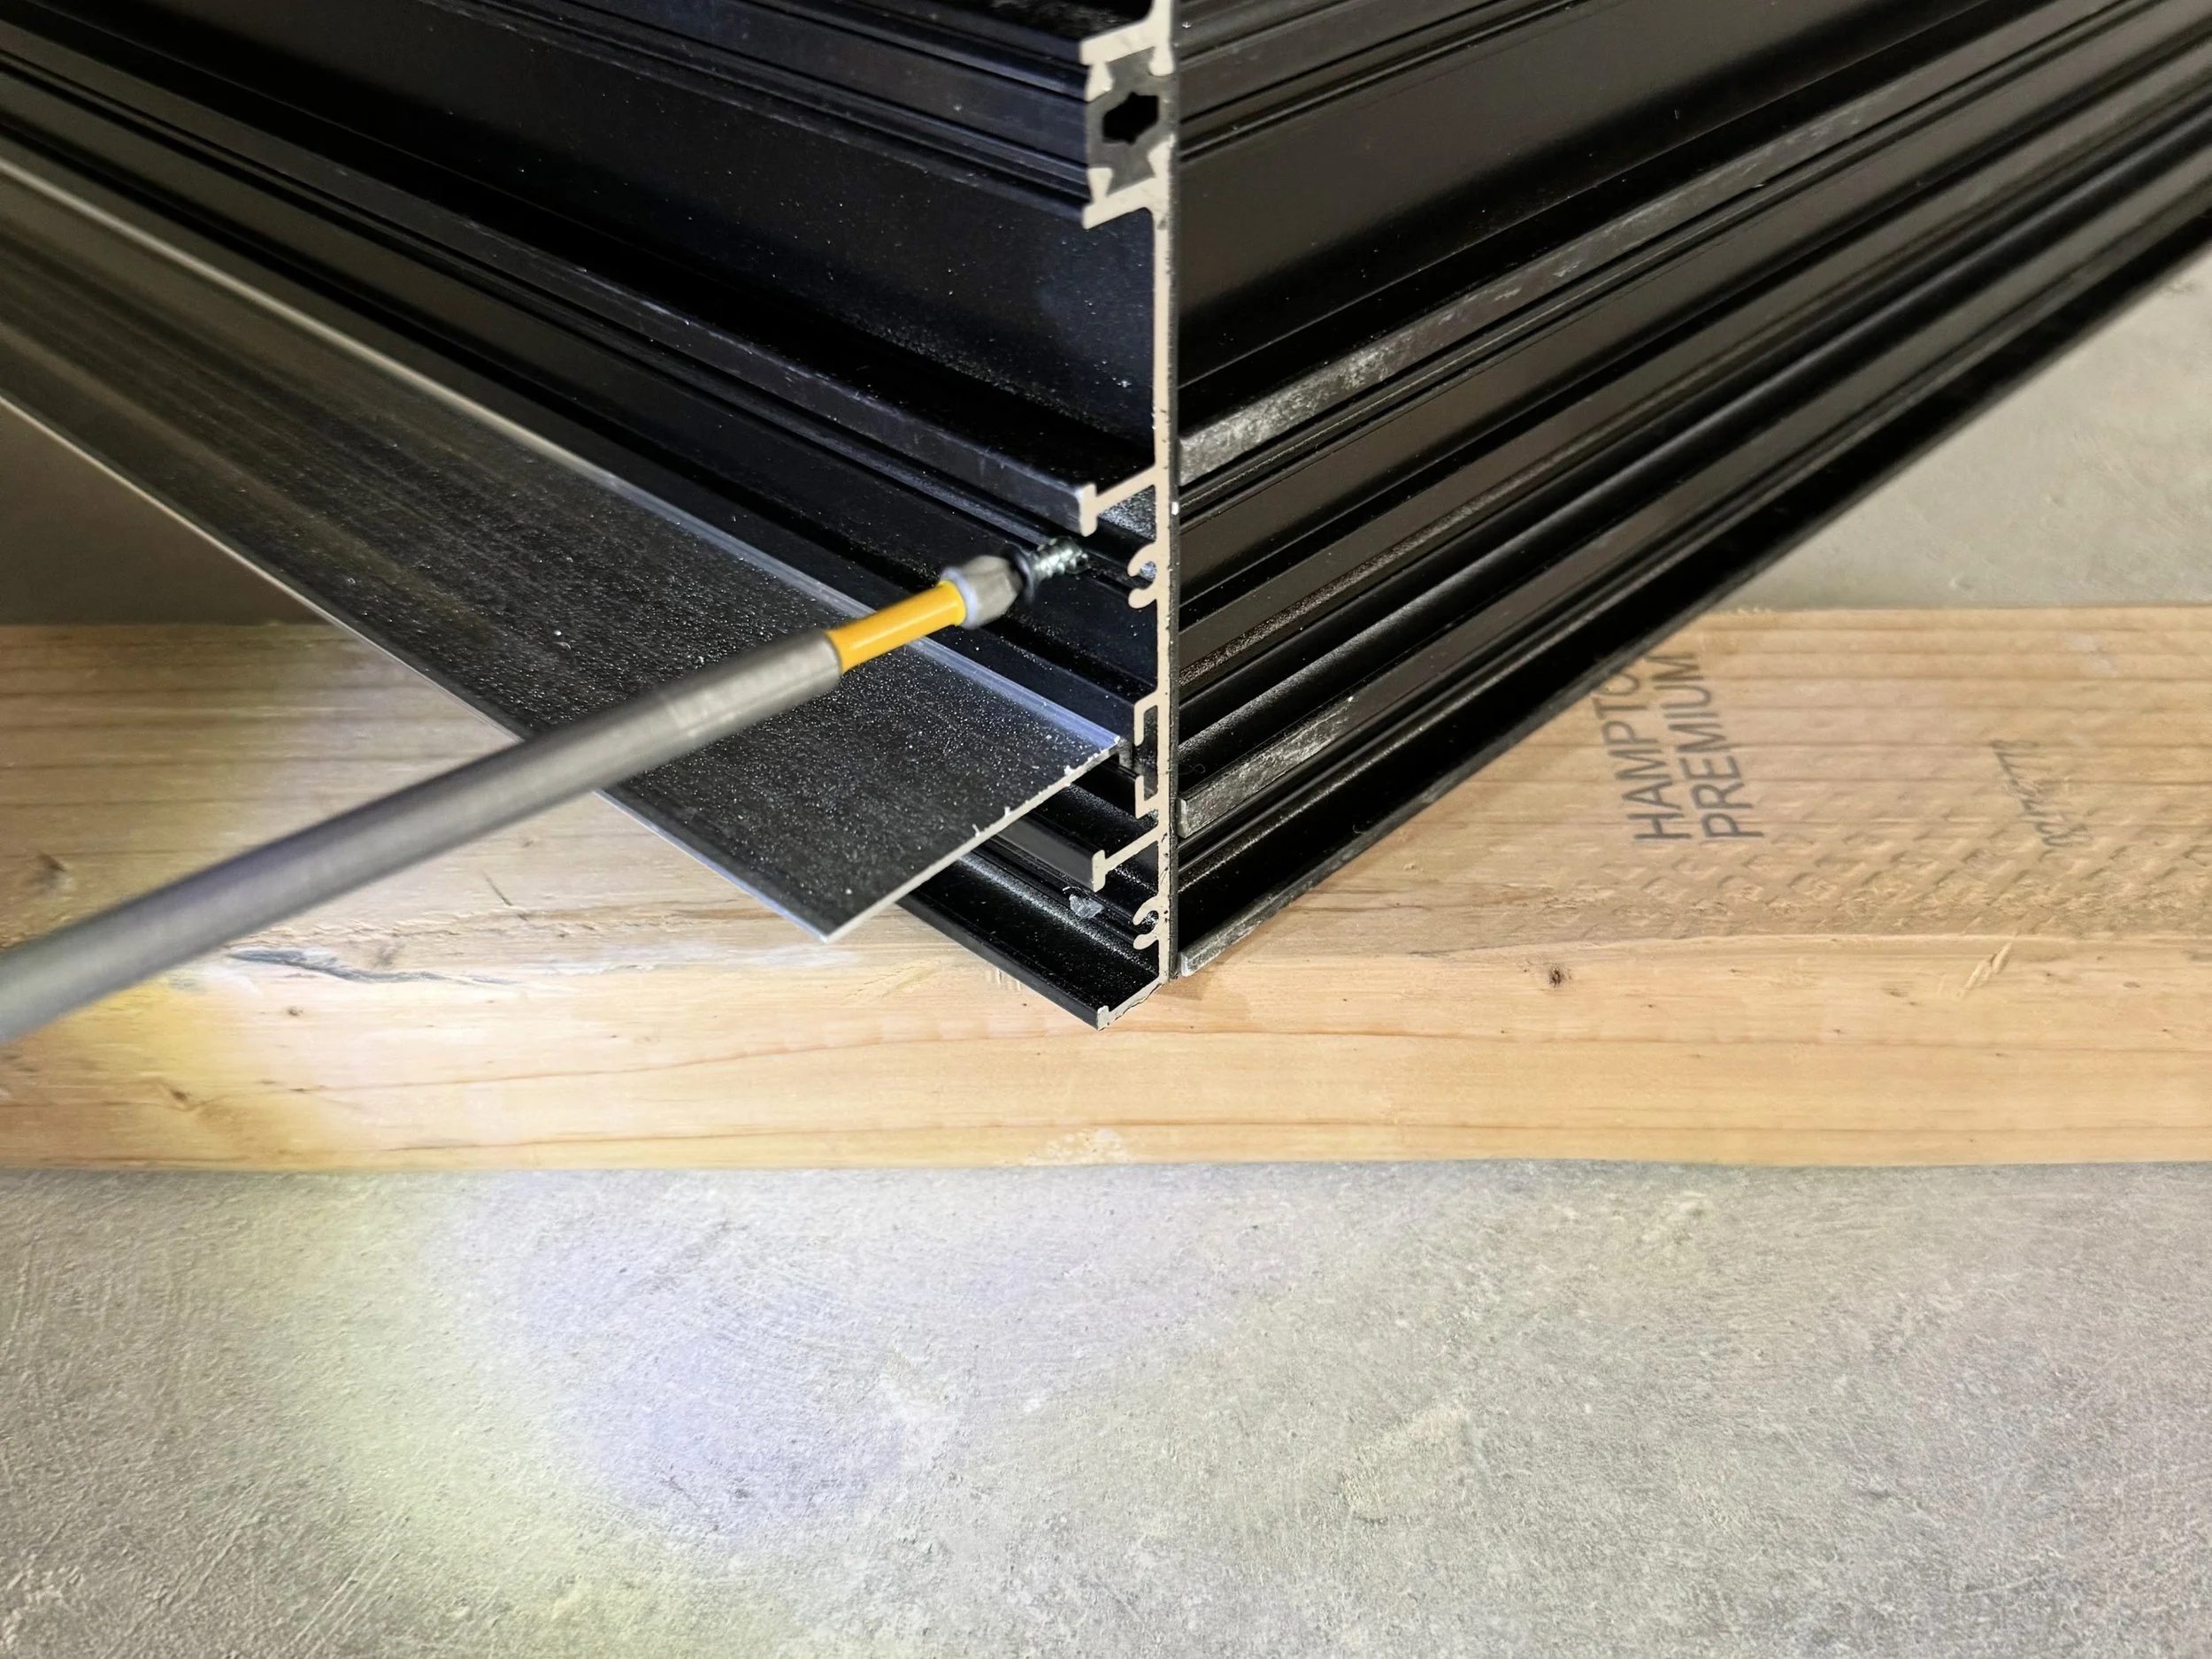
3. Assemble the Frame
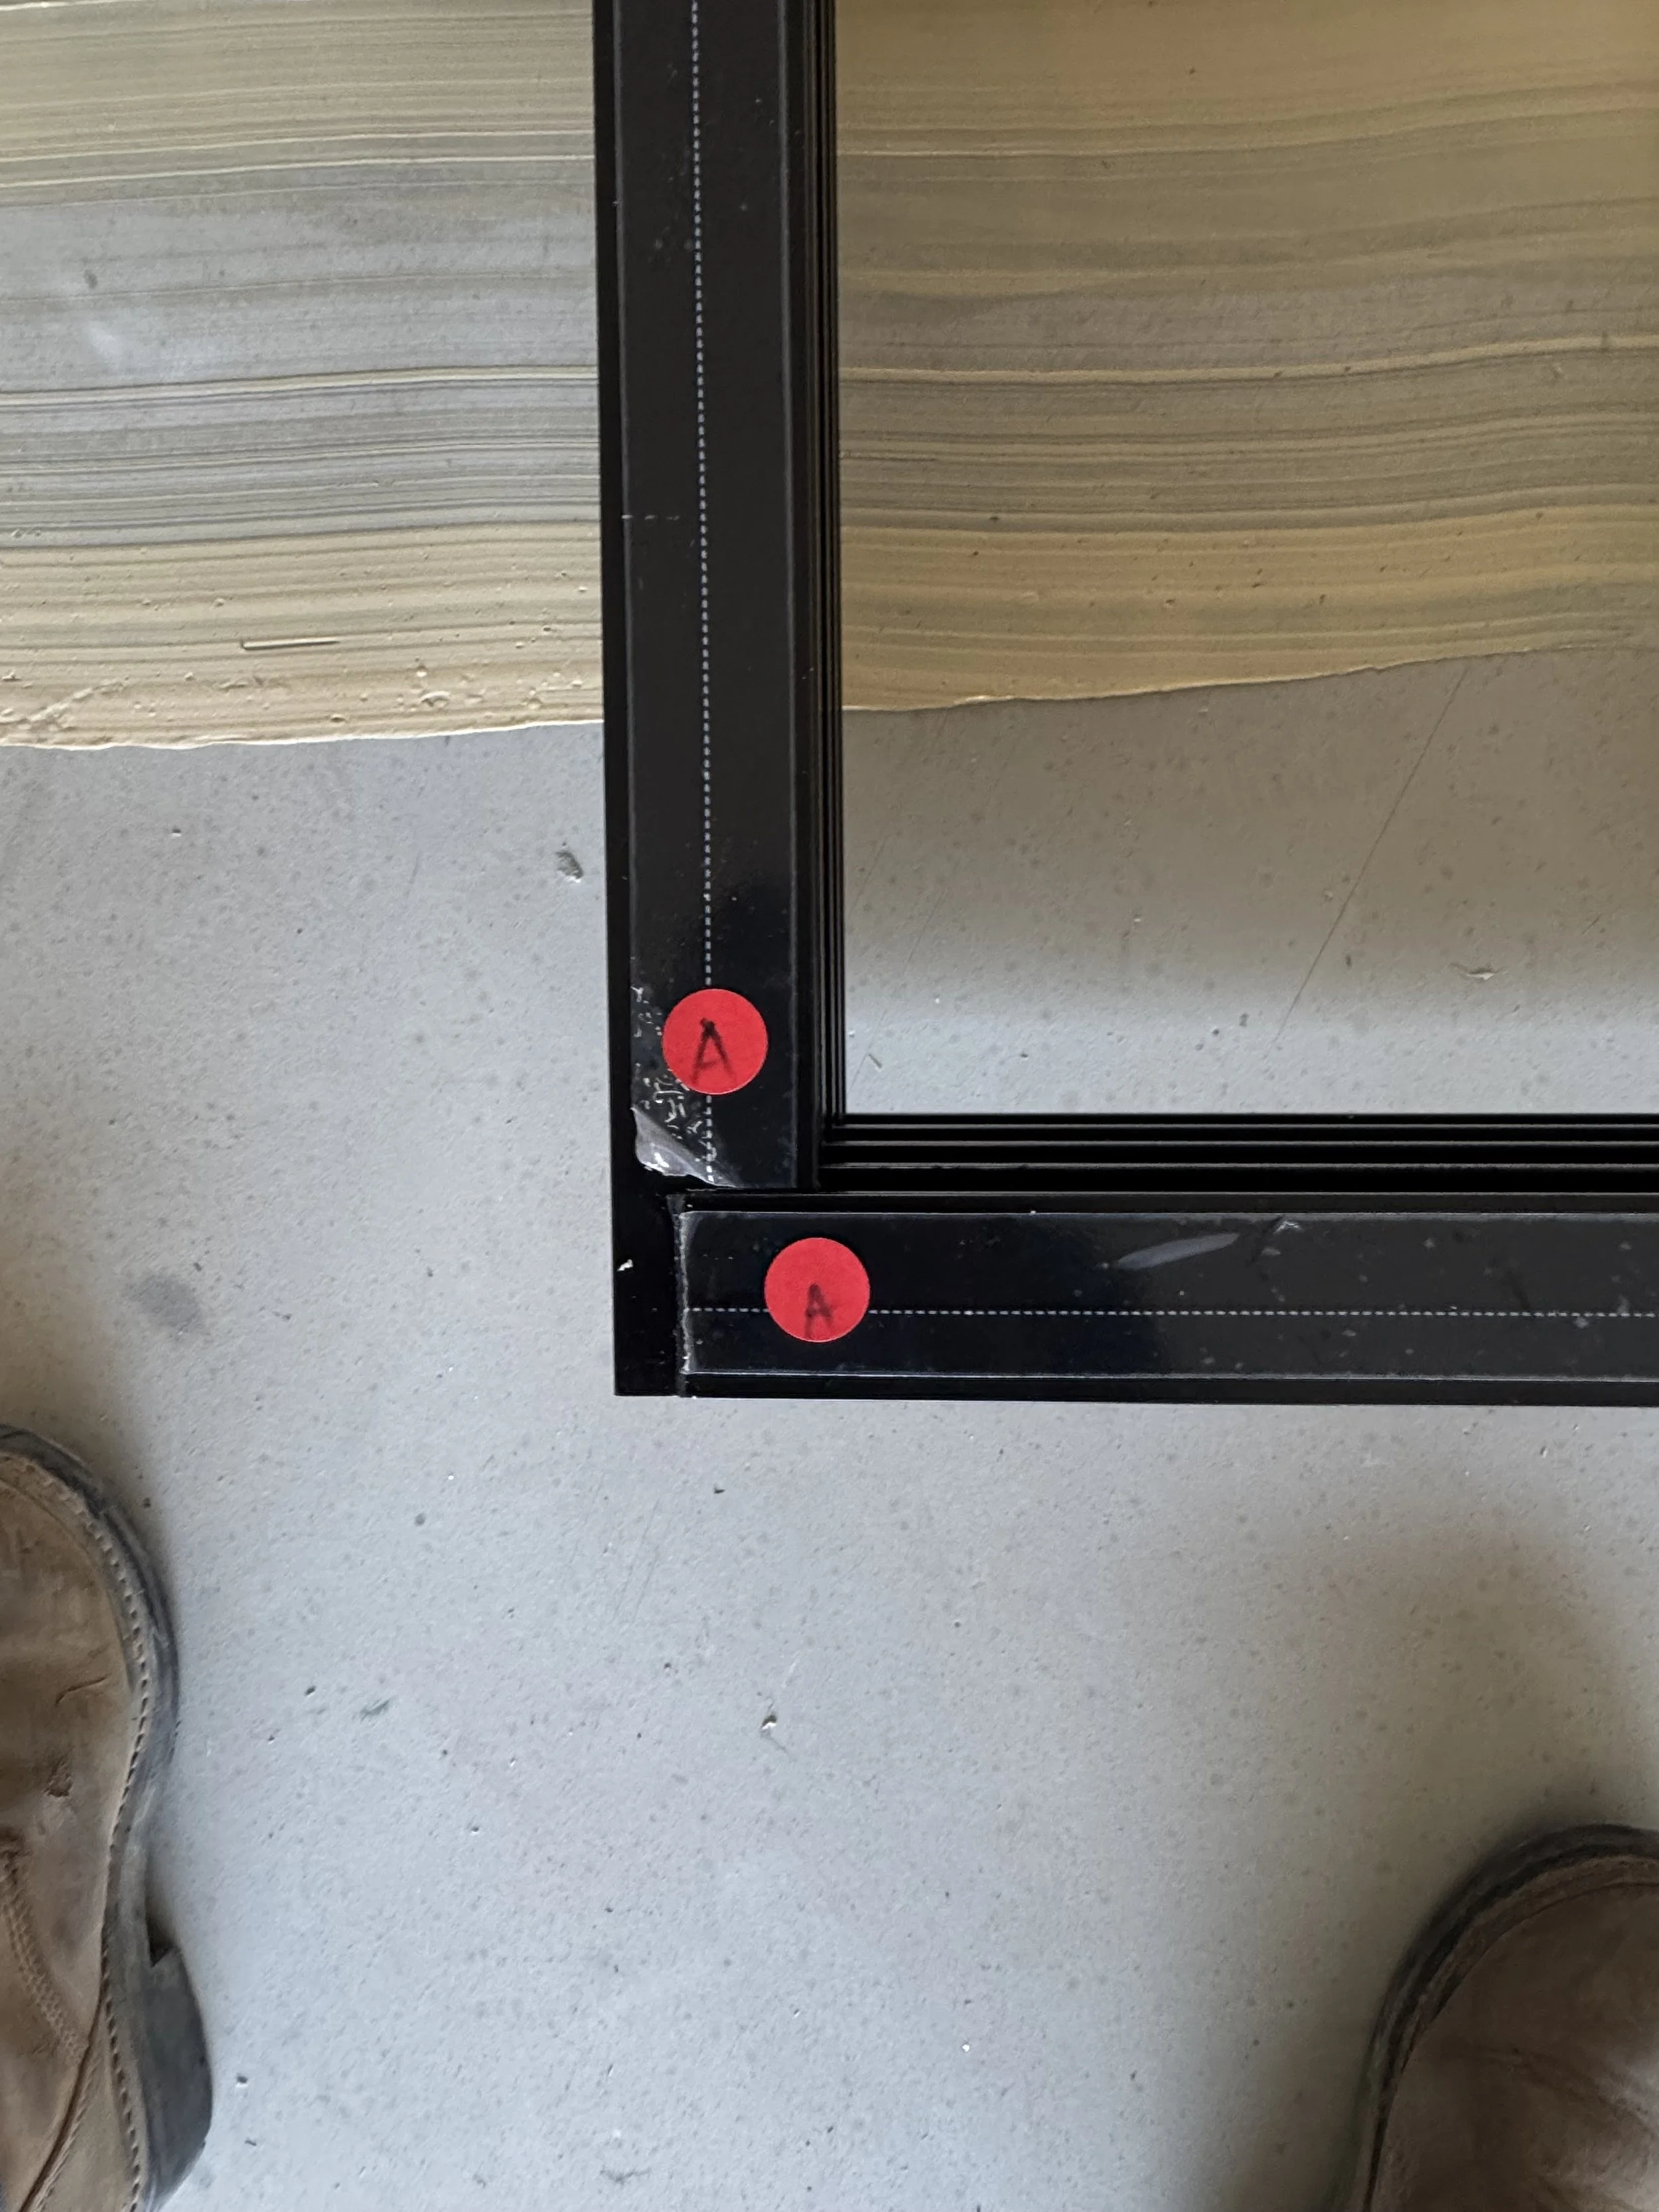
If the door is shipped knocked-down (KD), assemble the frame by matching each corner to its corresponding corner marked with the same identification letter
Connect header, jambs, and sill with provided screws.
Ensure corners are square.
Use sealant between the jambs and sill connections for a watertight bond.
Add nailing flange if required:
Slide into the frame perimeter before assembling the frame.

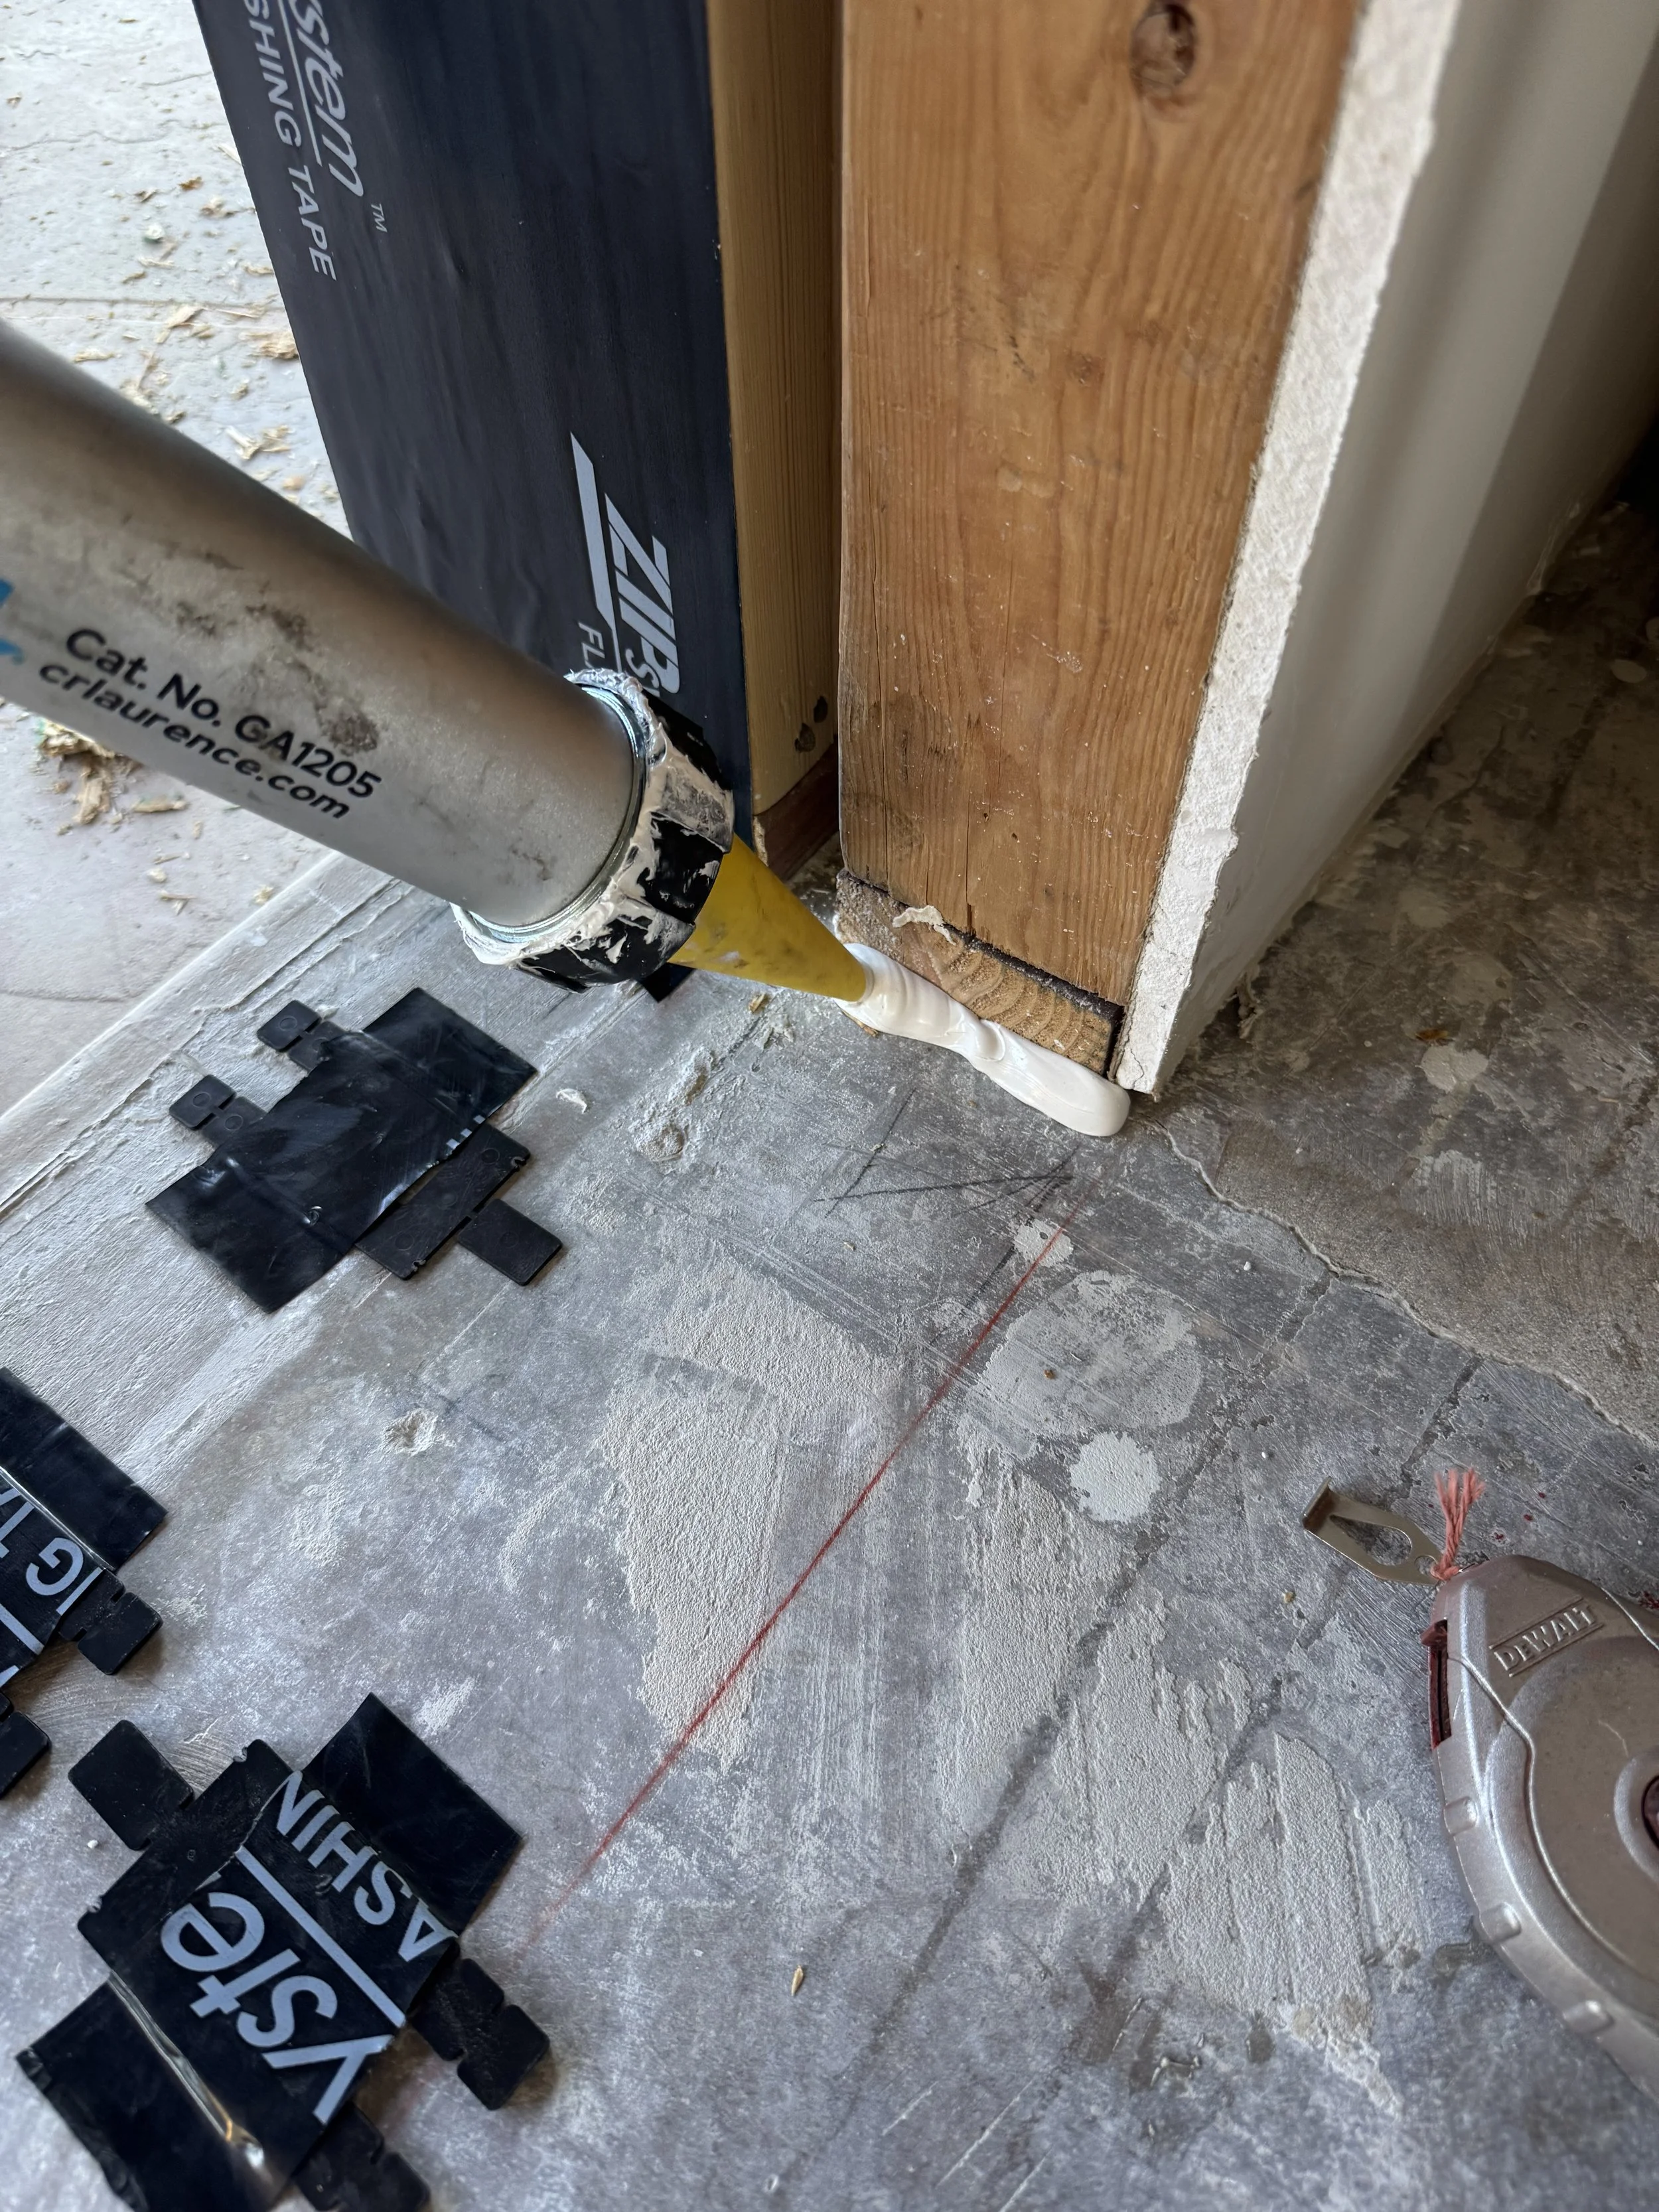
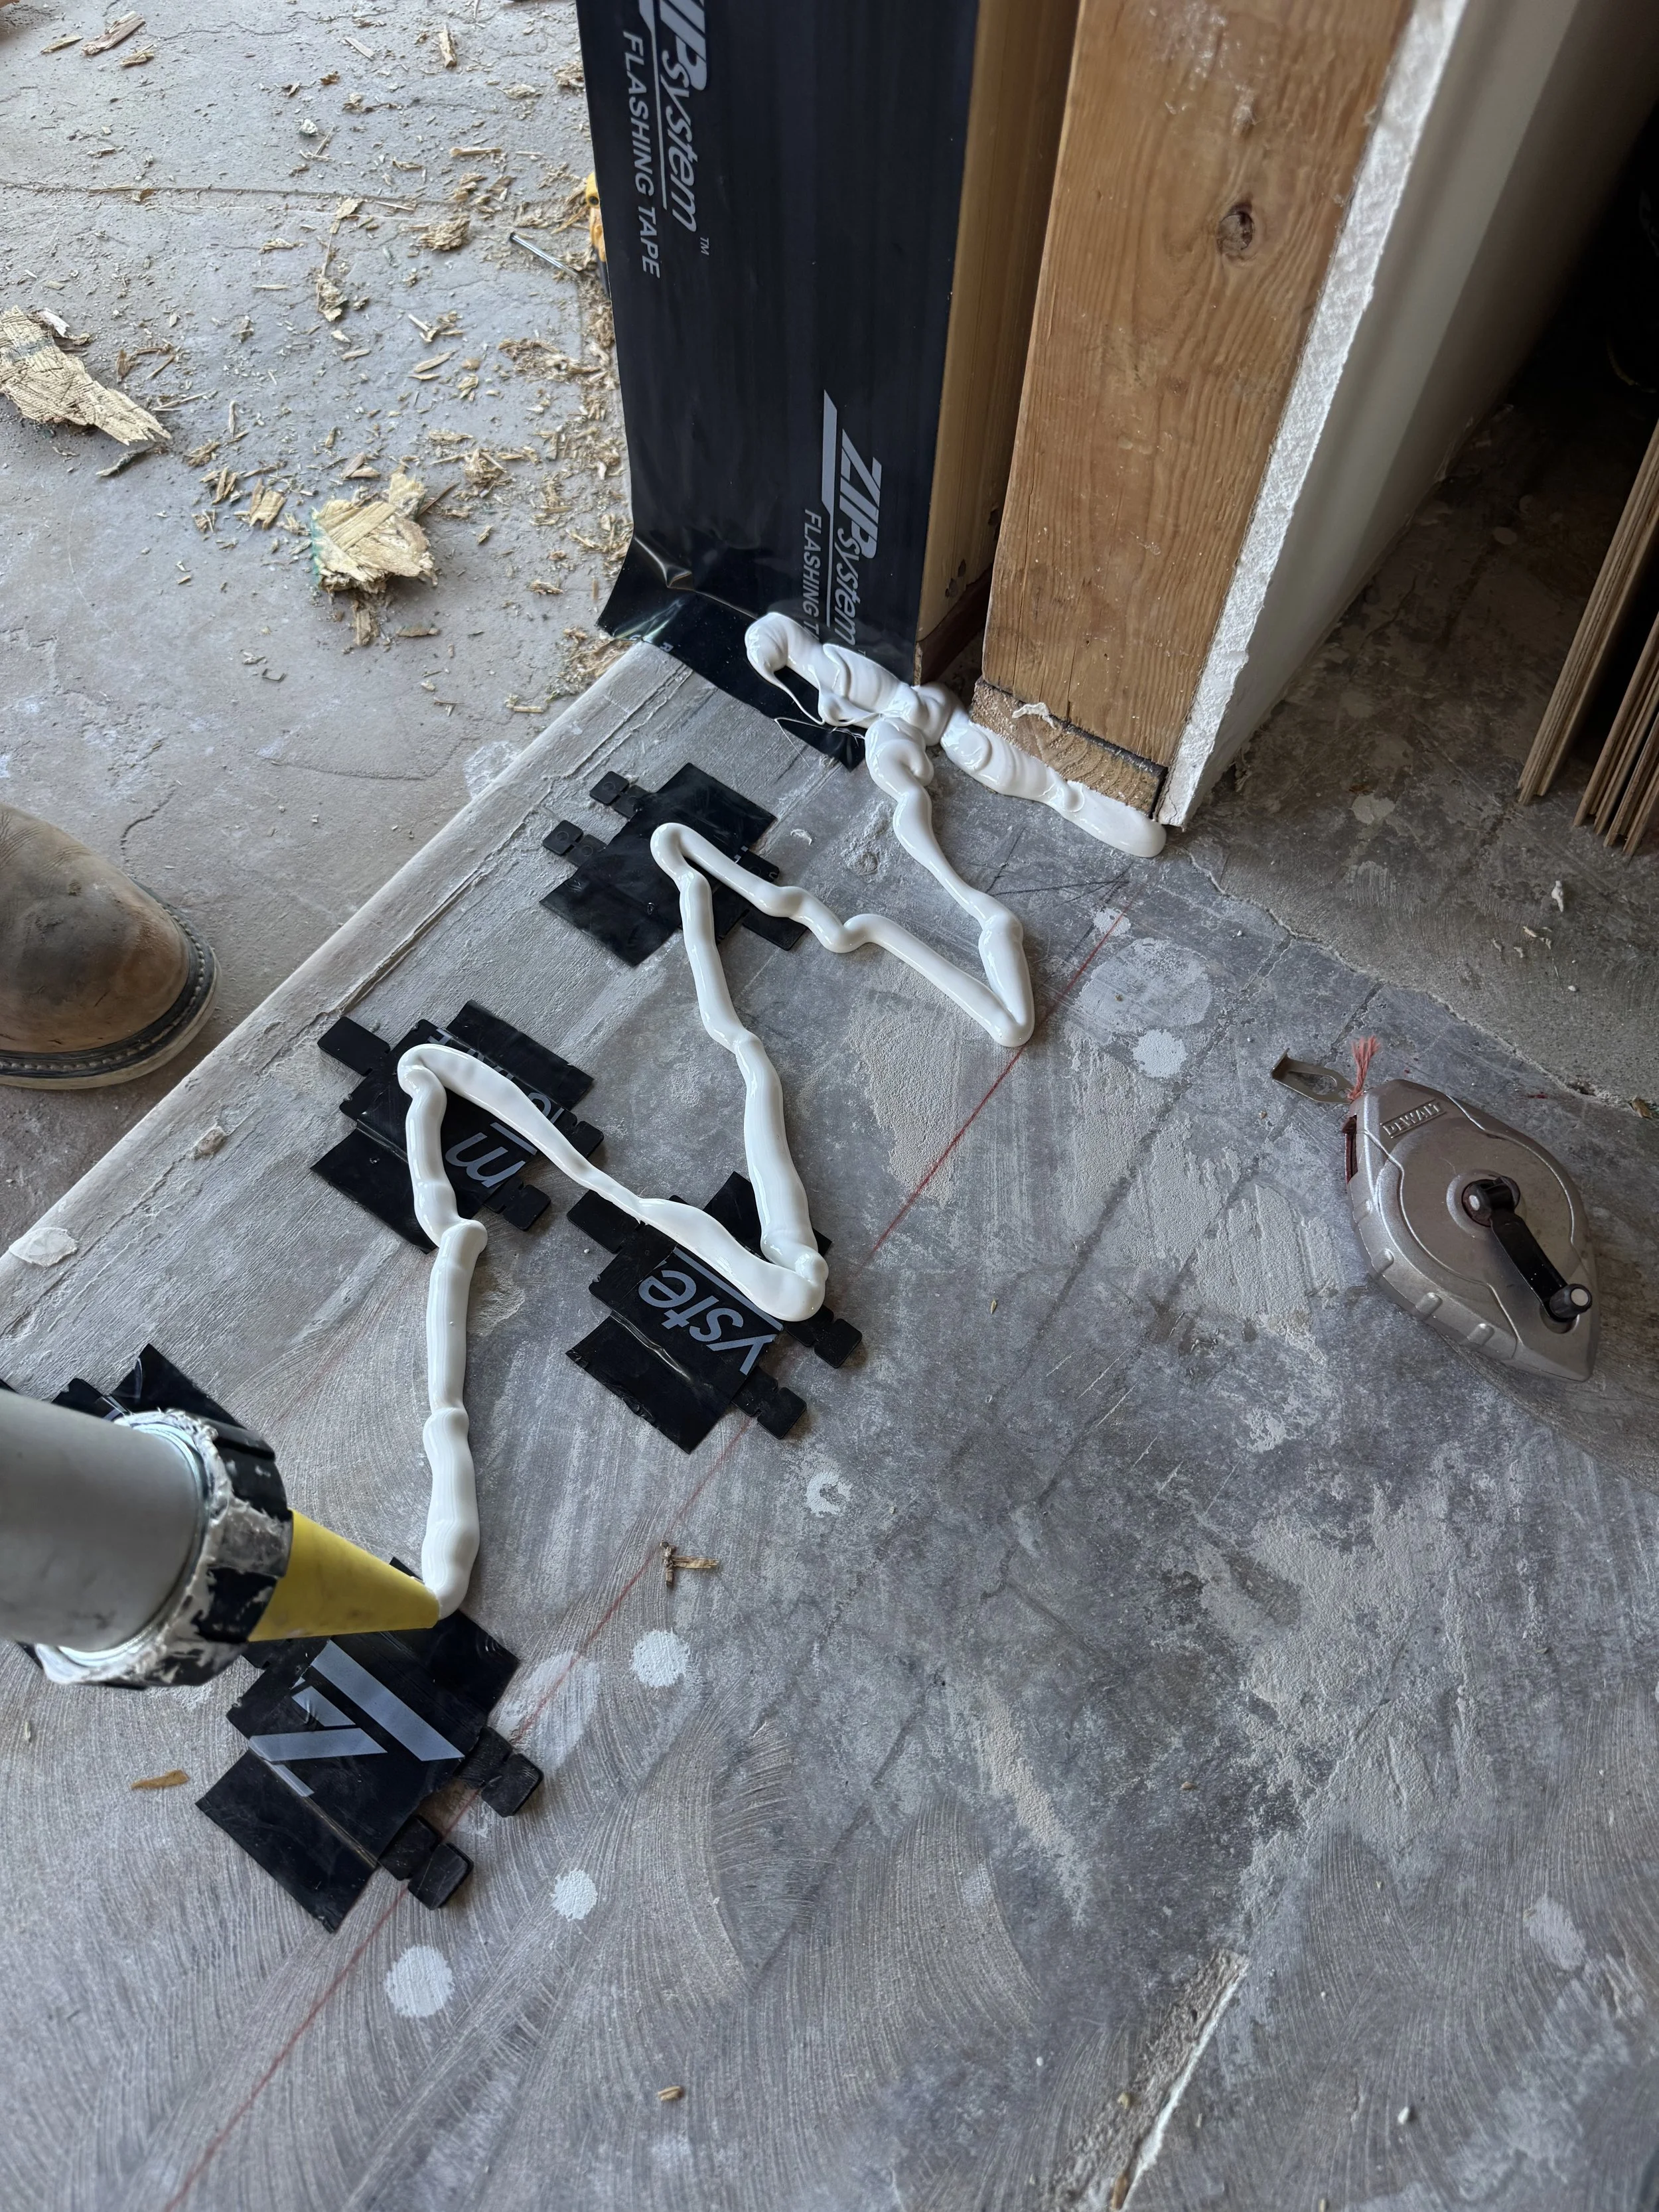
4. Apply Waterproofing Caulking Beat
Apply a continuous bead of exterior-grade caulking along the floor line beneath the door and extend it at least 4 inches vertically up both jambs. This creates a watertight seal to help prevent moisture intrusion at the base of the opening.
If the door includes a nailfin flange, apply an additional bead of caulking behind the nail fin before setting the frame, ensuring a complete perimeter seal against water and air infiltration.
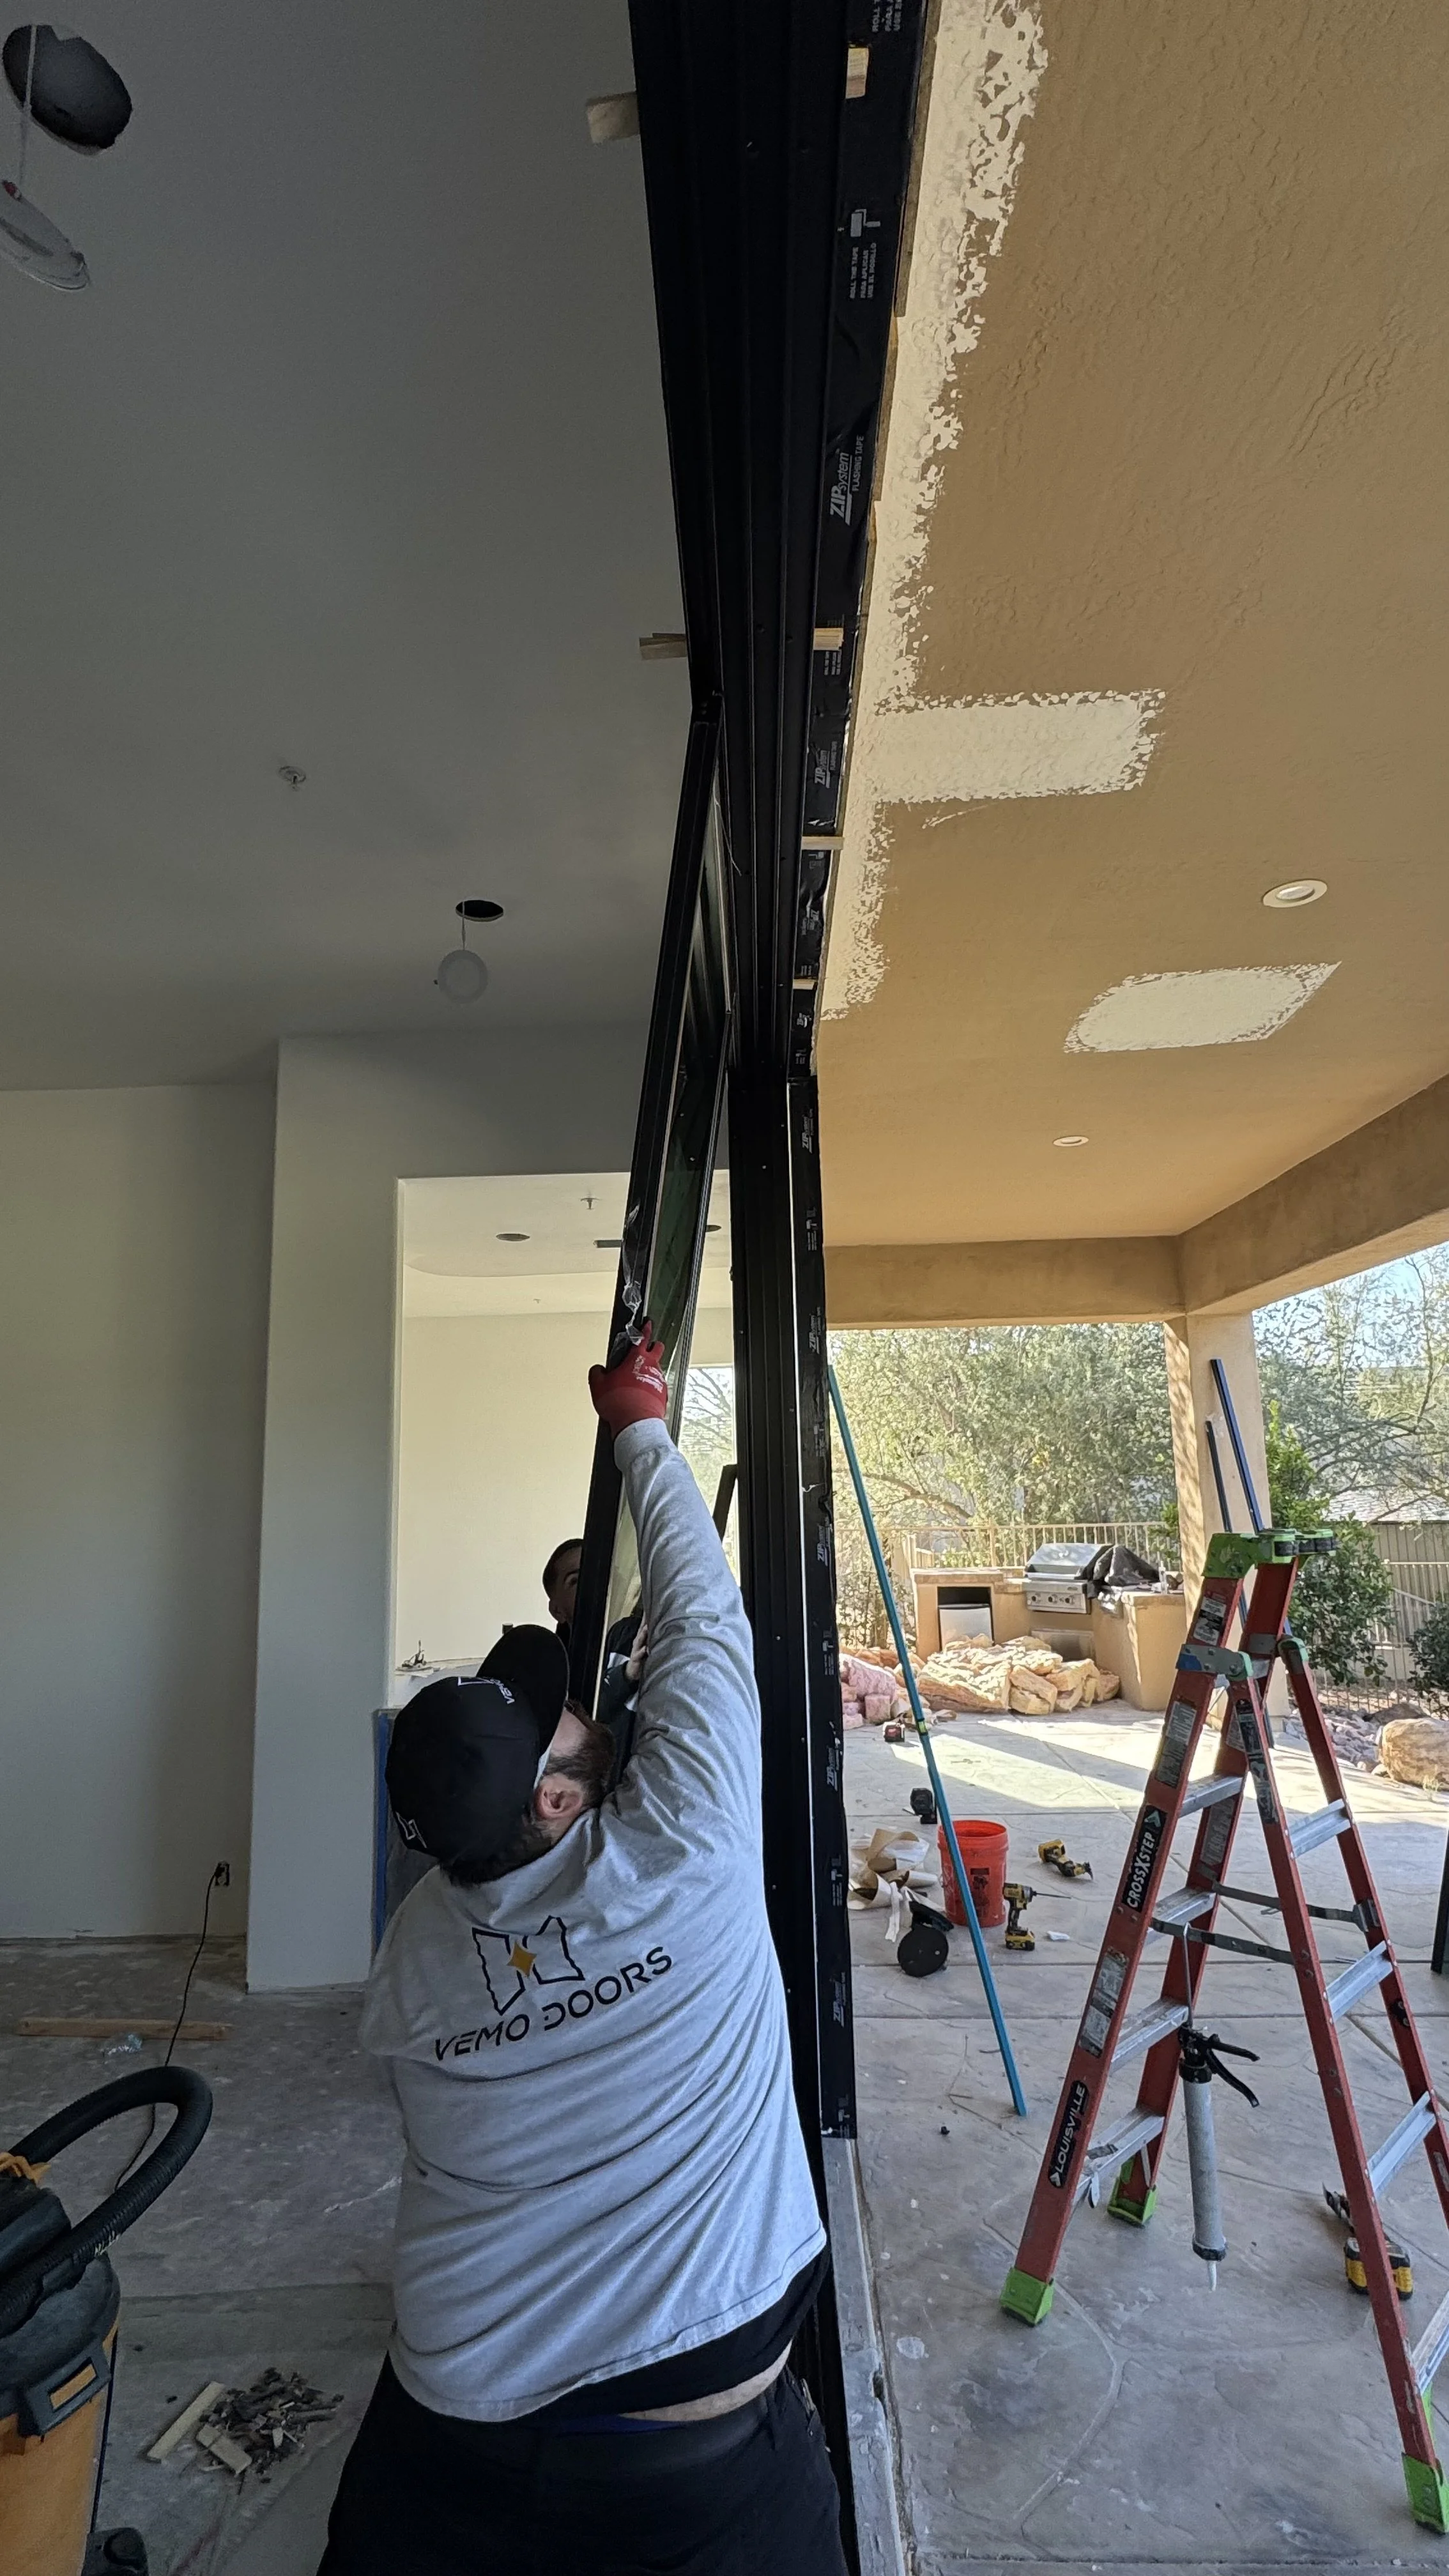
5. Set & Secure the Frame
Insert the frame into the prepared opening and press it firmly into place, verifying that it is square, level, and plumb. Use shims as needed to adjust and maintain proper alignment before fastening.
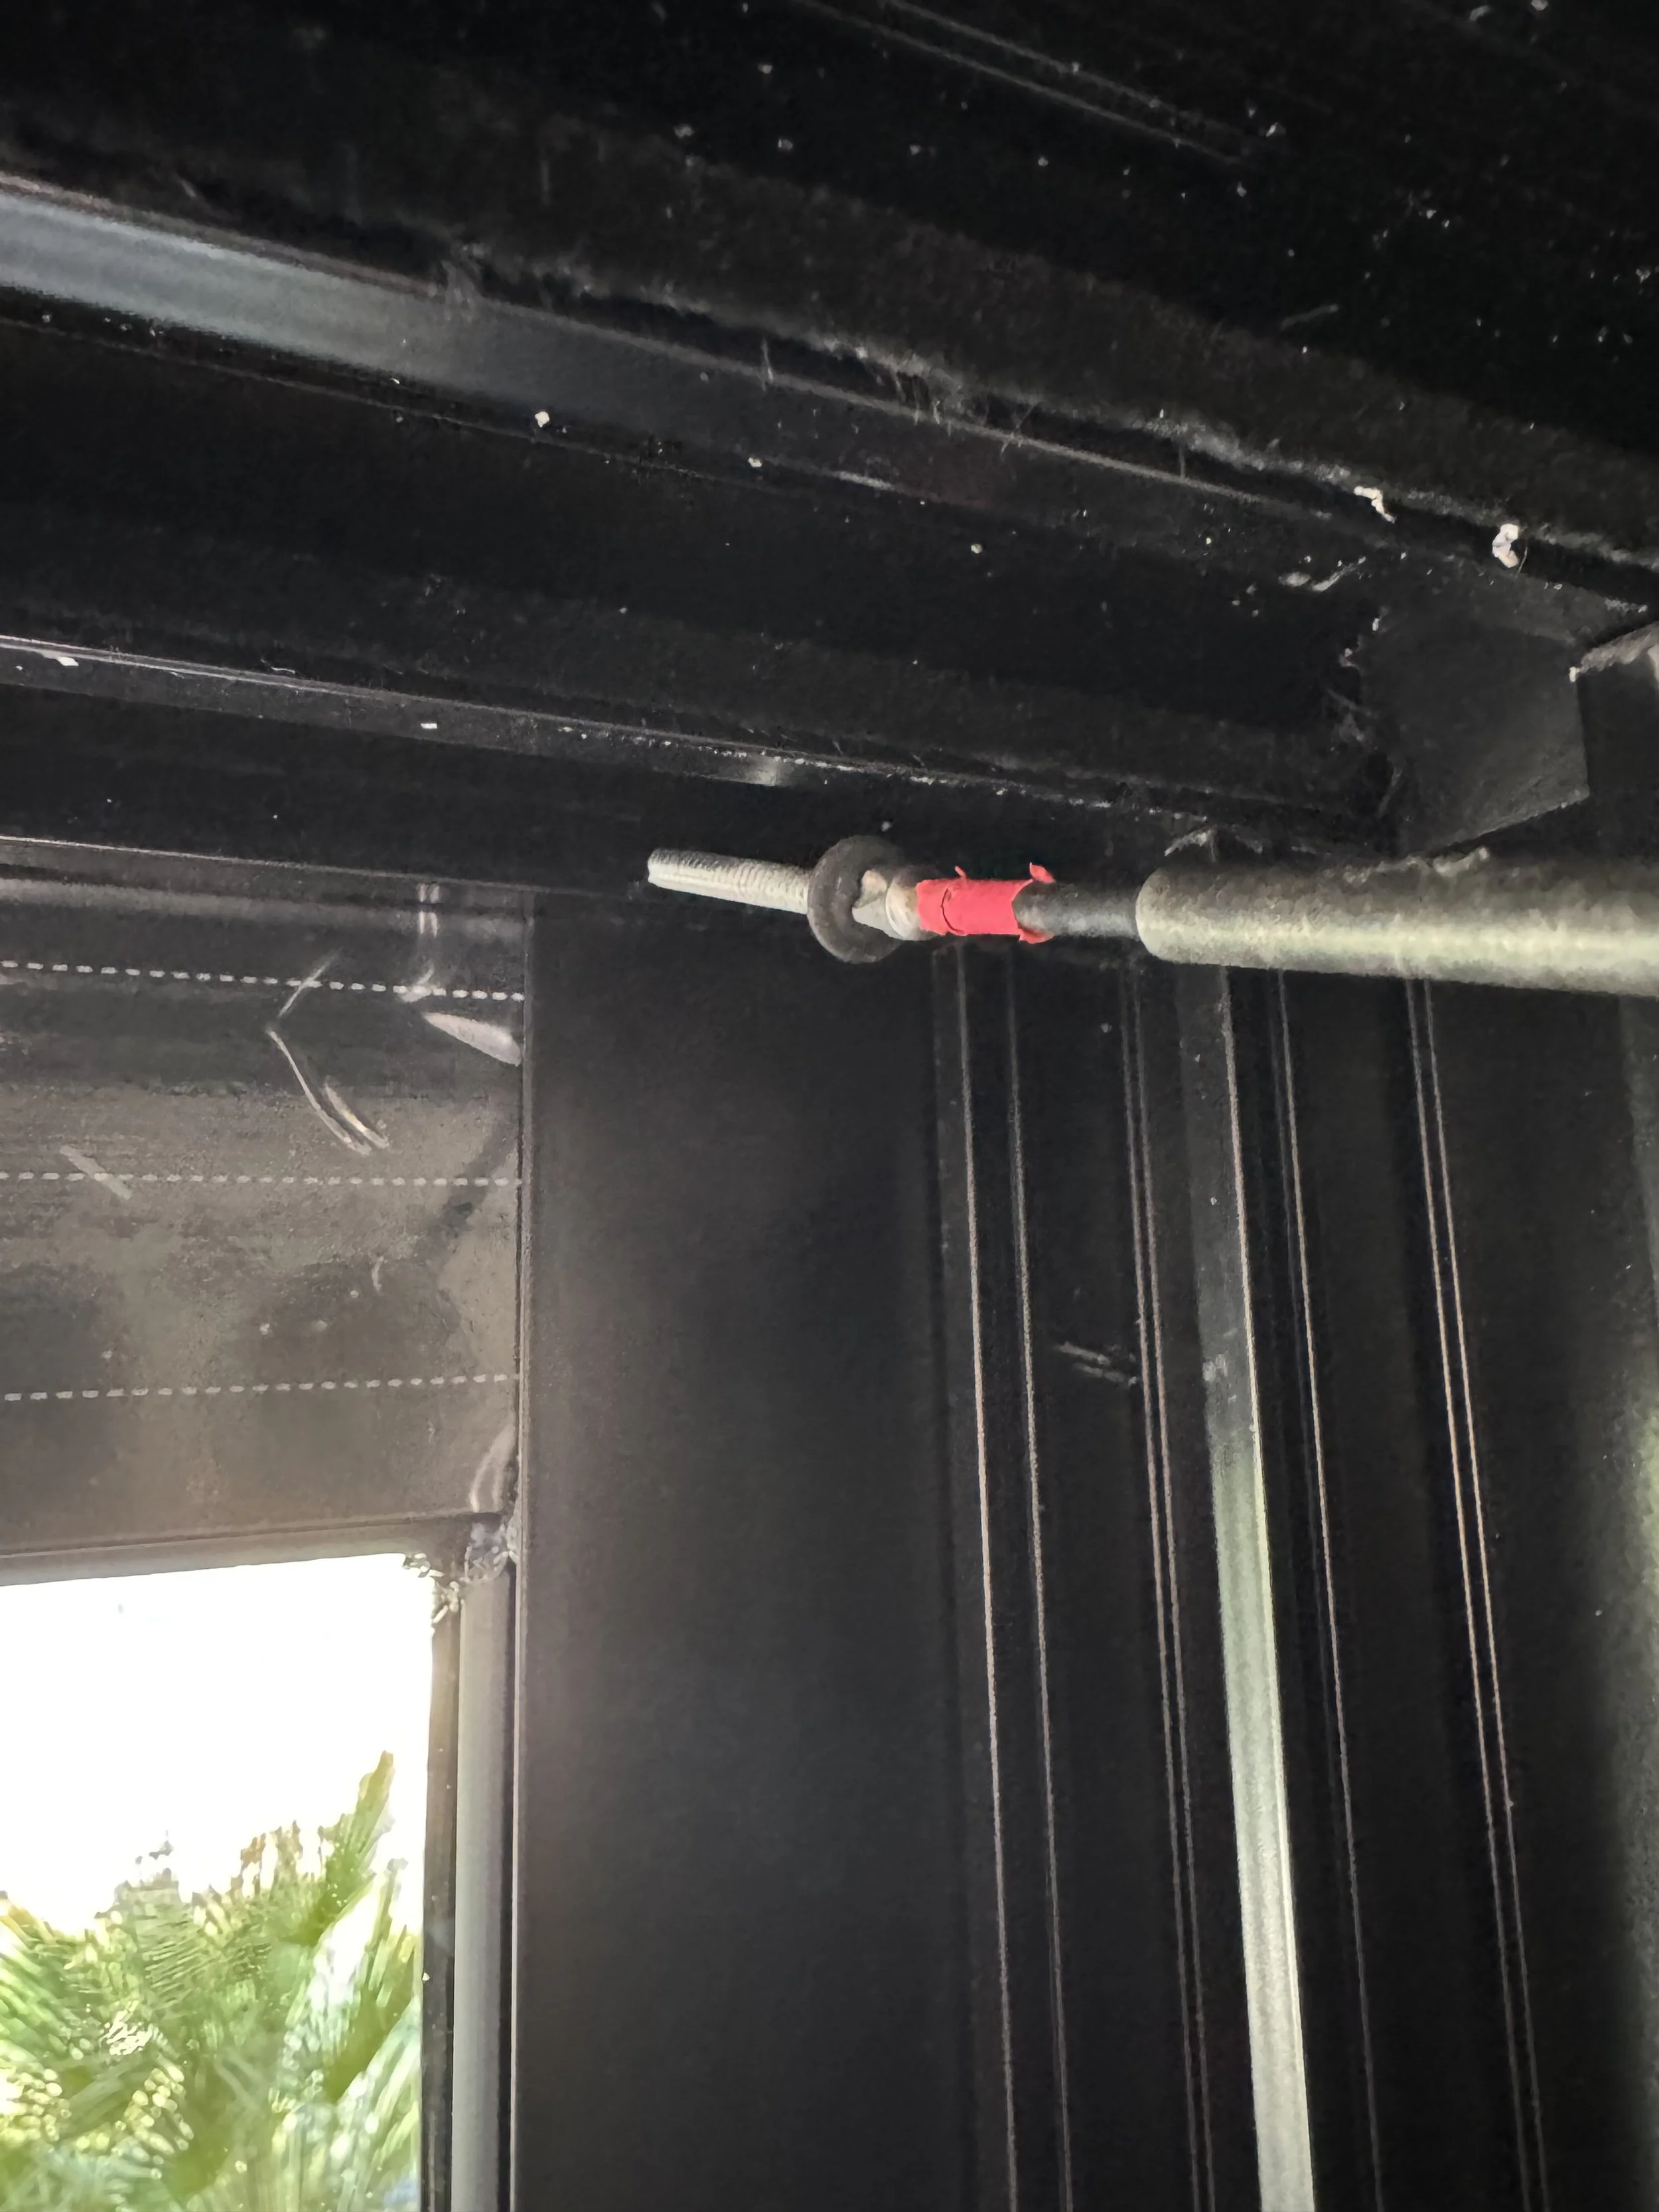
Fasten the frame through the nail flanges, typically every 16", using appropriate exterior-rated screws.
Additionally, install screws through the interior channels of the frame at the head and jambs to provide added structural support and prevent frame flexing or movement over time. (Add shims behind each screw on jambs)
Confirm the frame remains square during fastening to ensure proper panel operation.
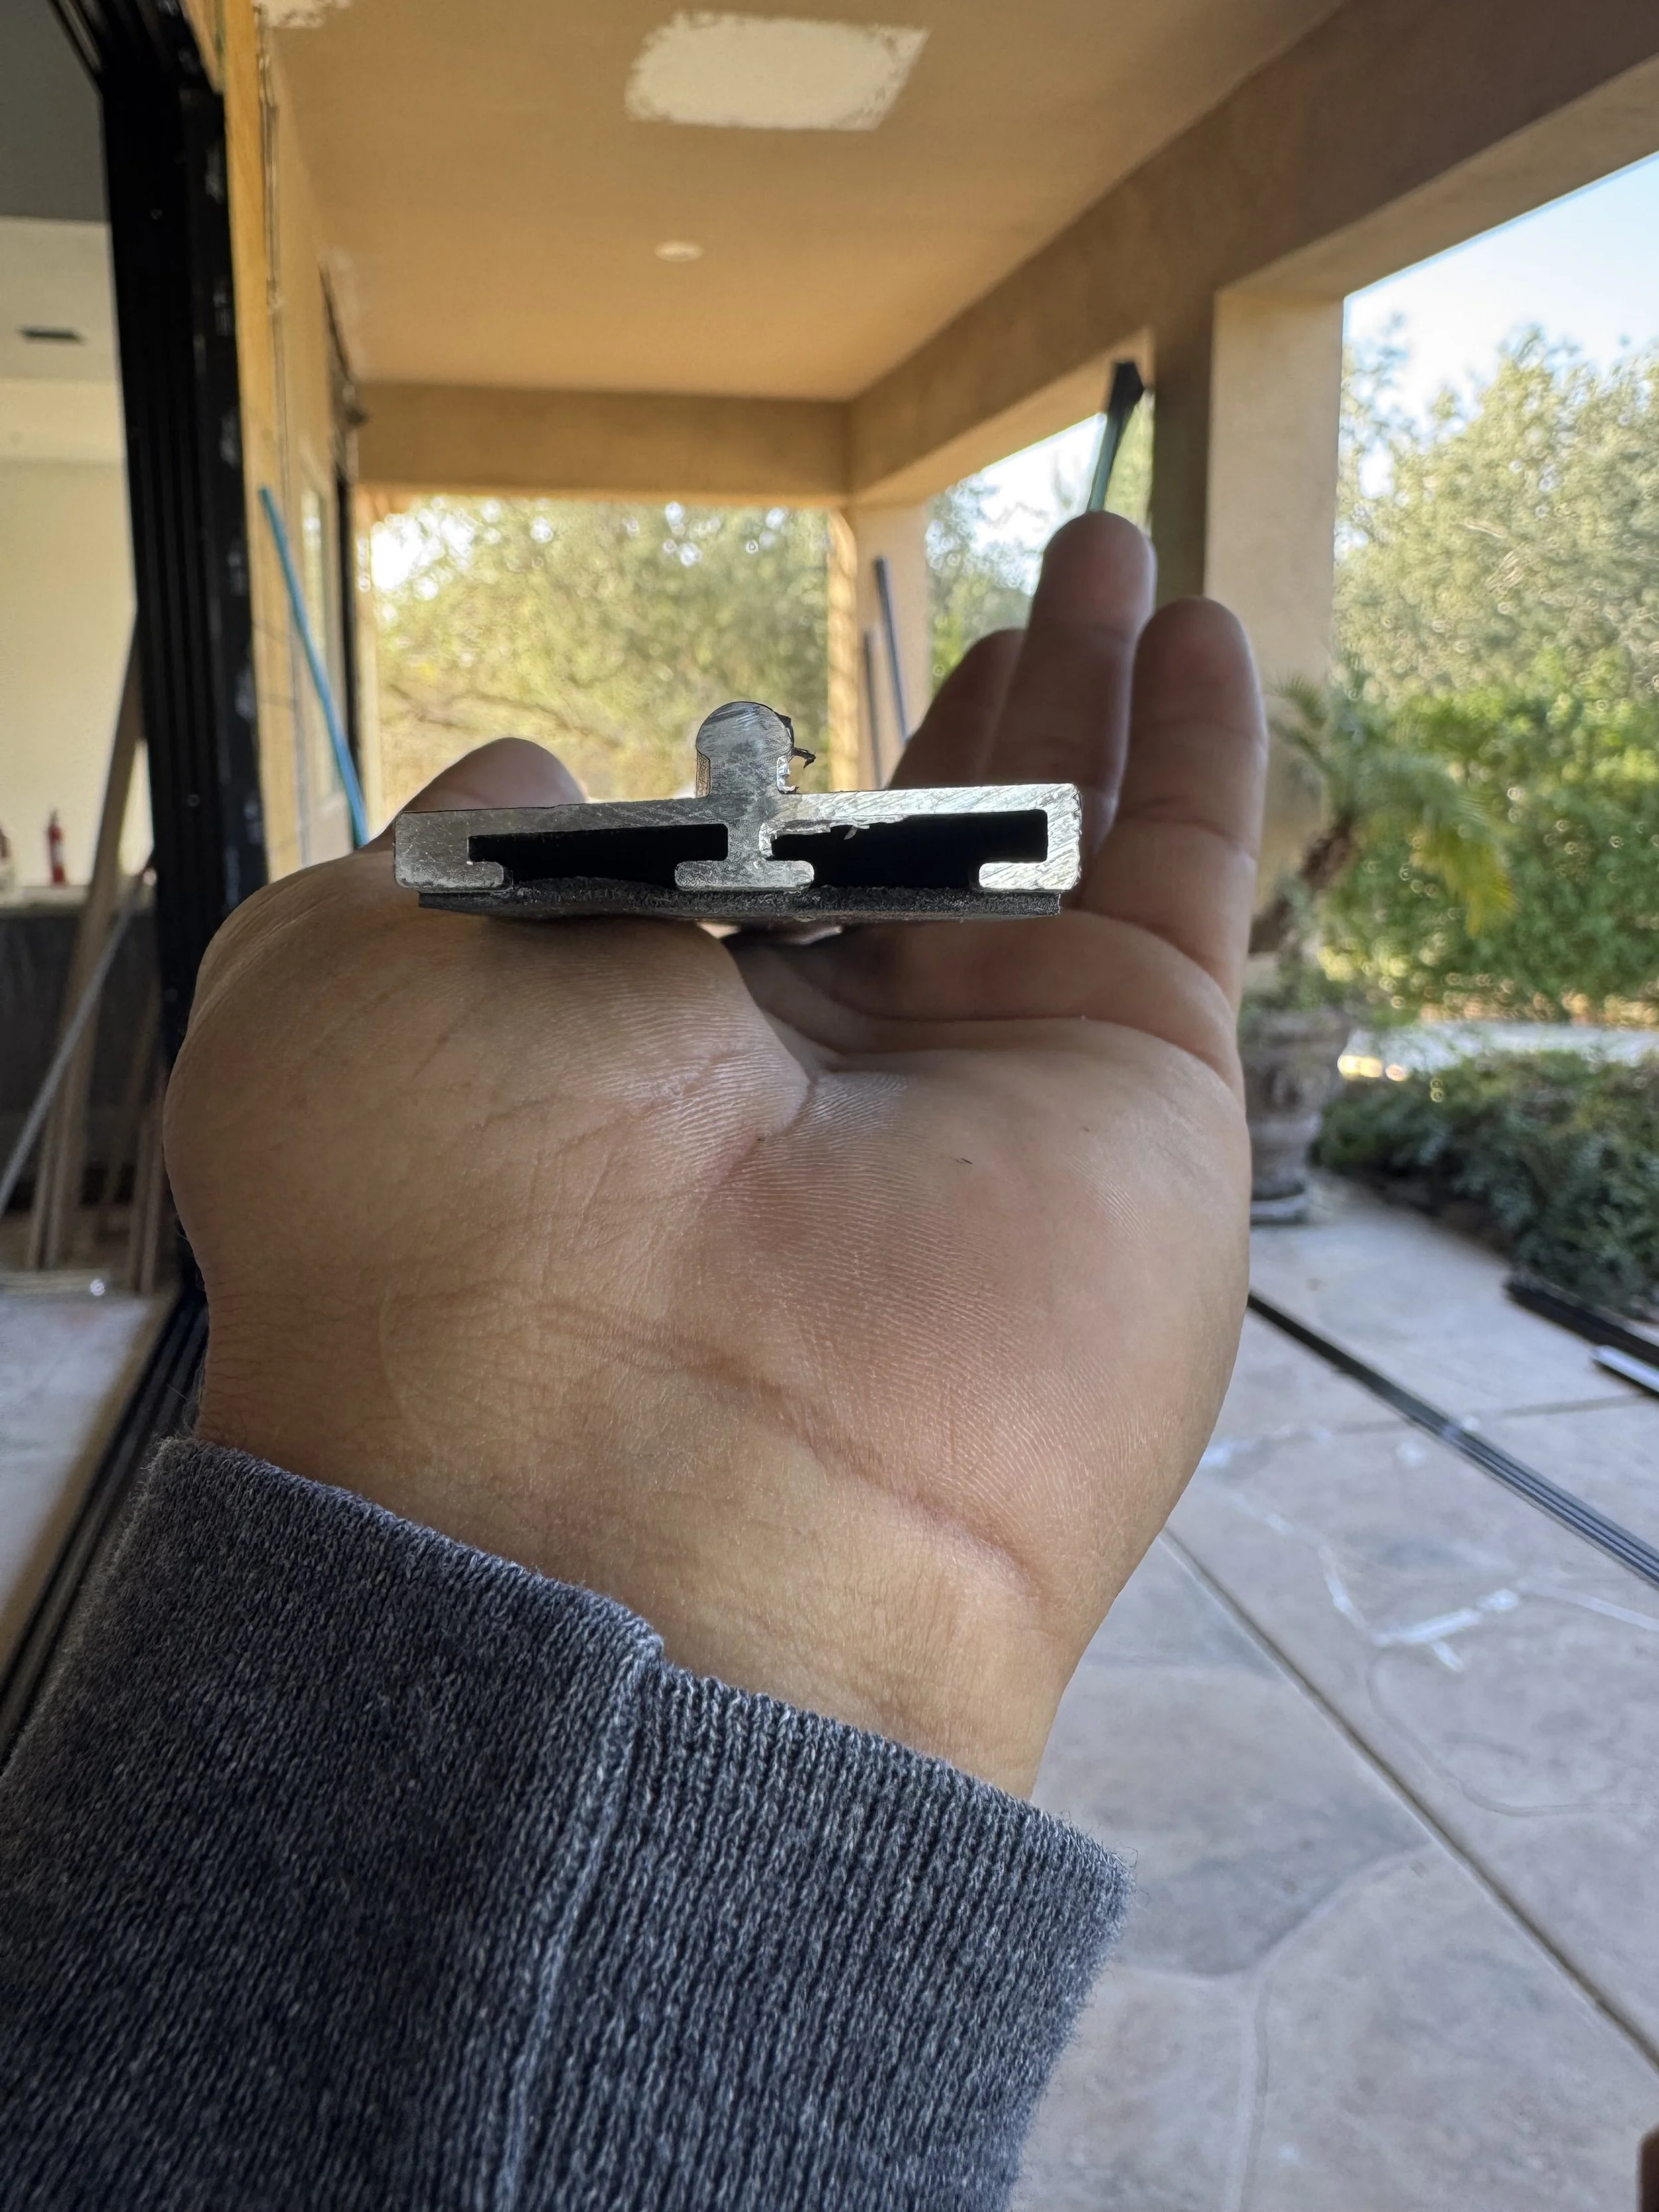
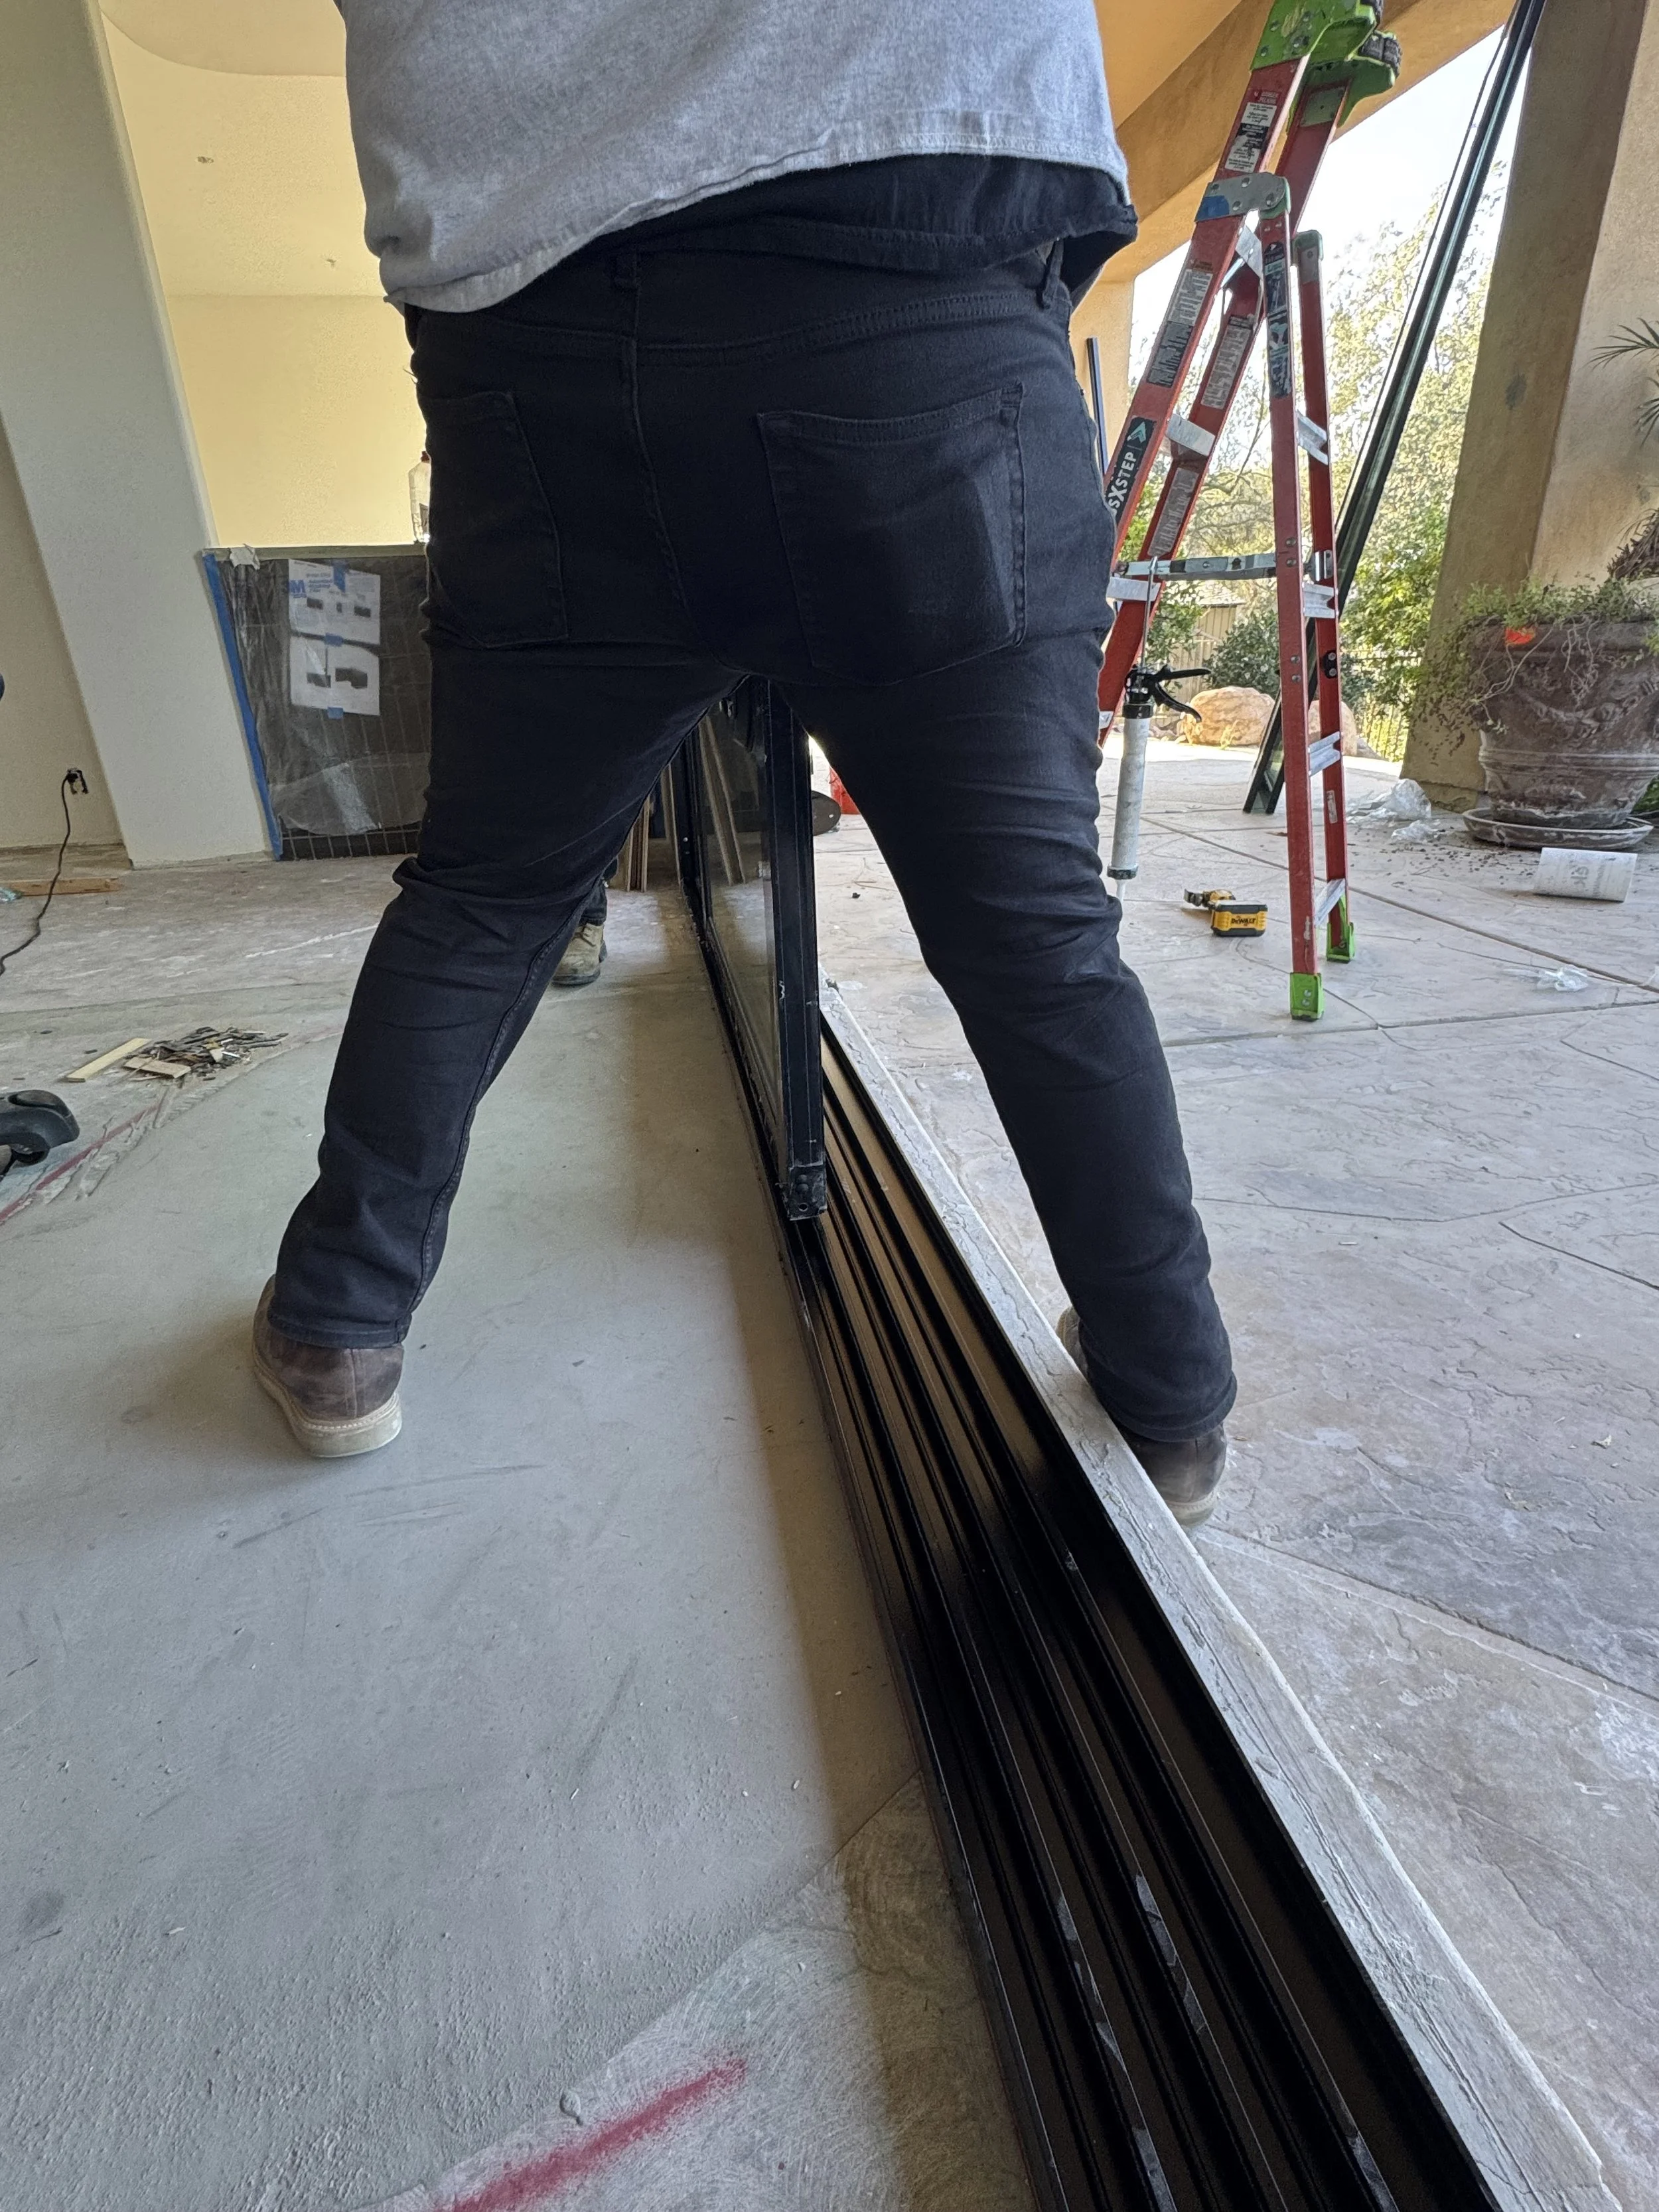
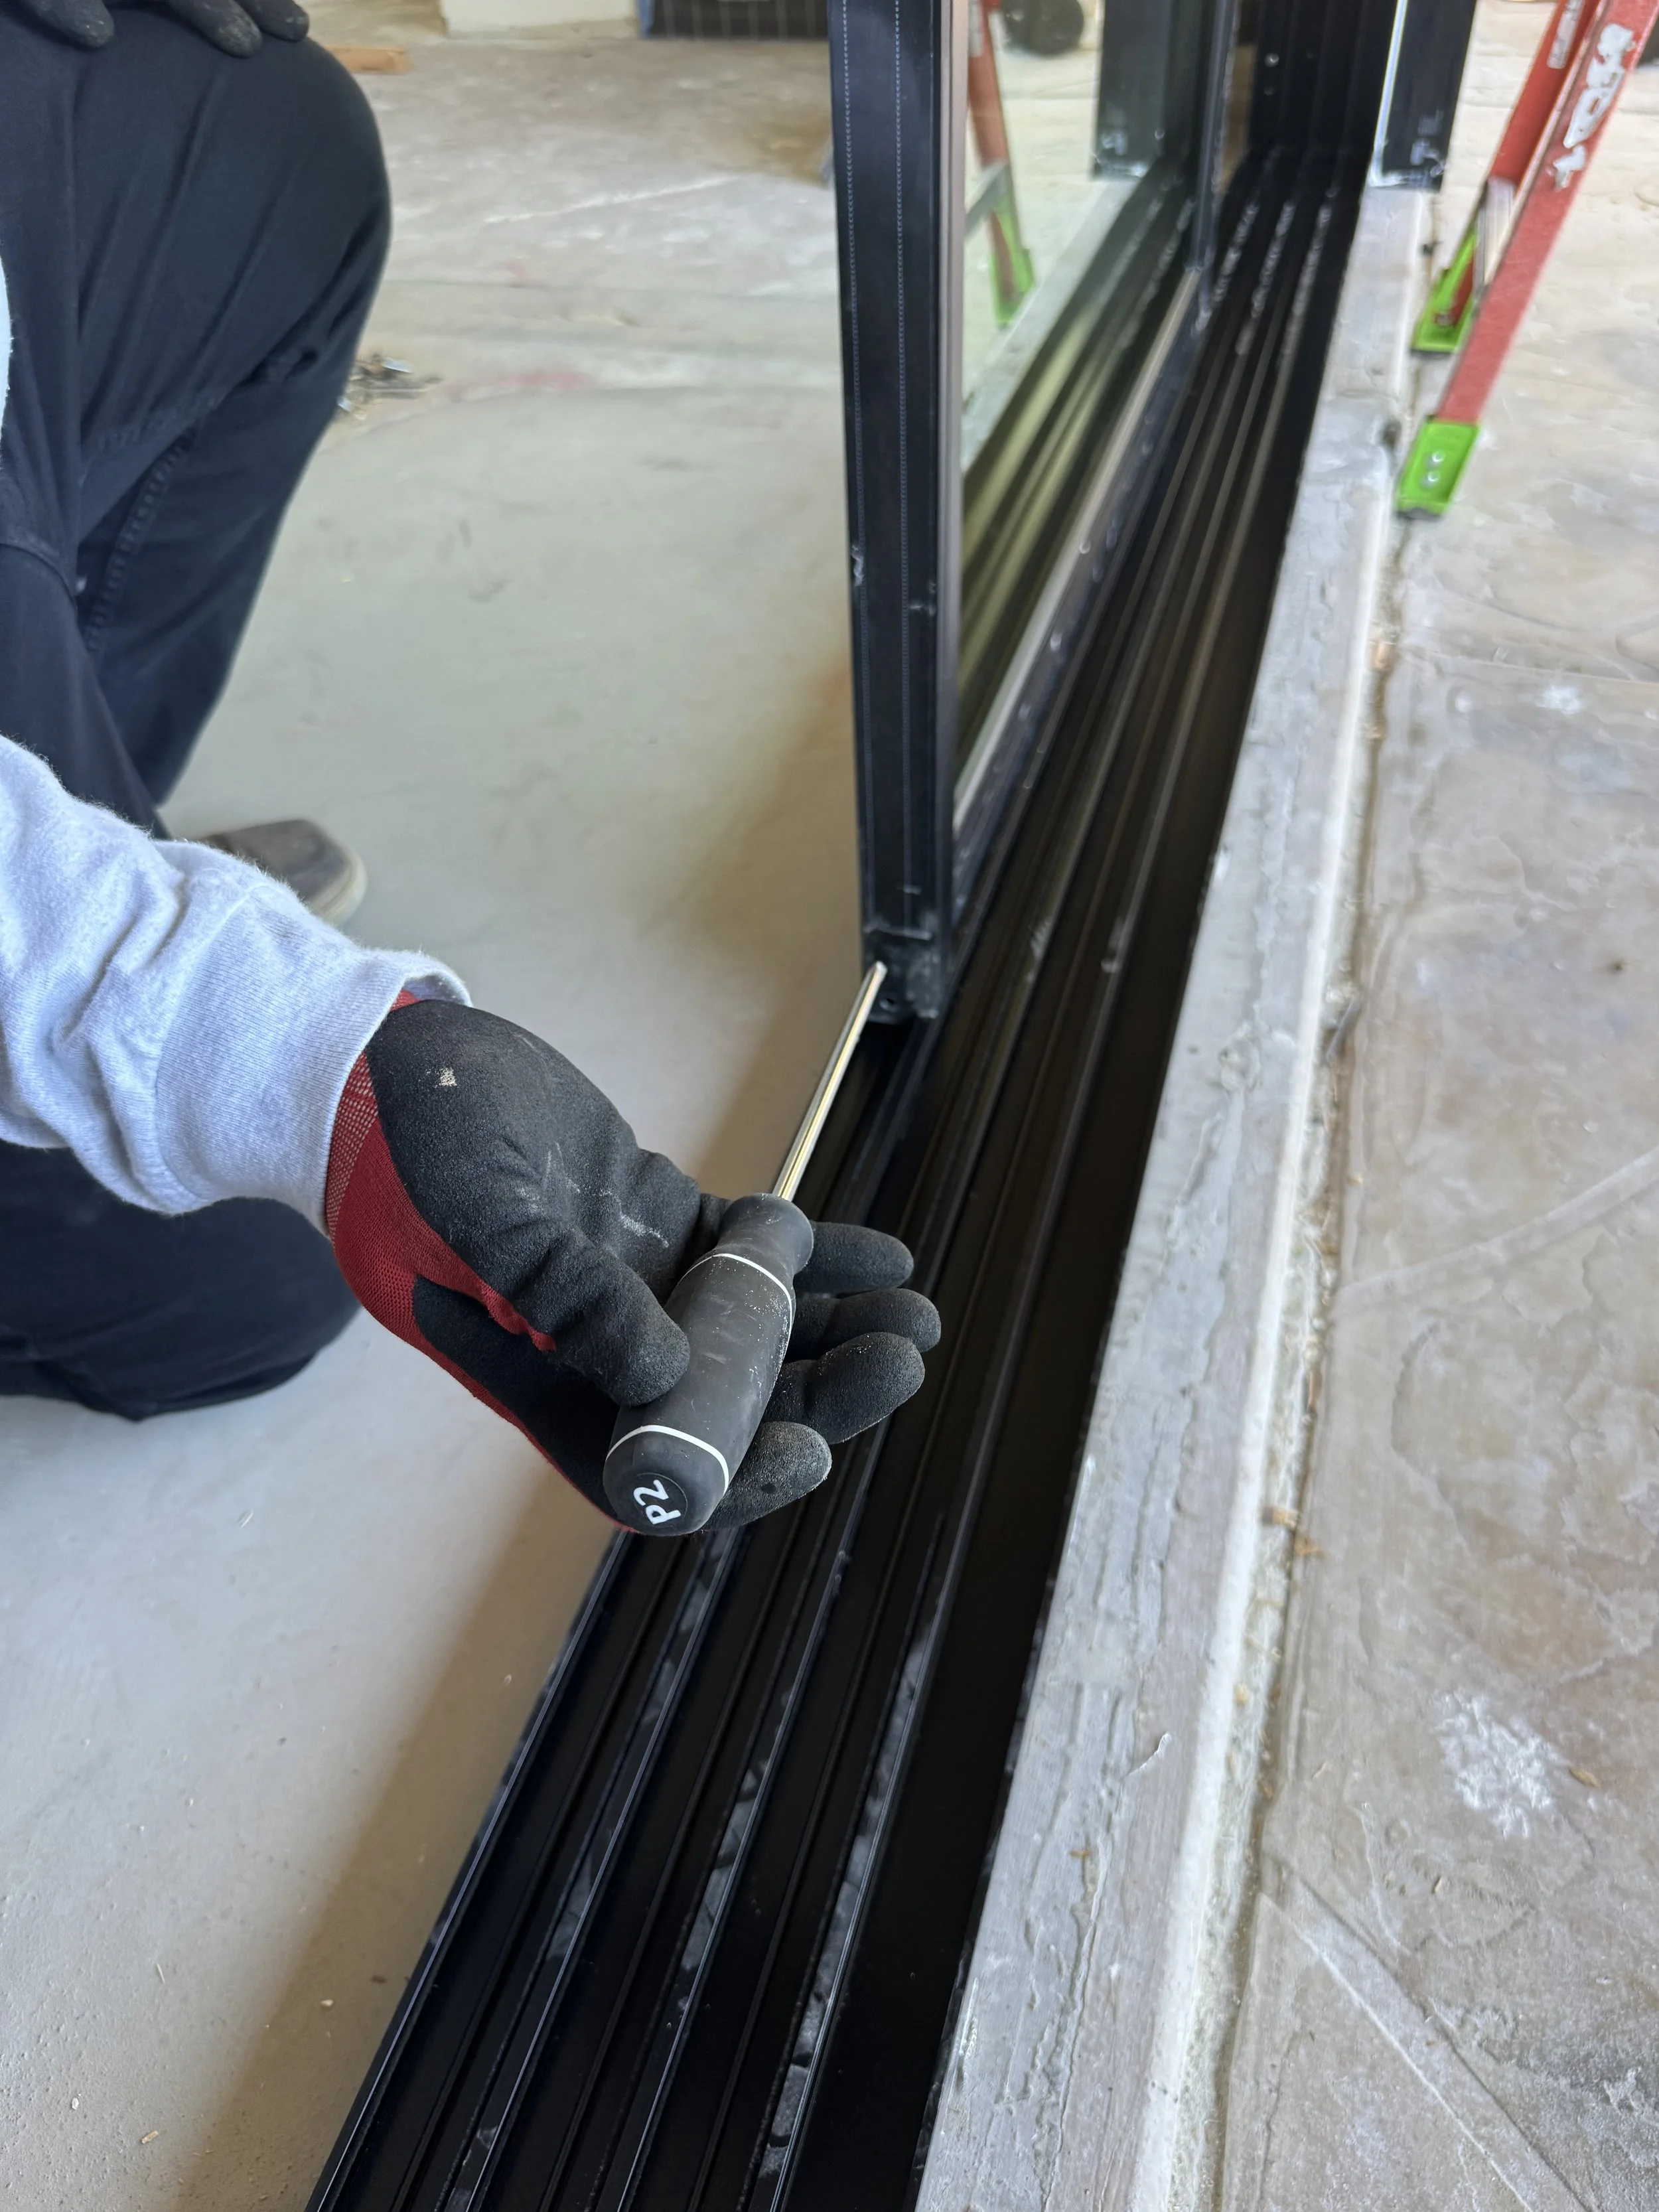
6. Install Track System
Install the track system into the frame channels prior to panel installation. Verify the track is sloped to the exterior for drainage. Tracks are required only for roller-operated (movable) panels.
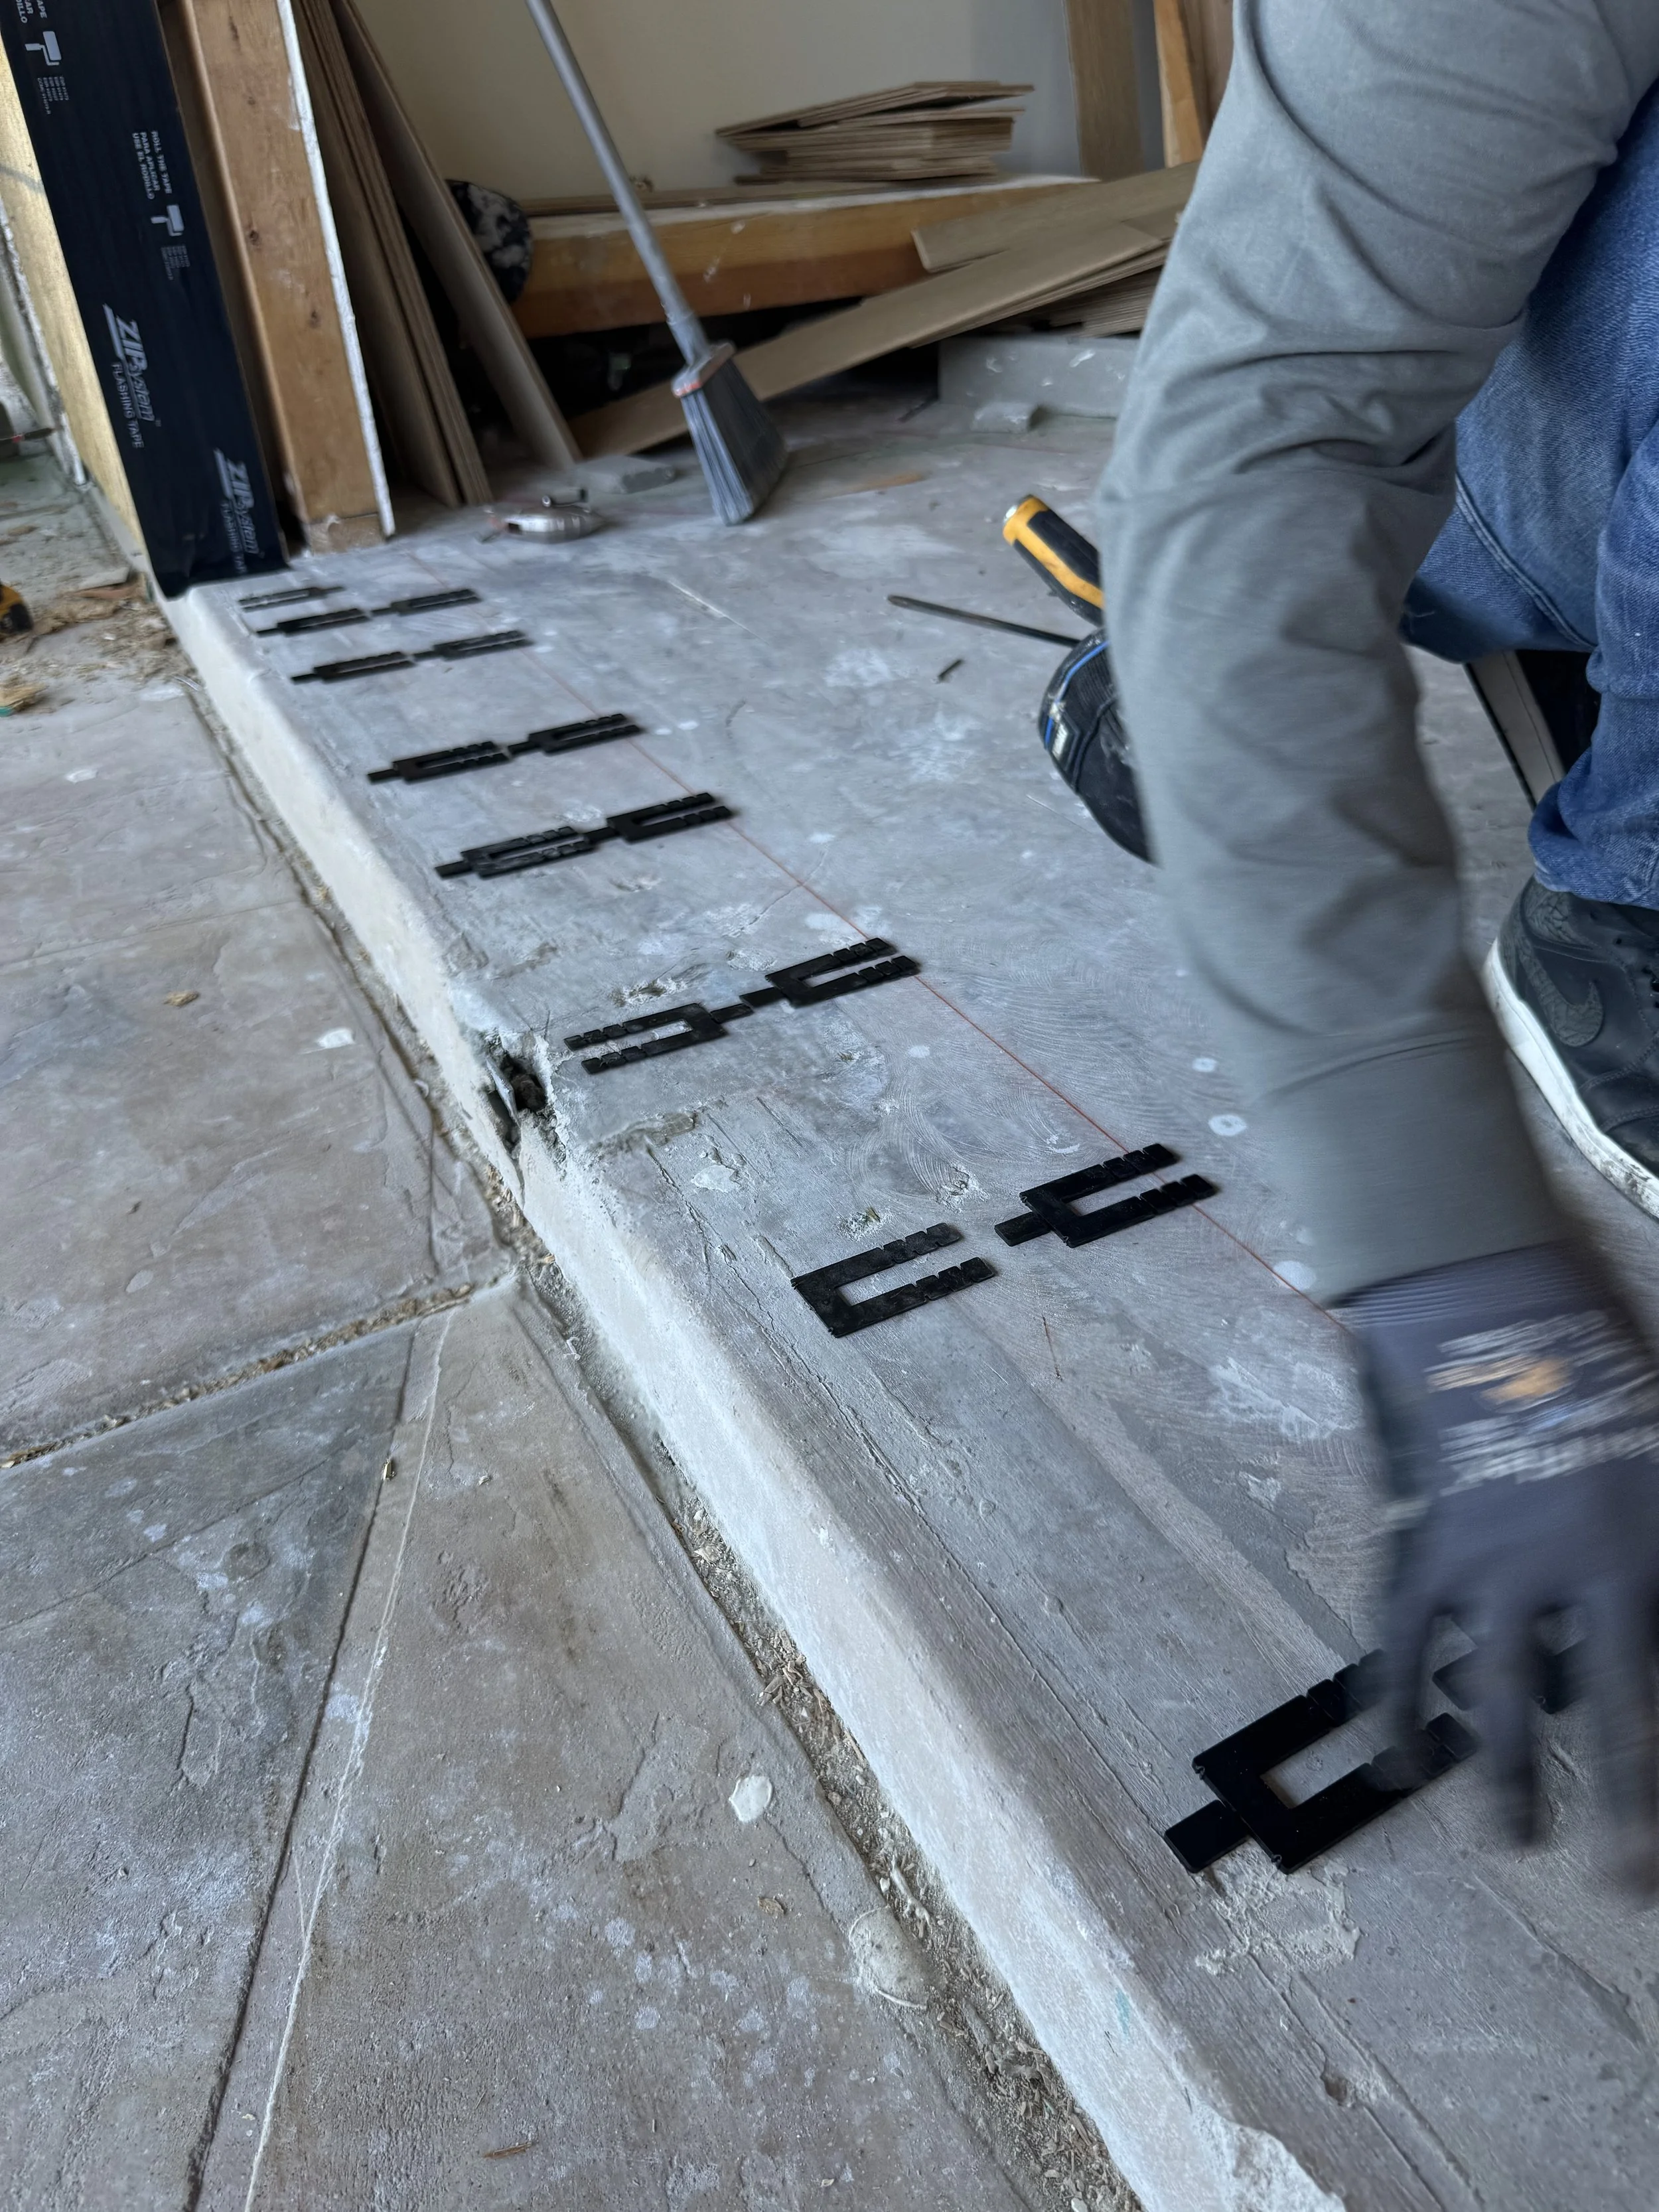
For fixed panels, install the proper two-piece blocking system into the exterior-most frame channel to secure the panel in place.
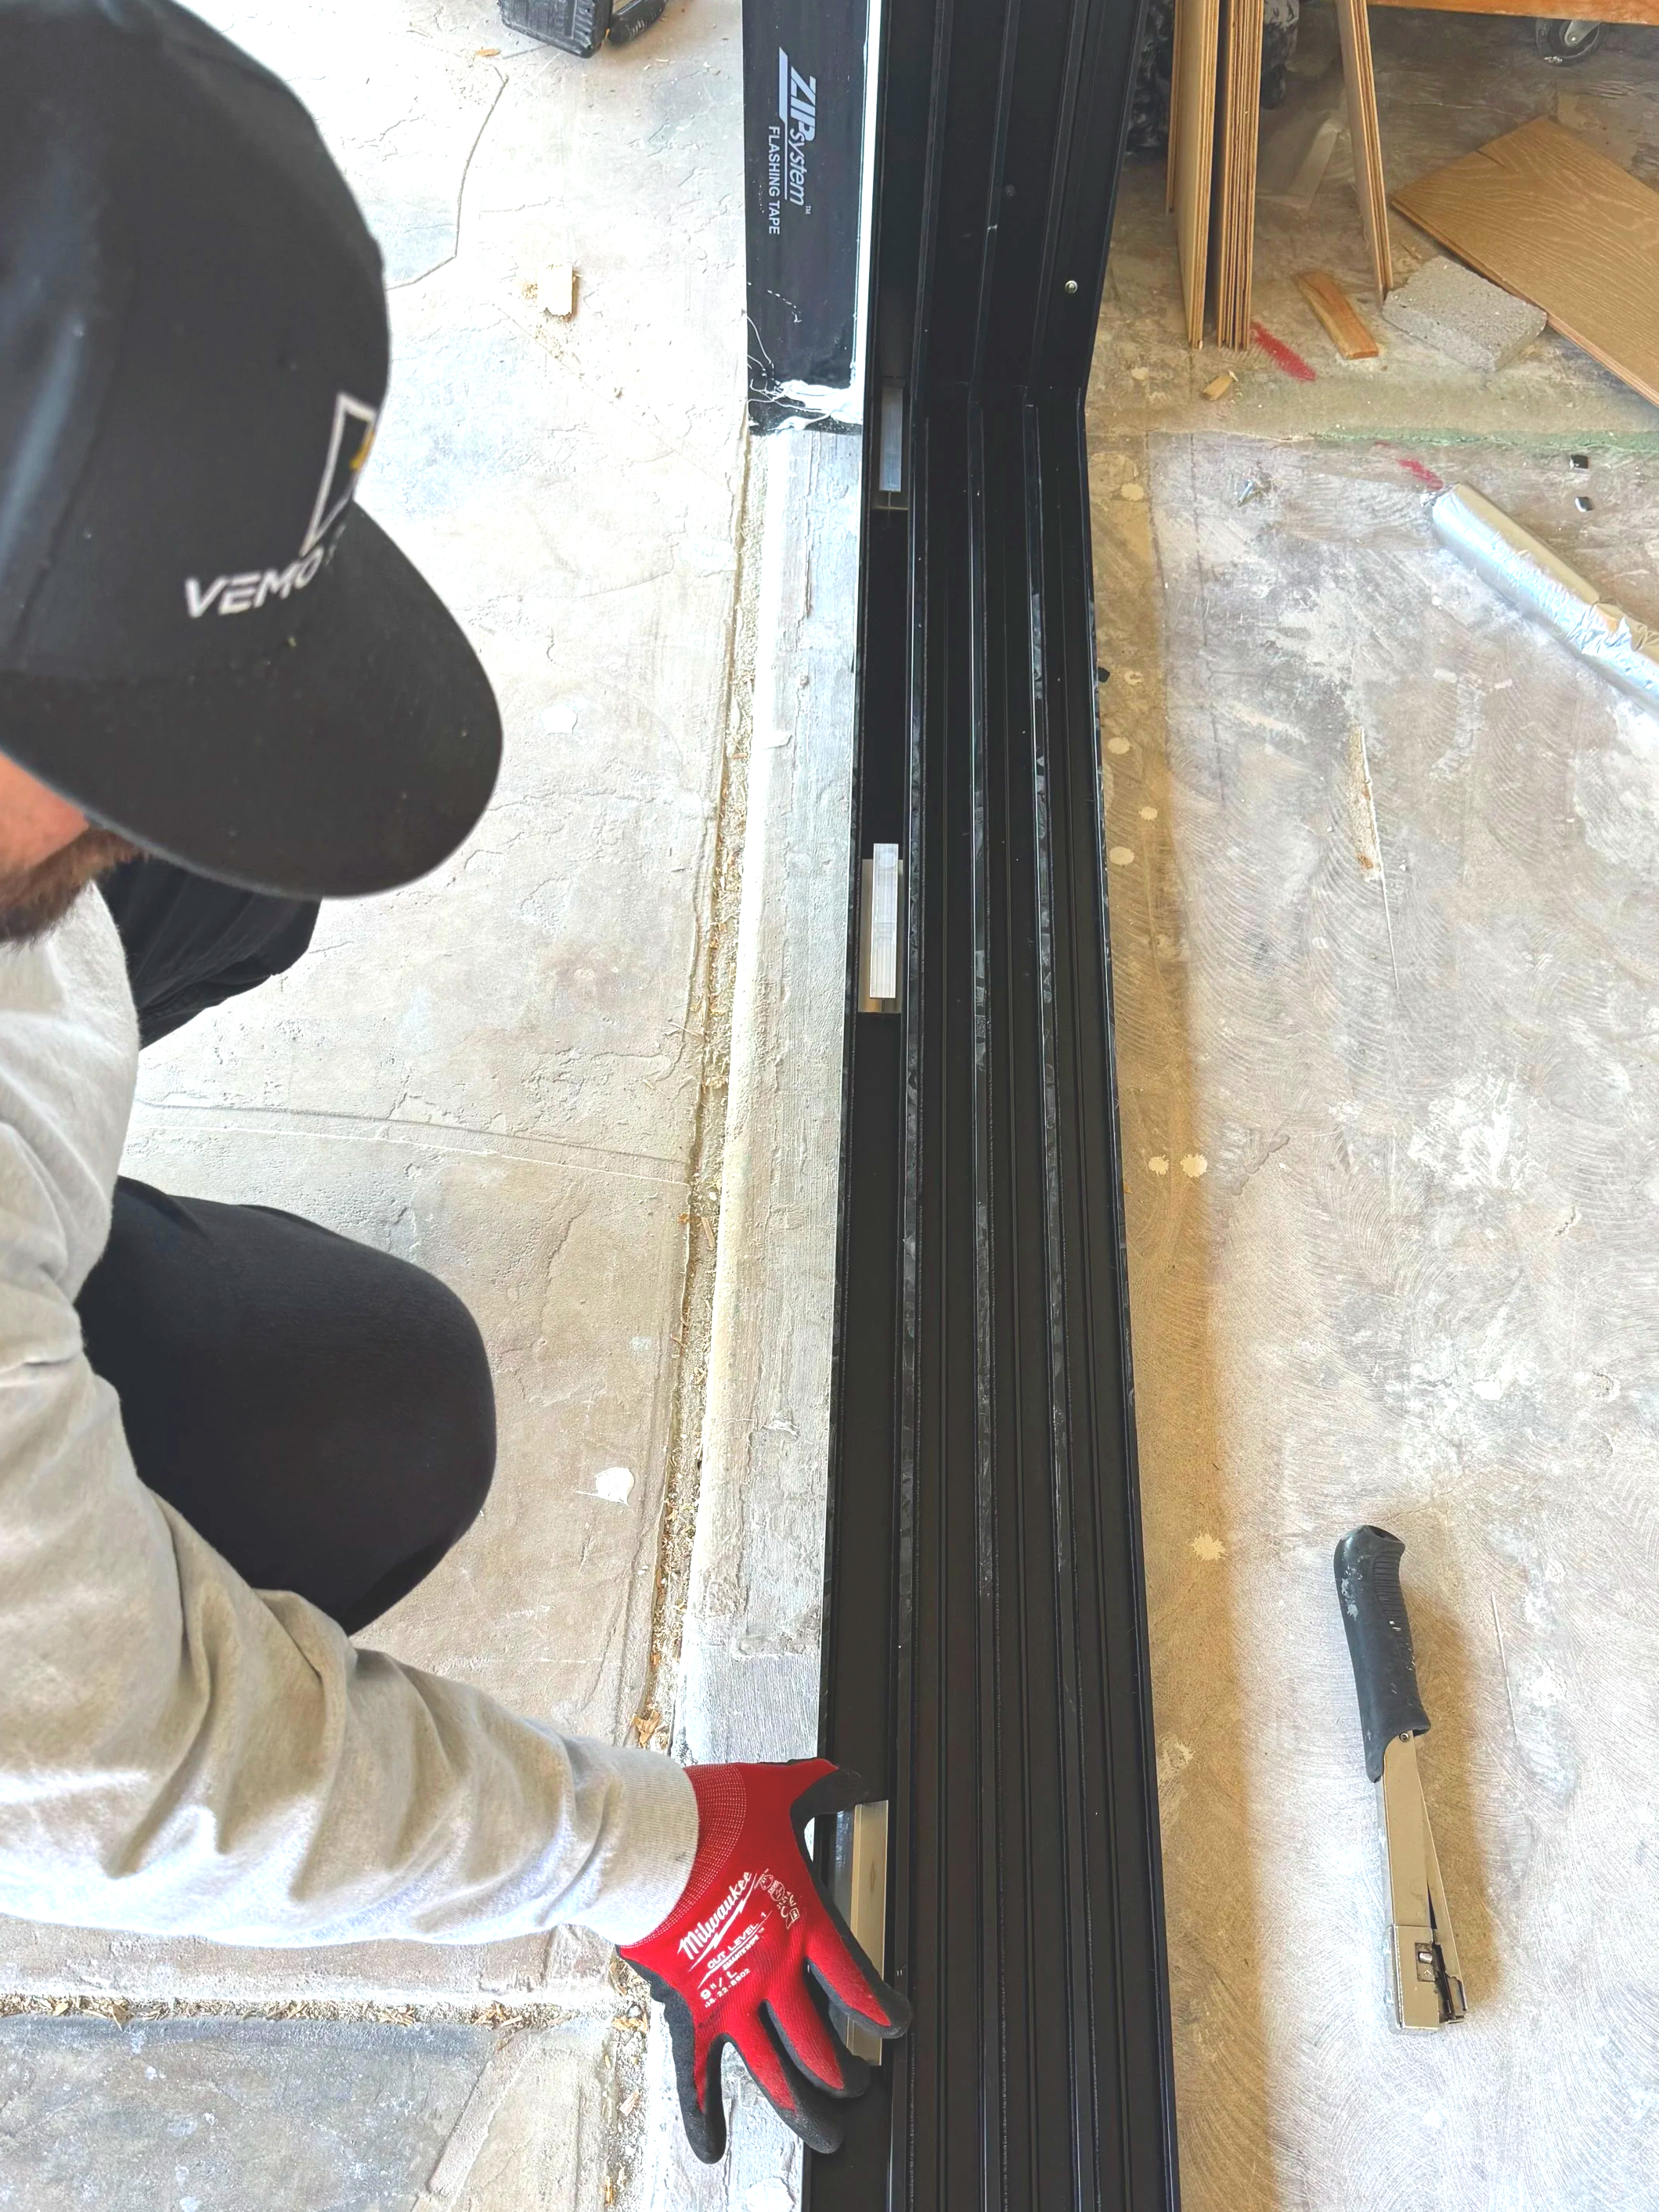
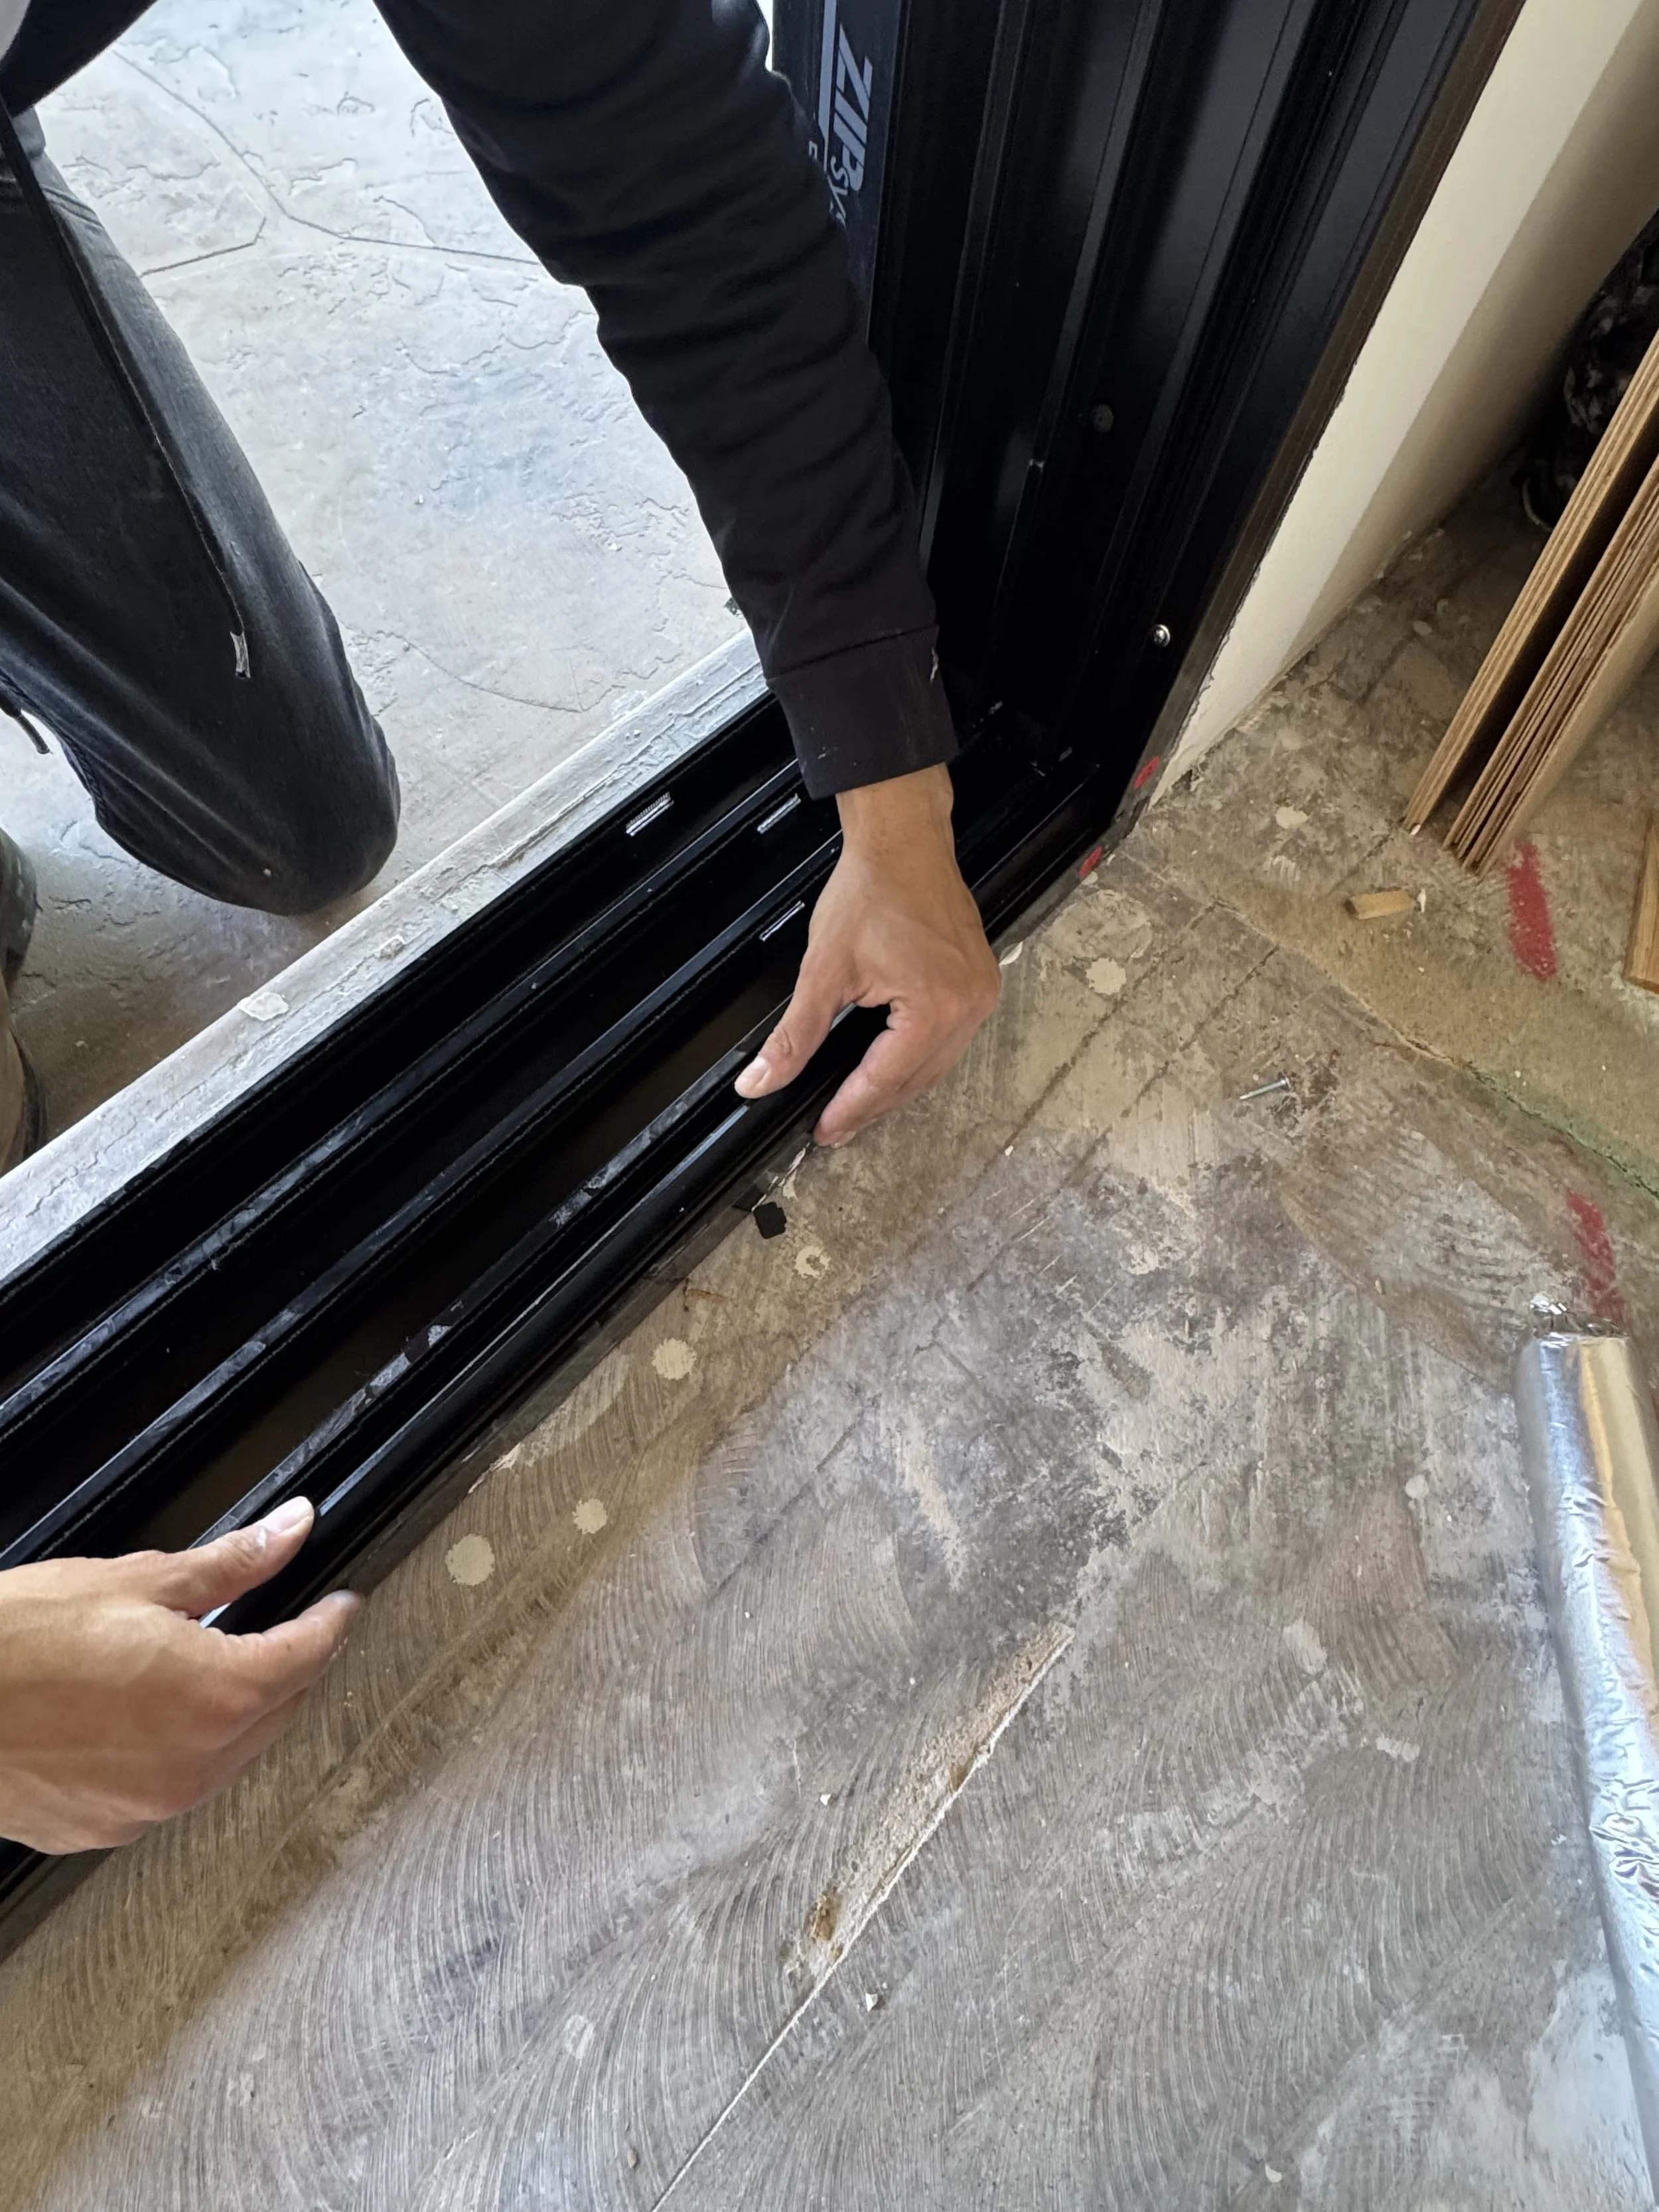
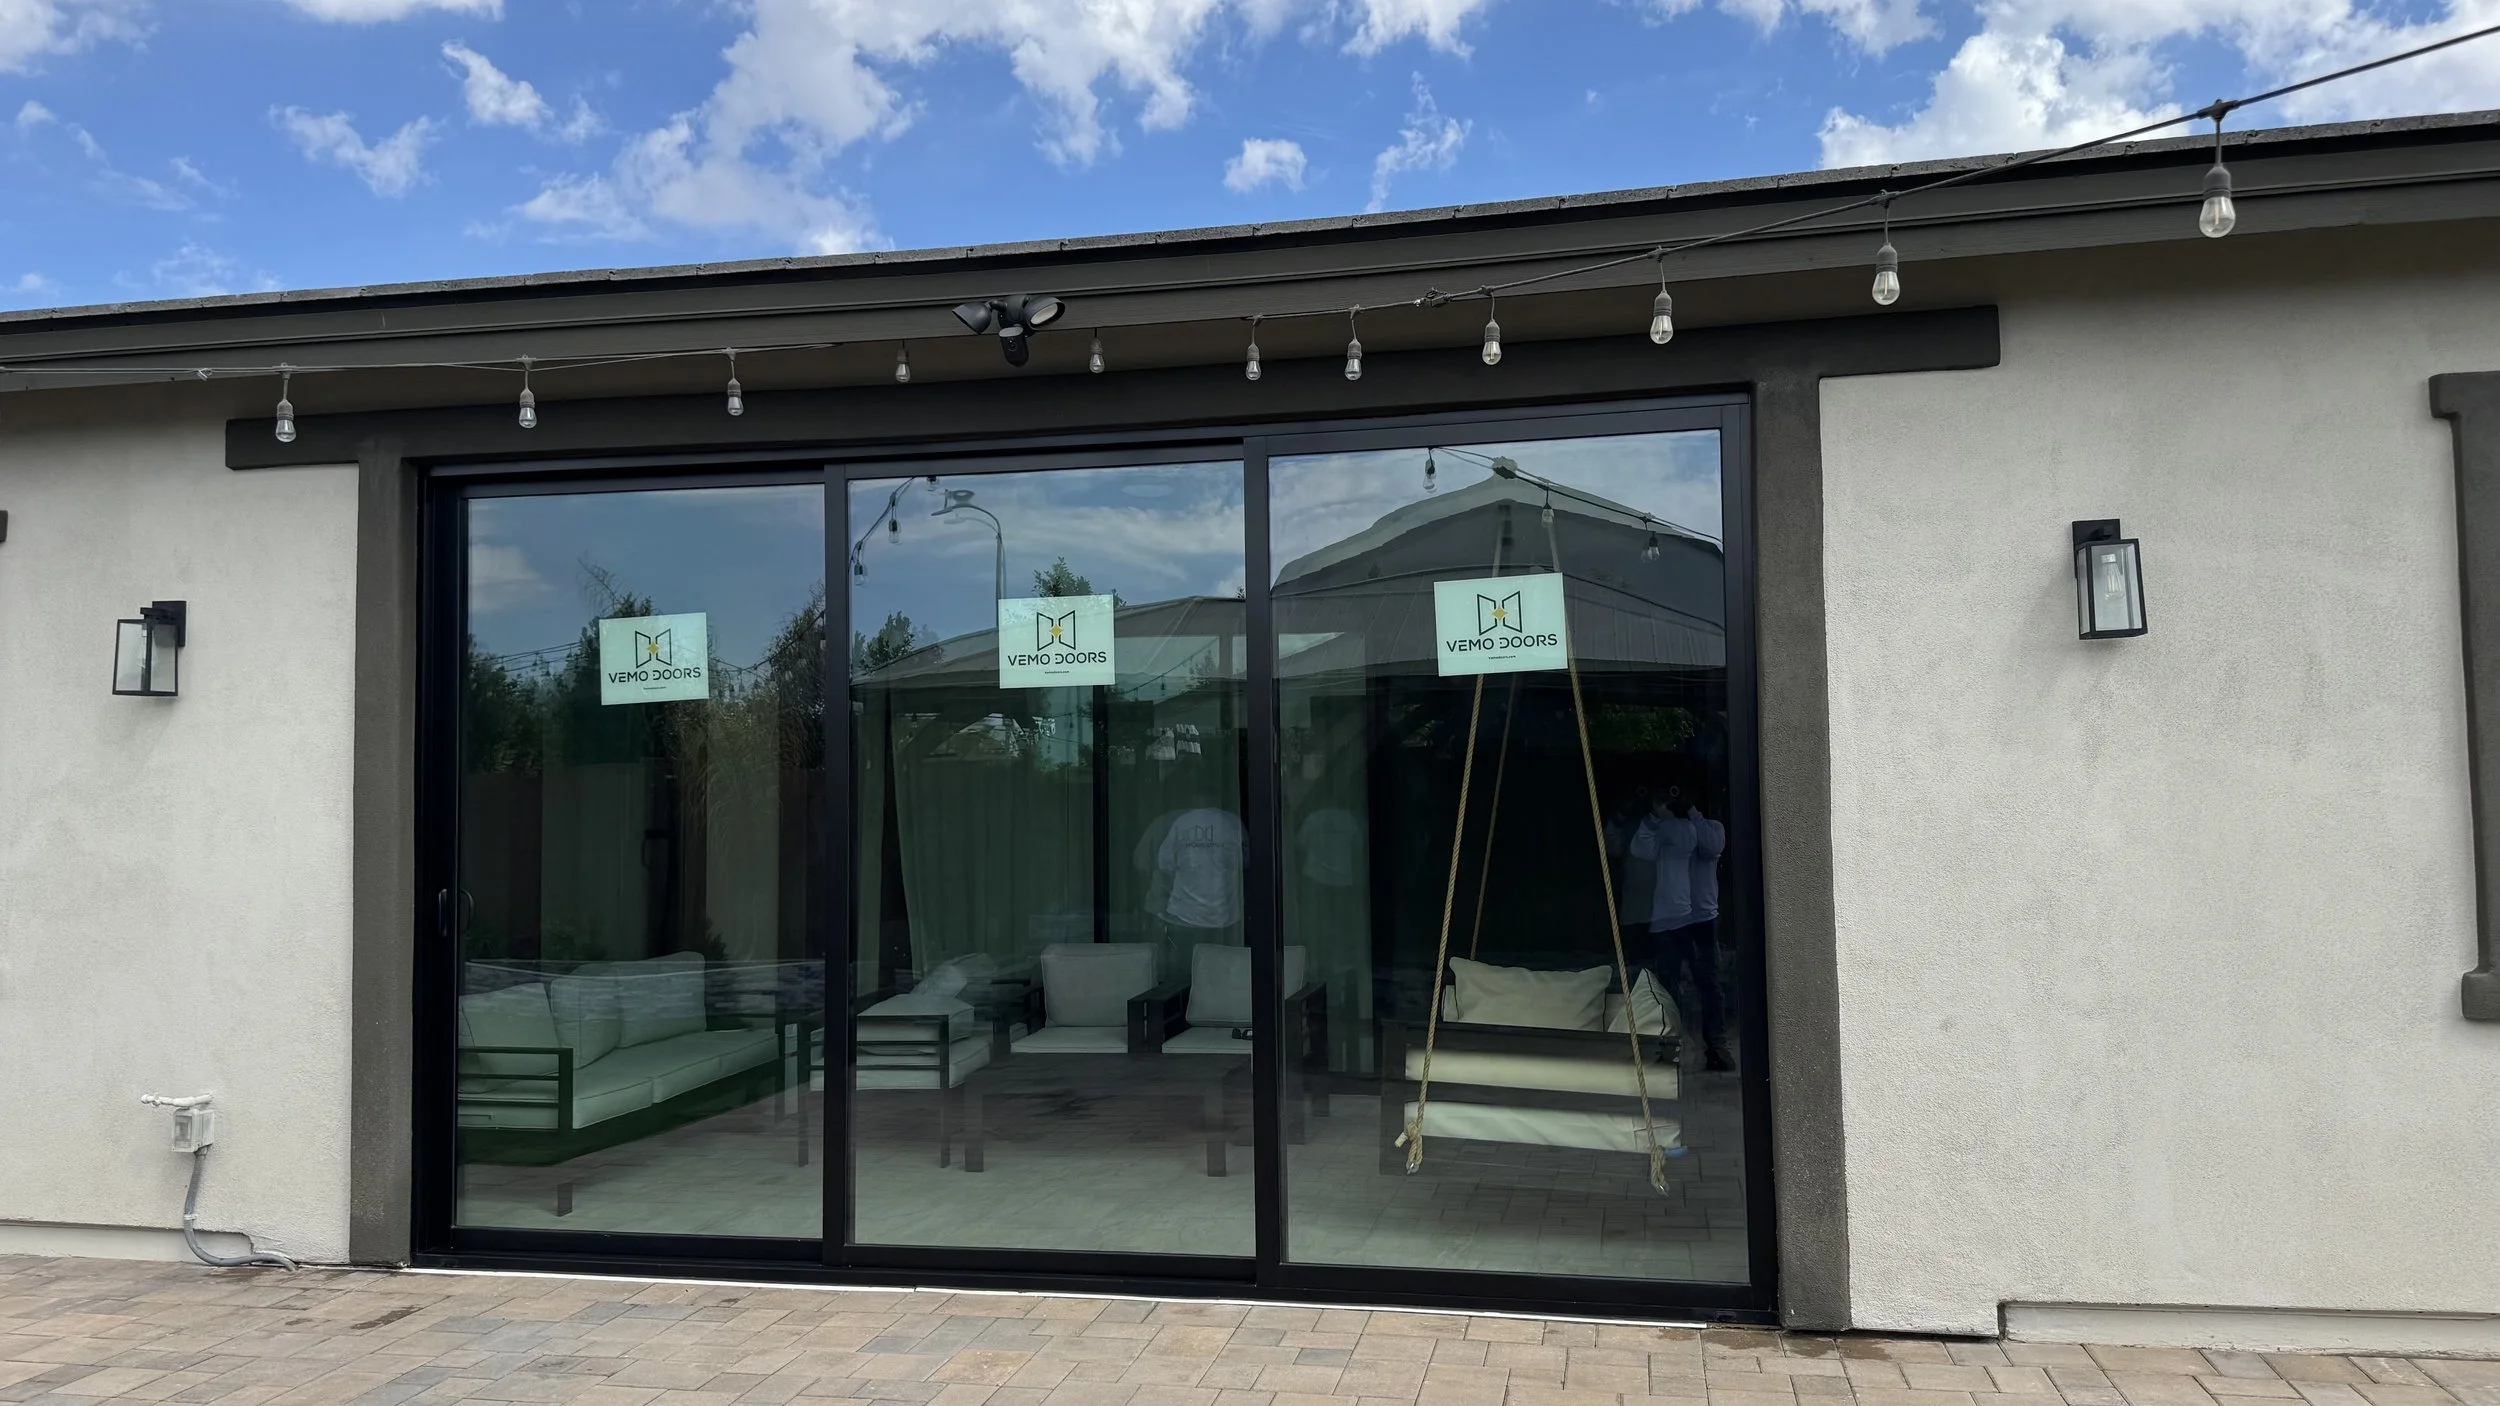
7. Install Panels
Install the sliding panels into the track system by lifting each panel fully into the upper channel, then carefully lowering the bottom onto the track.
Once in place, adjust the rollers as needed to ensure smooth operation and achieve consistent reveals along the head, jambs, and interlocks.
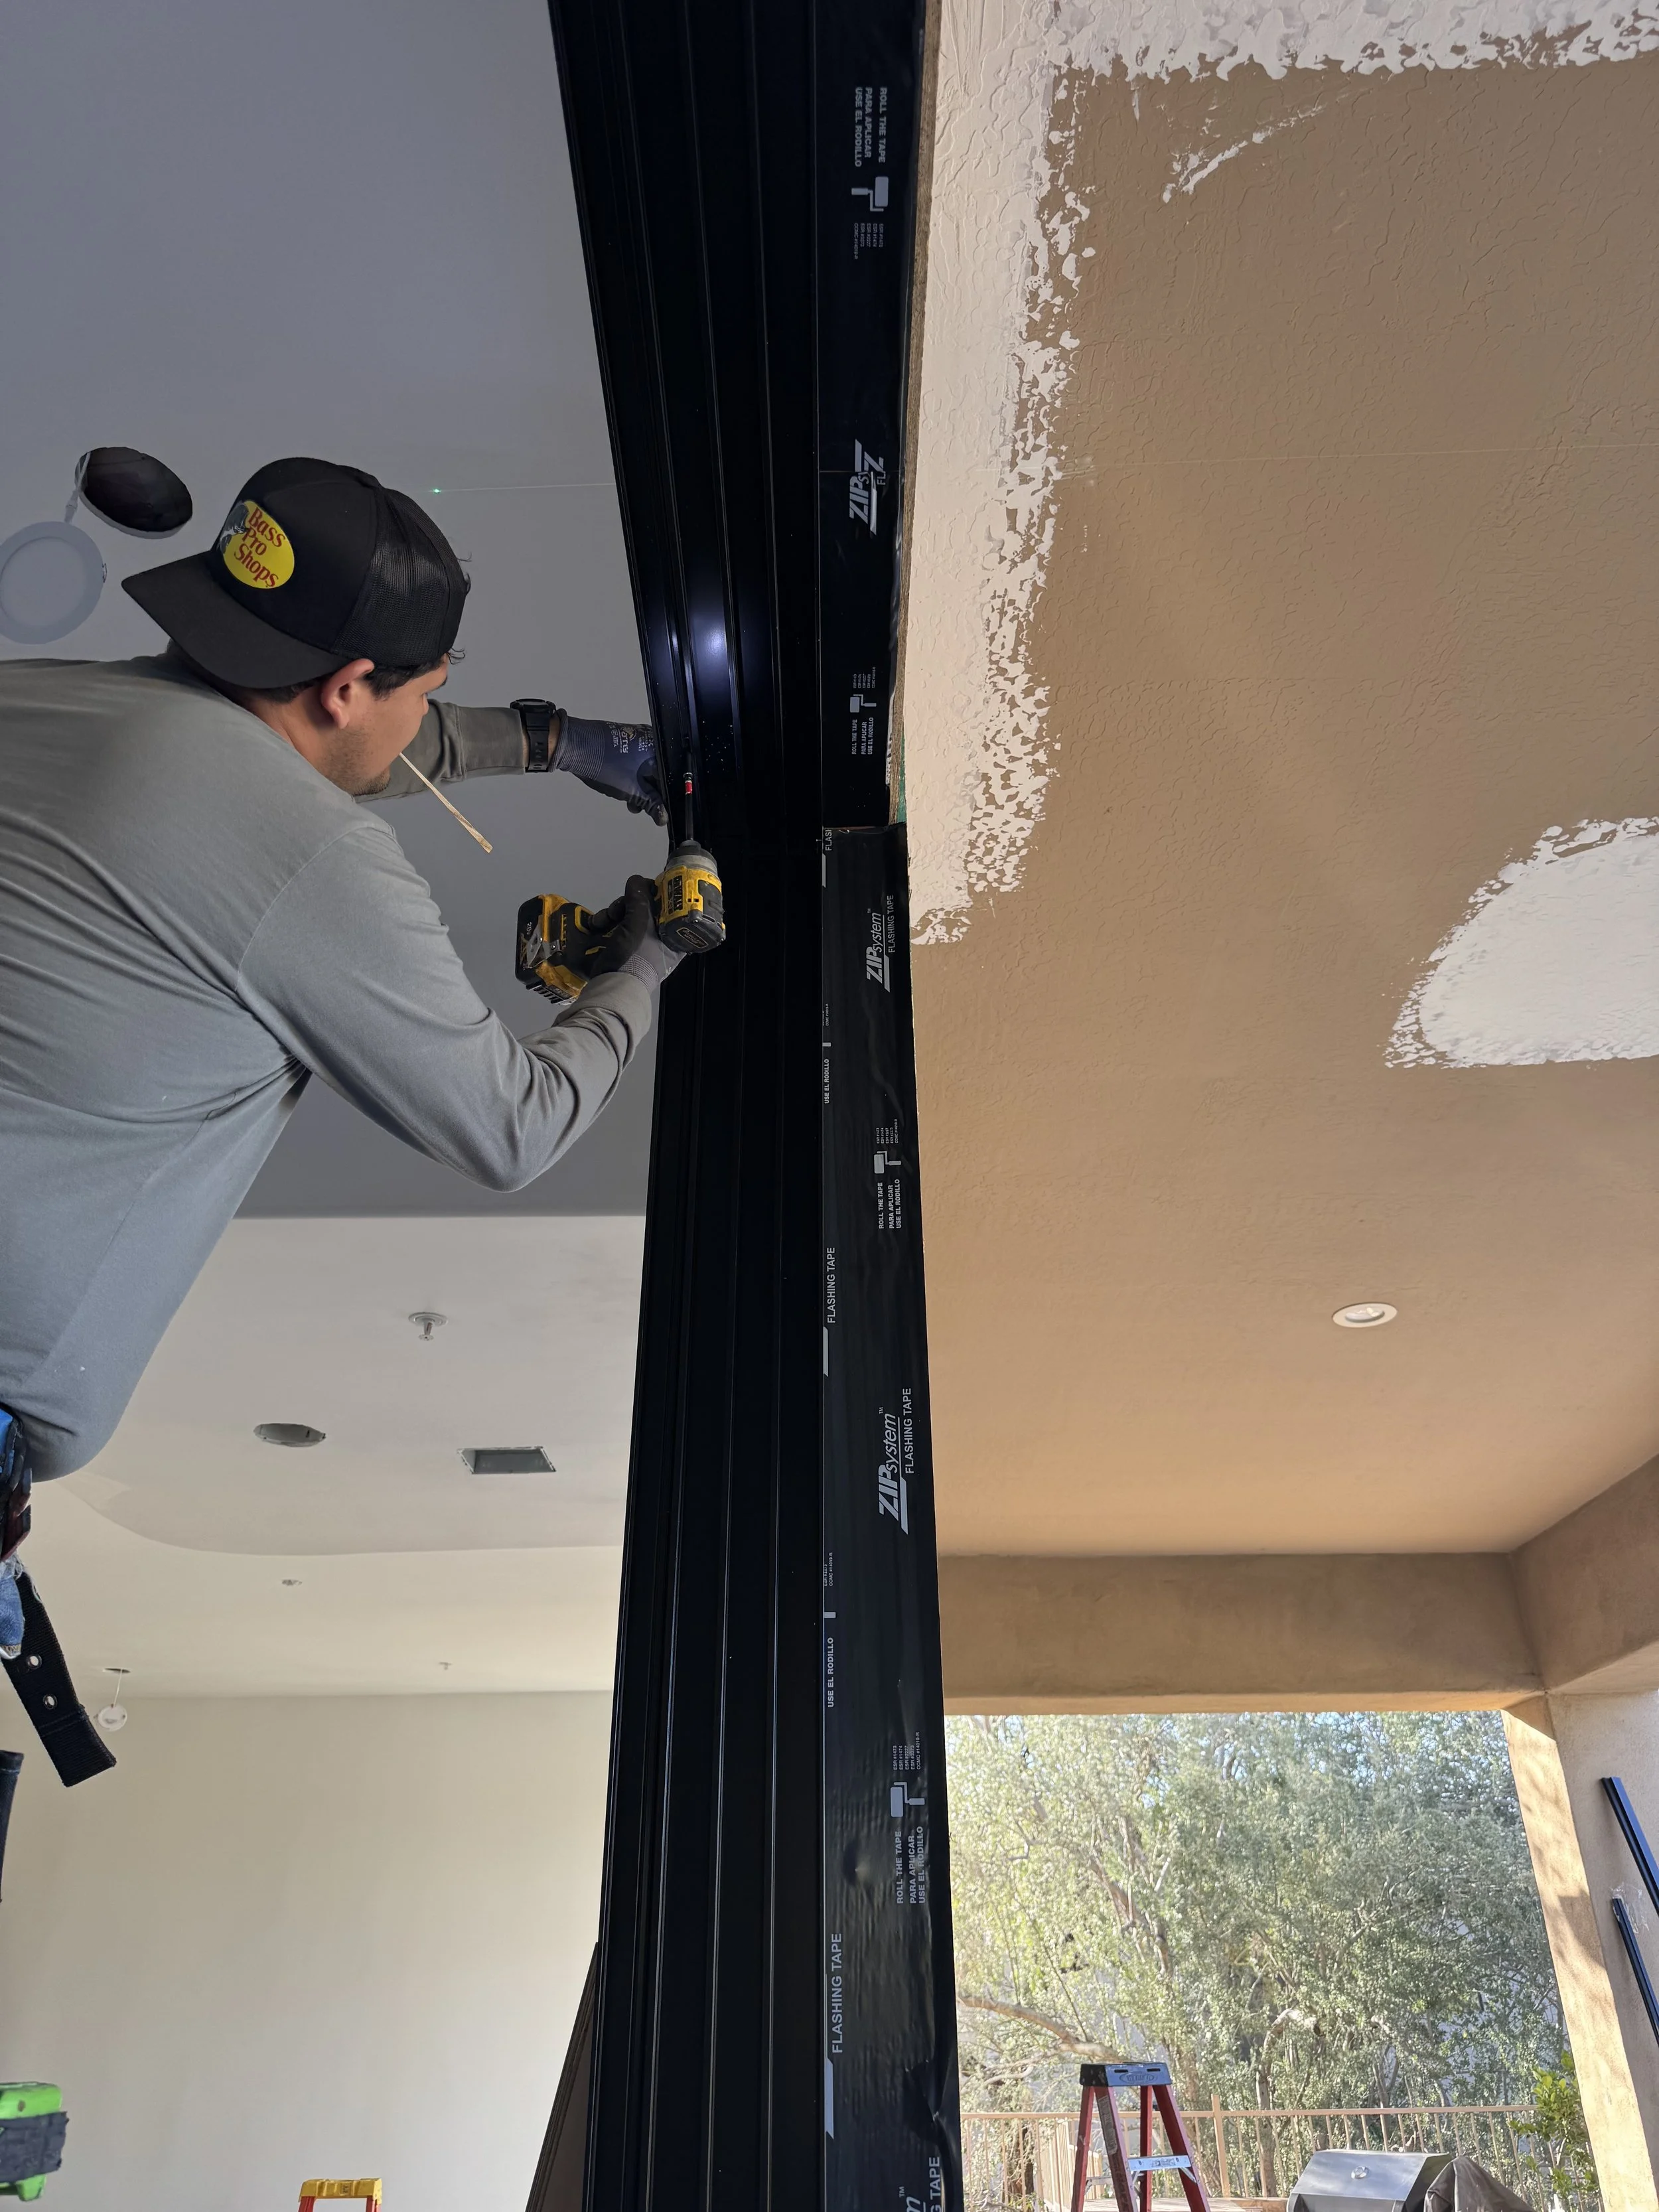
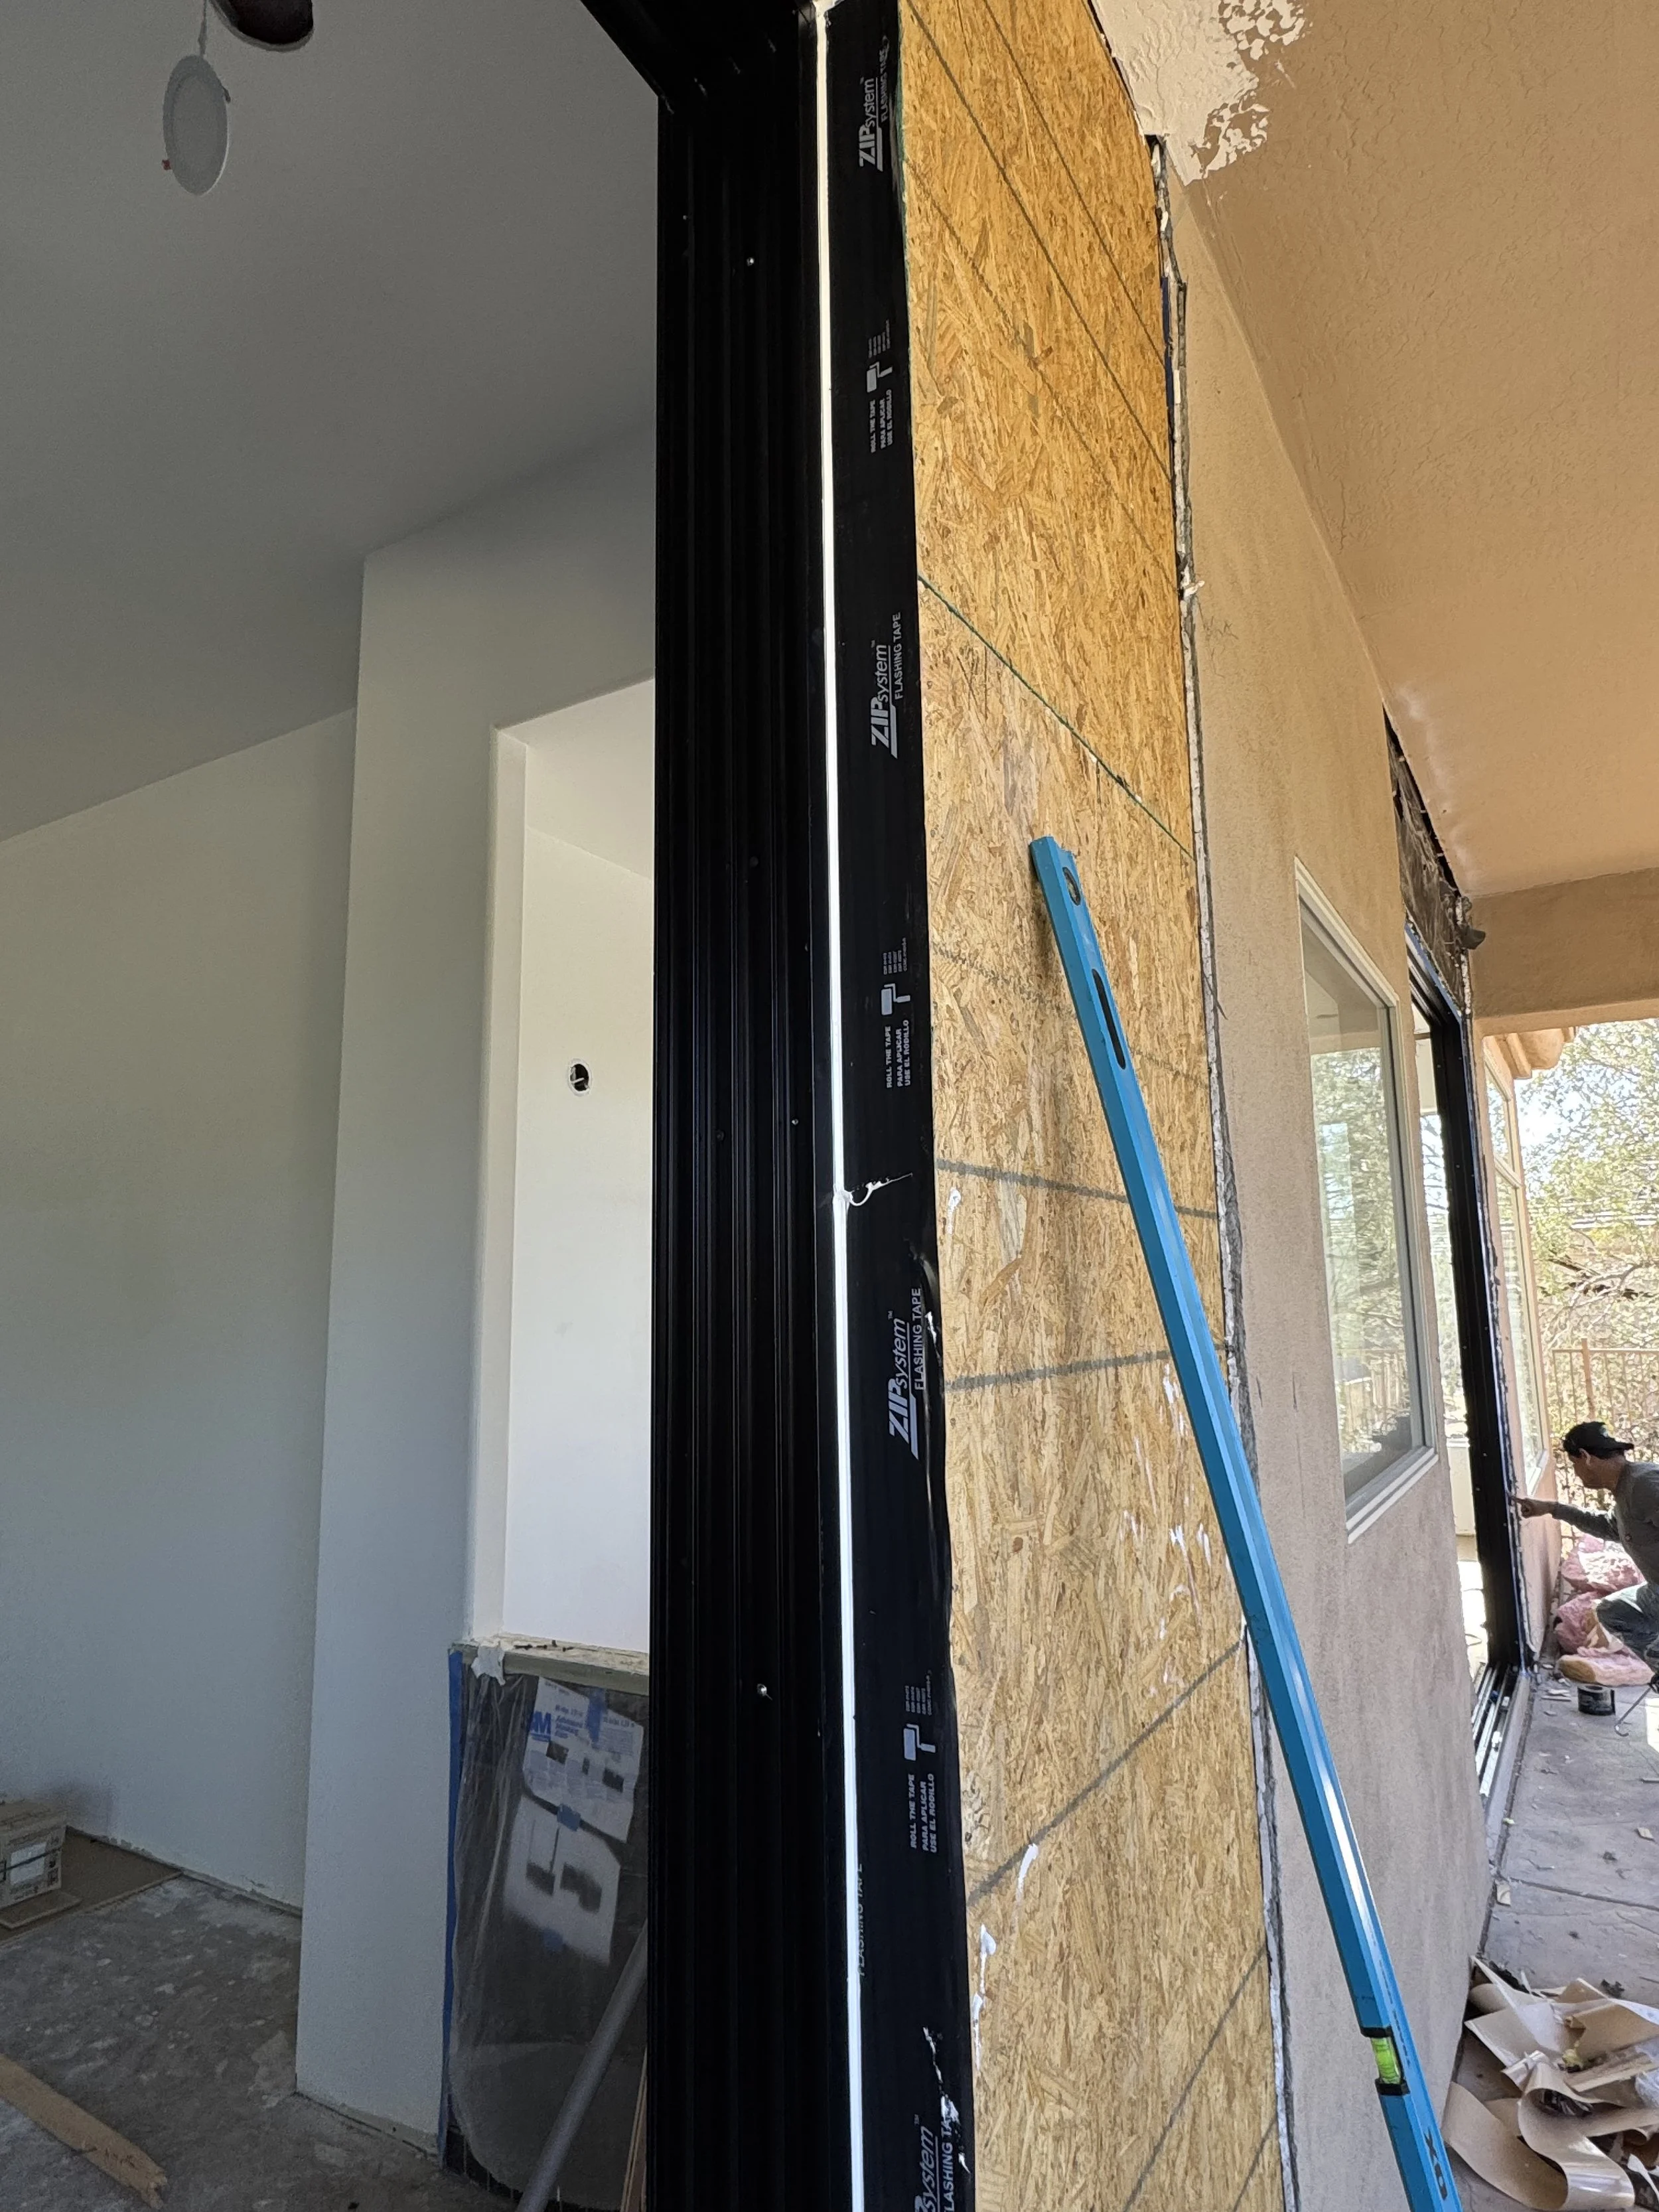
8. Seal, Flash and Insulate
Use exterior flashing tape around the top and sides of the frame.
Apply a continuous bead of exterior-grade sealant along the interior and exterior edges at the bottom of the frame (When possible). This enhances moisture resistance and ensures a more effective seal between the frame and the subfloor.
From the interior, apply low-expansion foam between frame and framing cavity.
Avoid overfilling to prevent frame distortion.
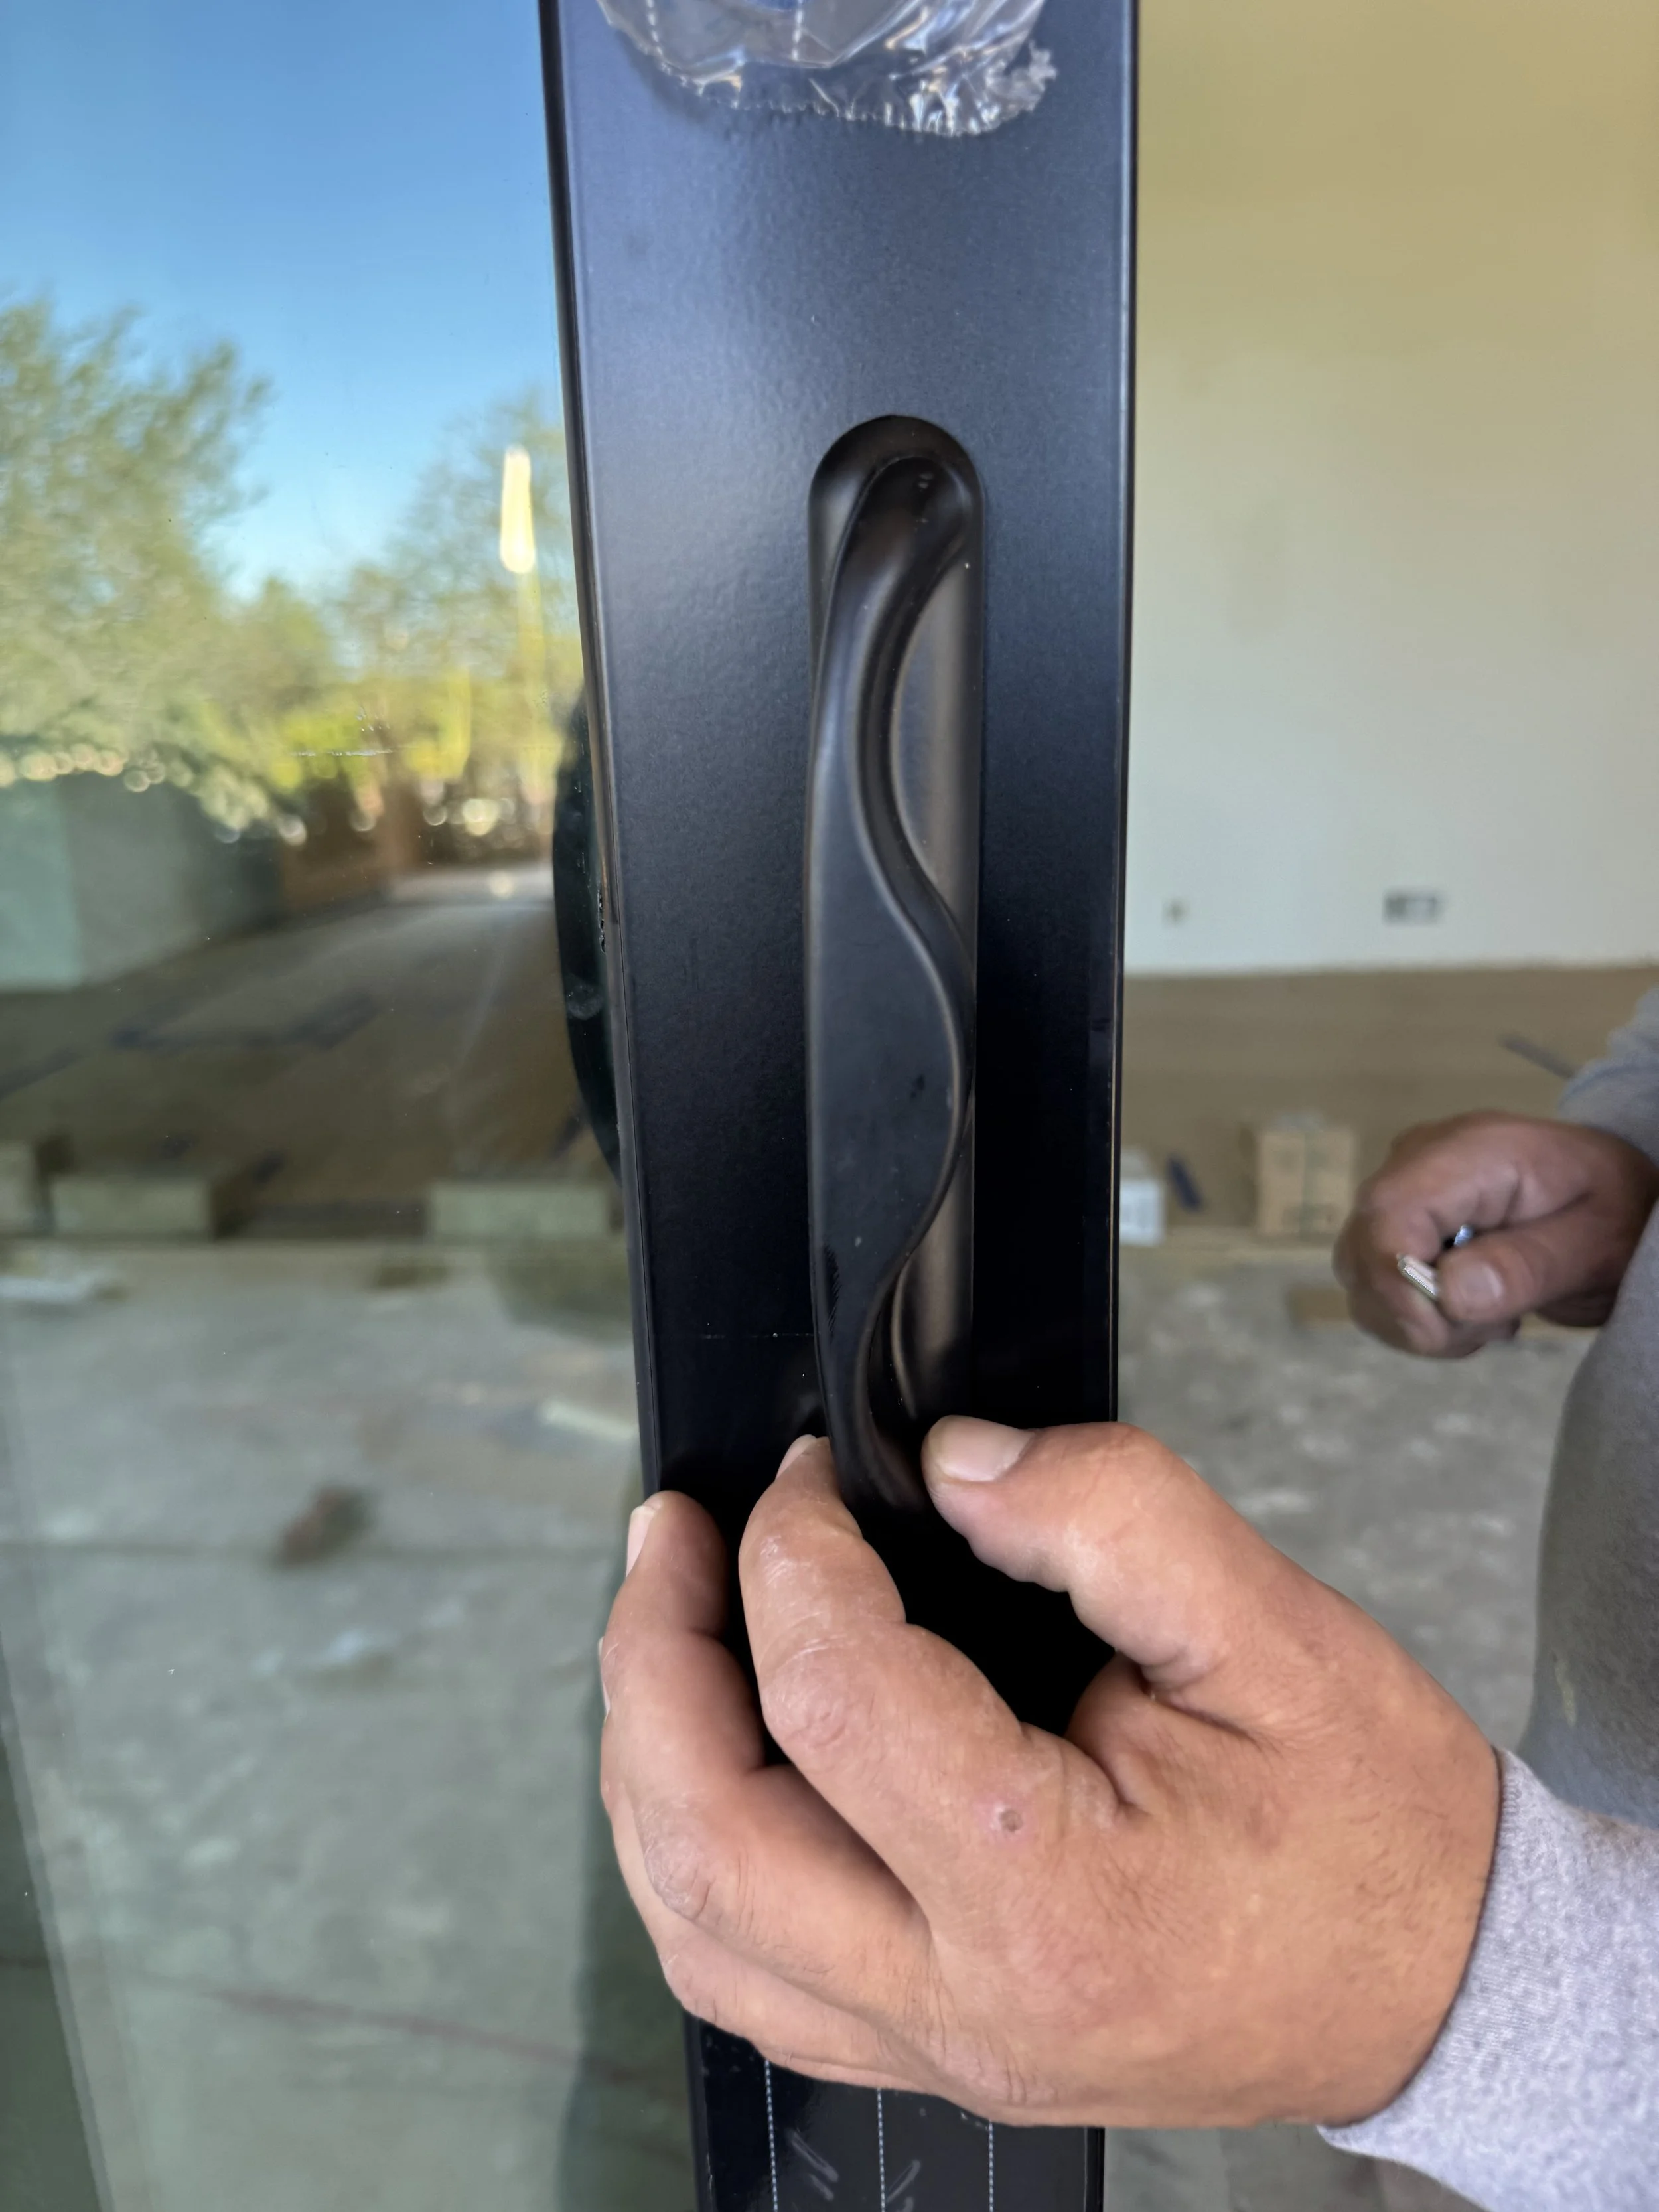
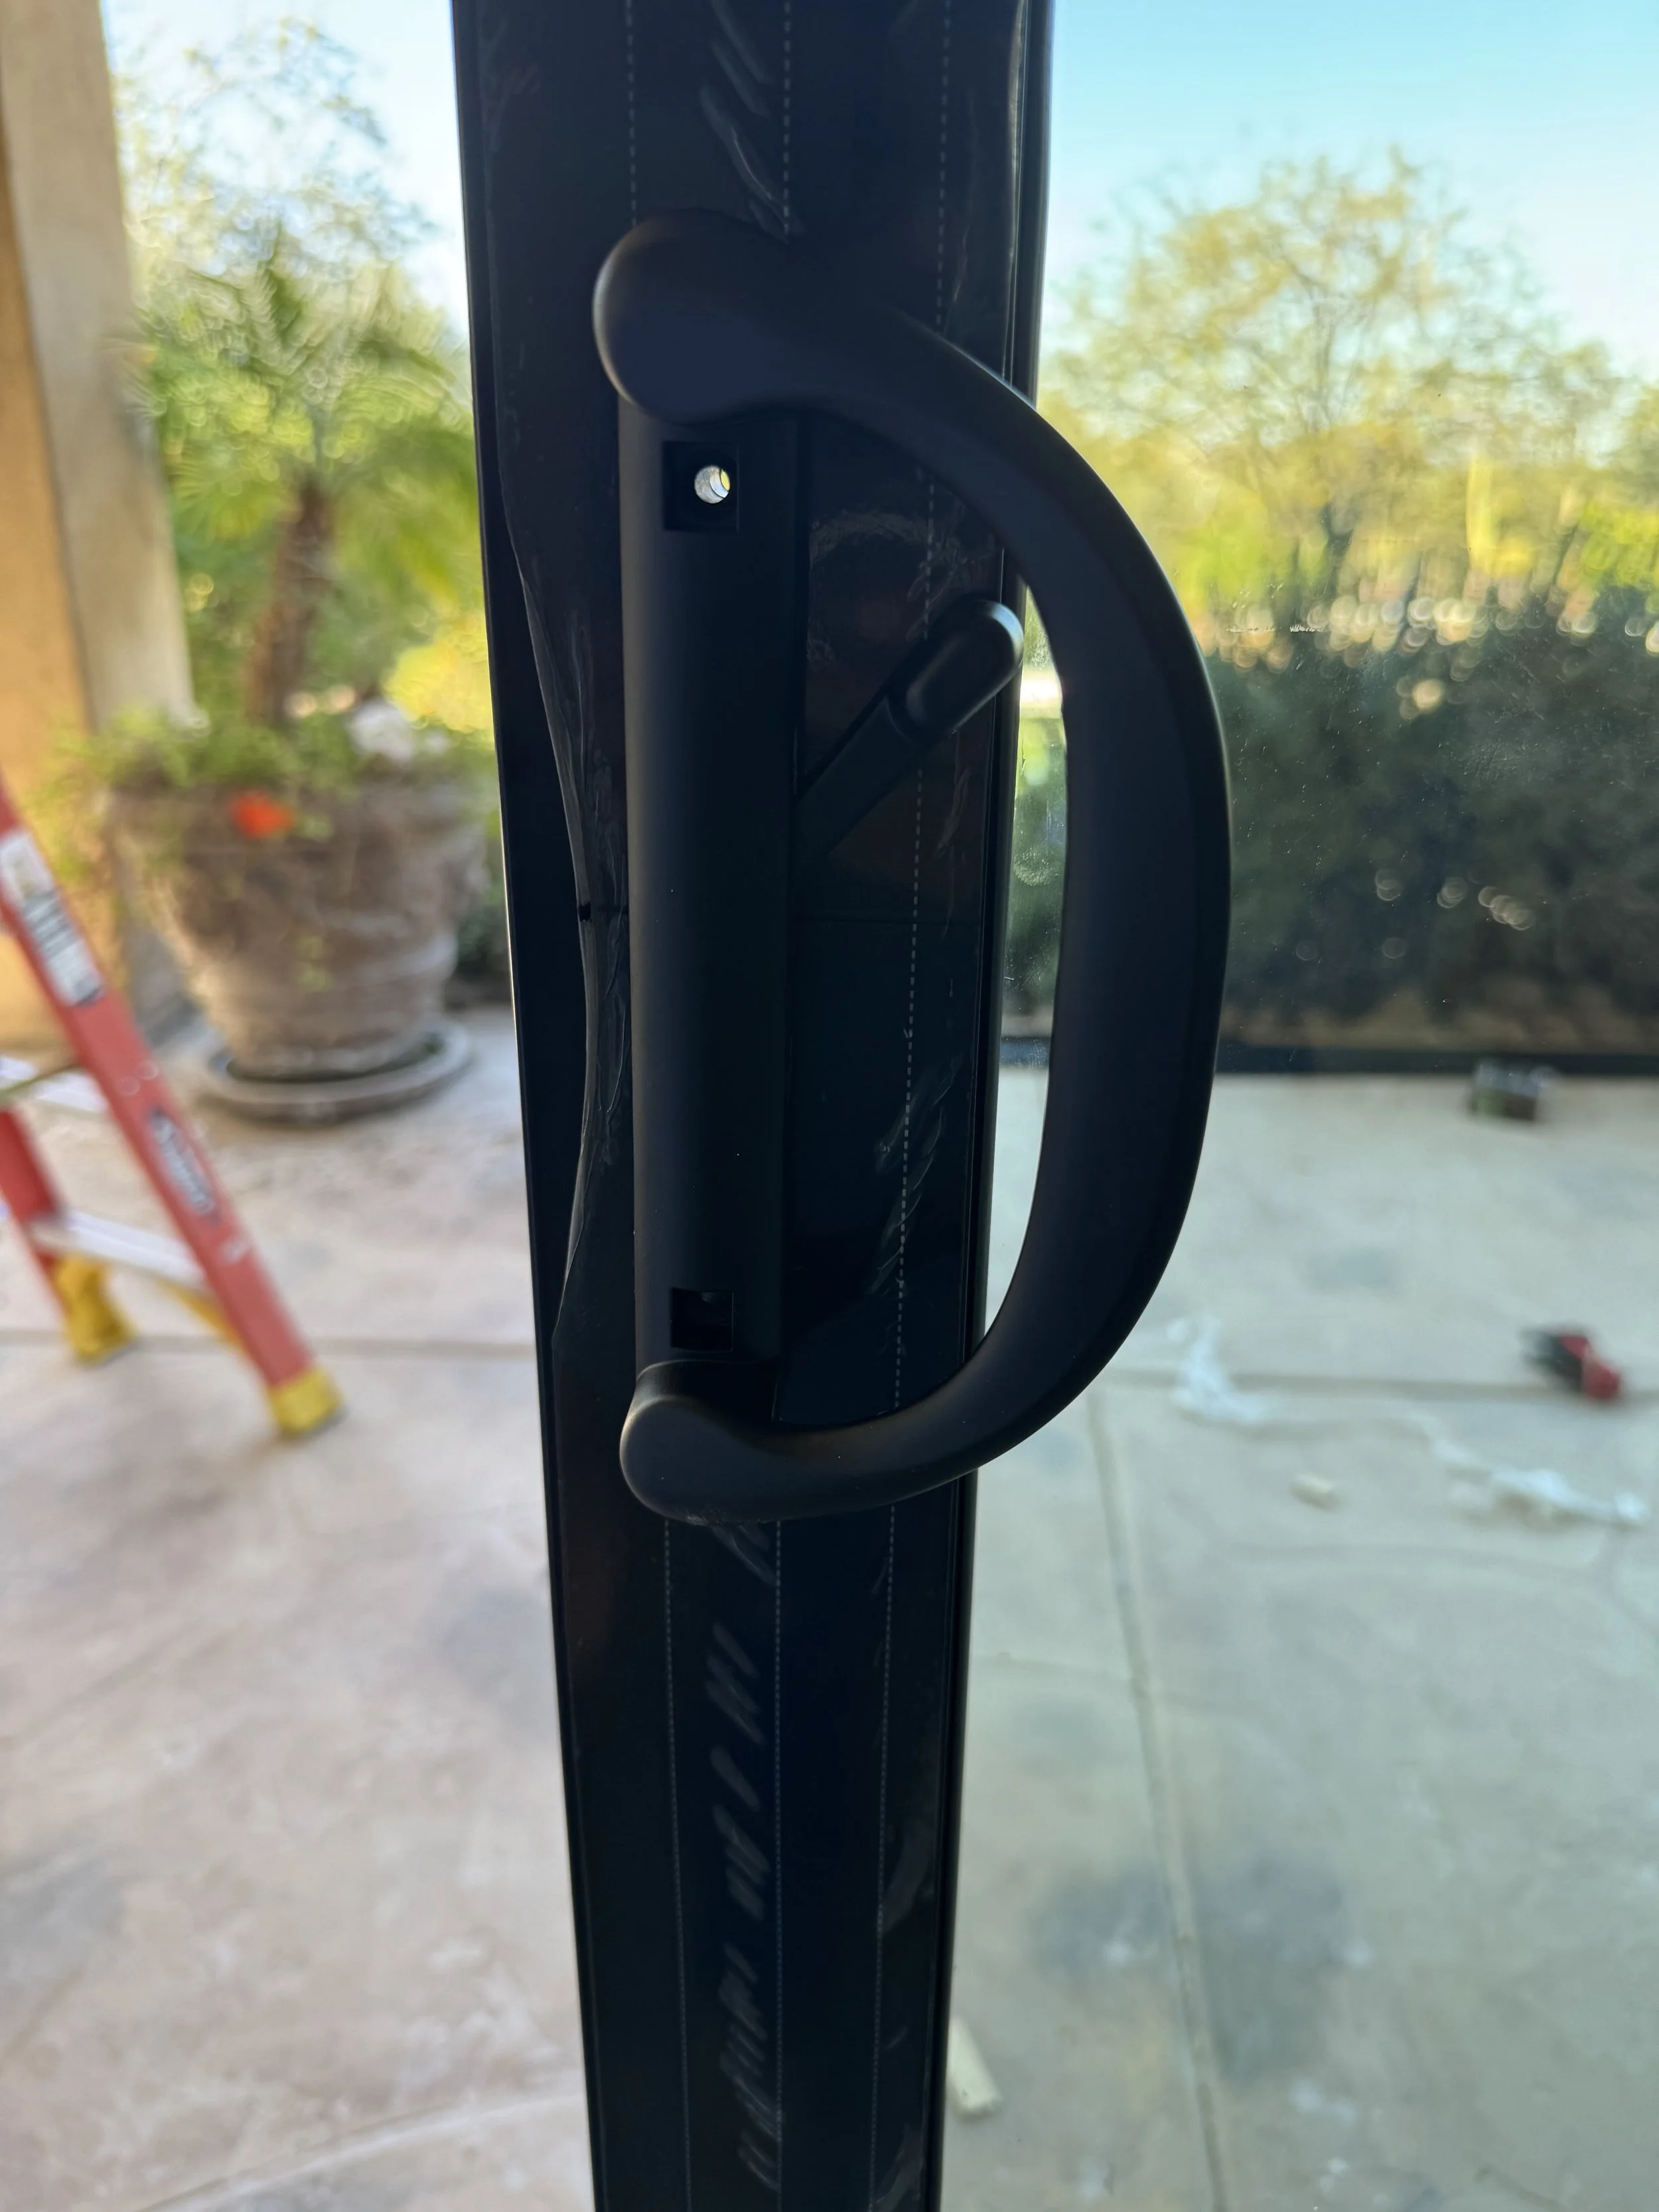
9. Handle Installation
Insert the exterior handle into the pre-drilled holes in the panel.
From the interior side, align the interior handle with the exterior handle.
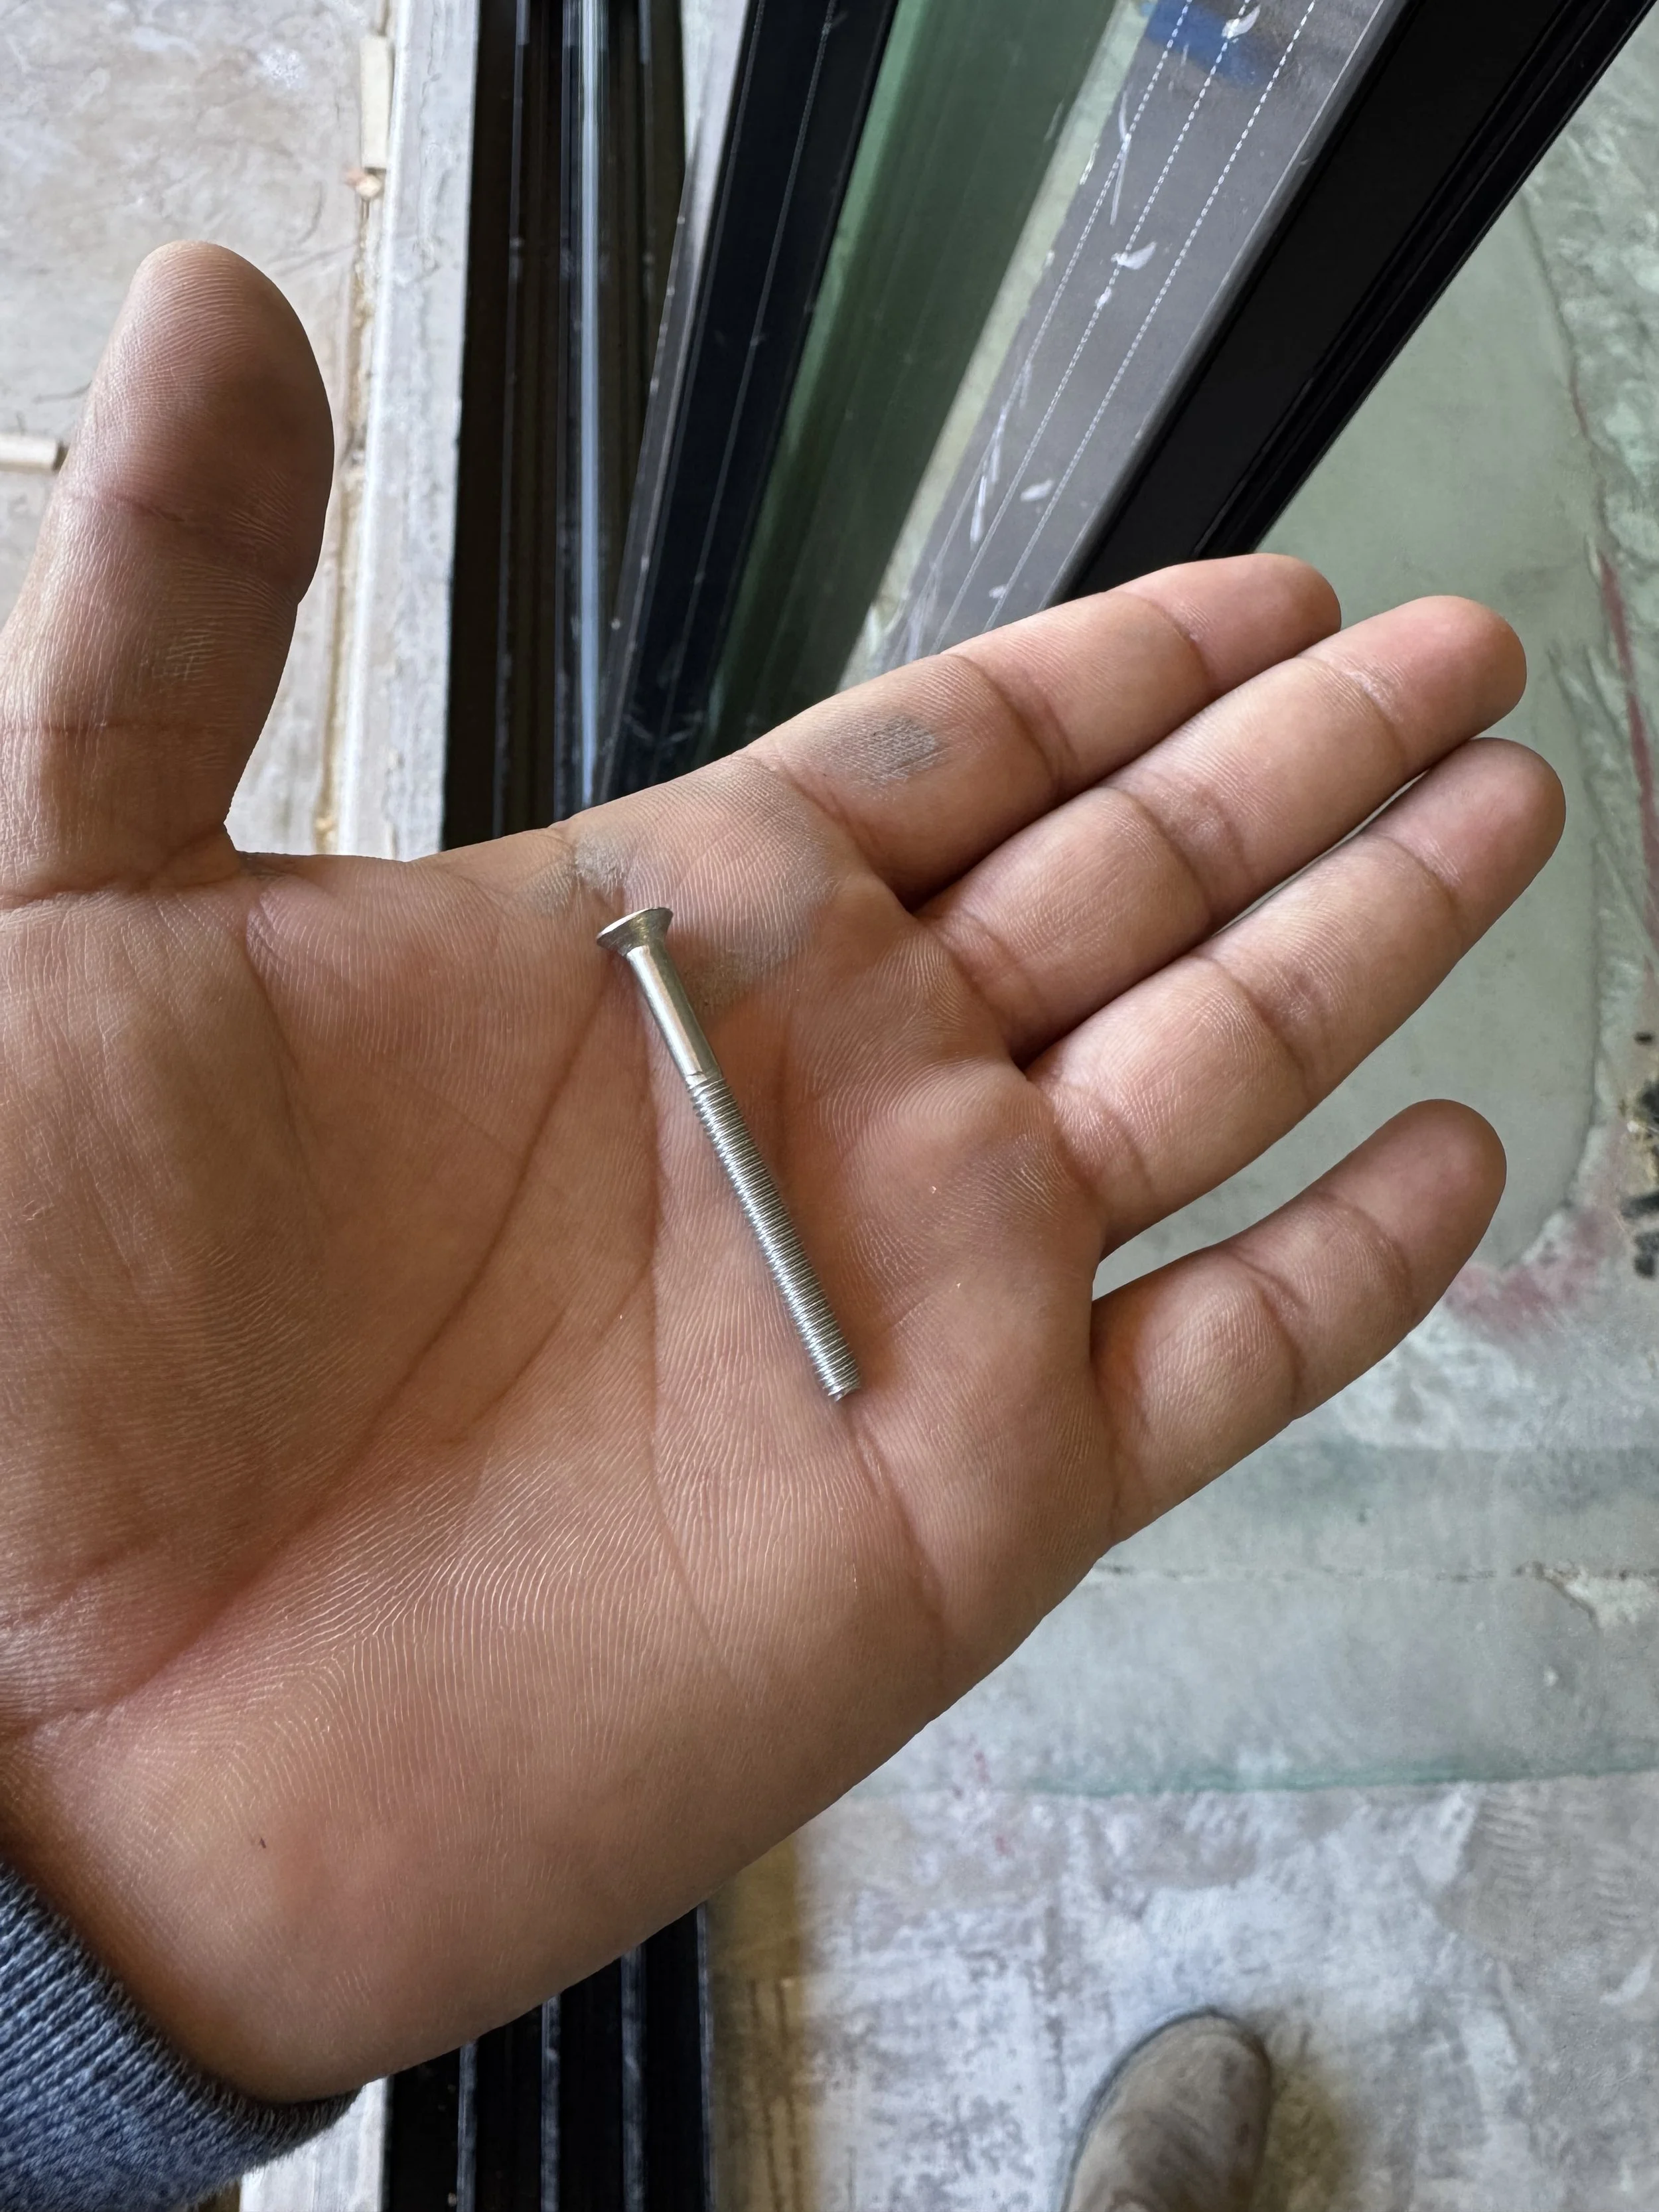
Install the provided through-bolts or screws, tightening evenly to avoid misalignment.
Do not overtighten, as this may damage the panel or hardware.
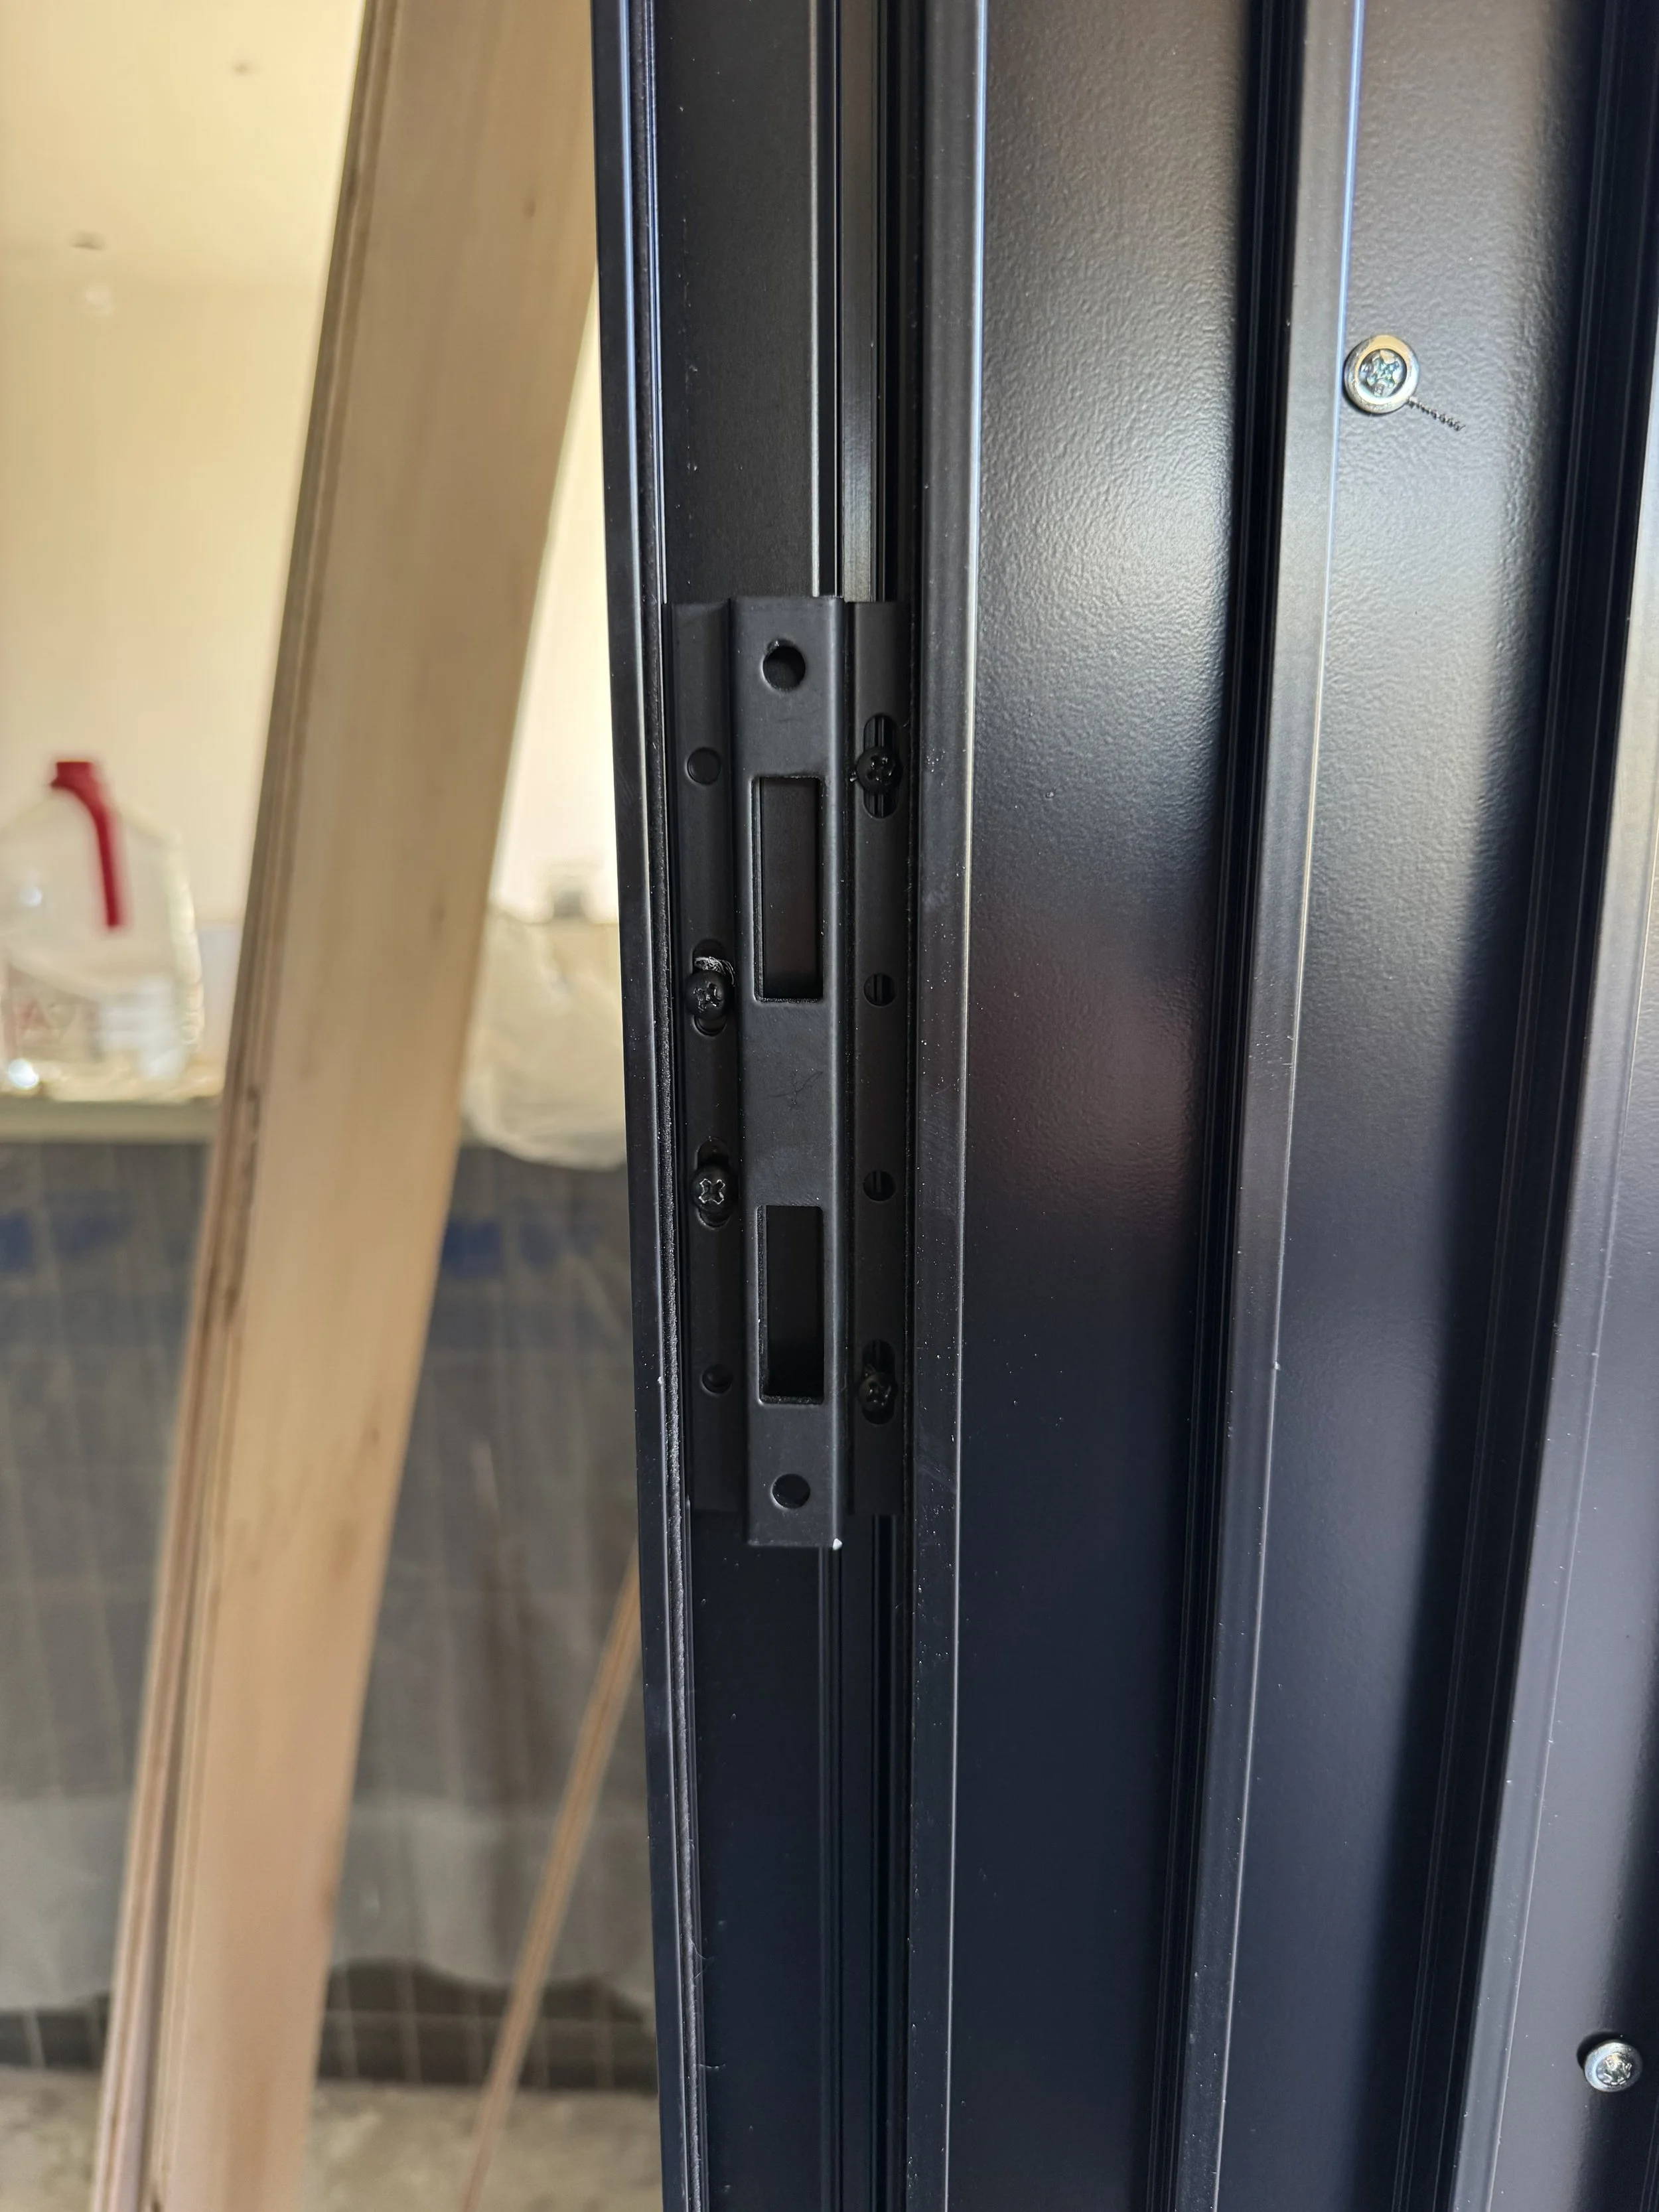
Position the strike (striker) on the frame at the correct height so it aligns with the handle/lock mechanism.
Secure the strike to the frame using the provided fasteners.
Test handle and lock operation to ensure smooth engagement and proper alignment.
Note: Handle and strike installation applies only to operable (sliding) panels.
10. Cover Installation
Push the fixed panel fully into the exterior position (all the way to the back of the frame).
From the interior, lock the operable panel.
Verify the door locks smoothly and correctly.
If the door does not lock properly, adjust panel alignment before proceeding.
Leave the door locked to hold the fixed panel in its final position.
Go to the exterior side to begin installing the covers.
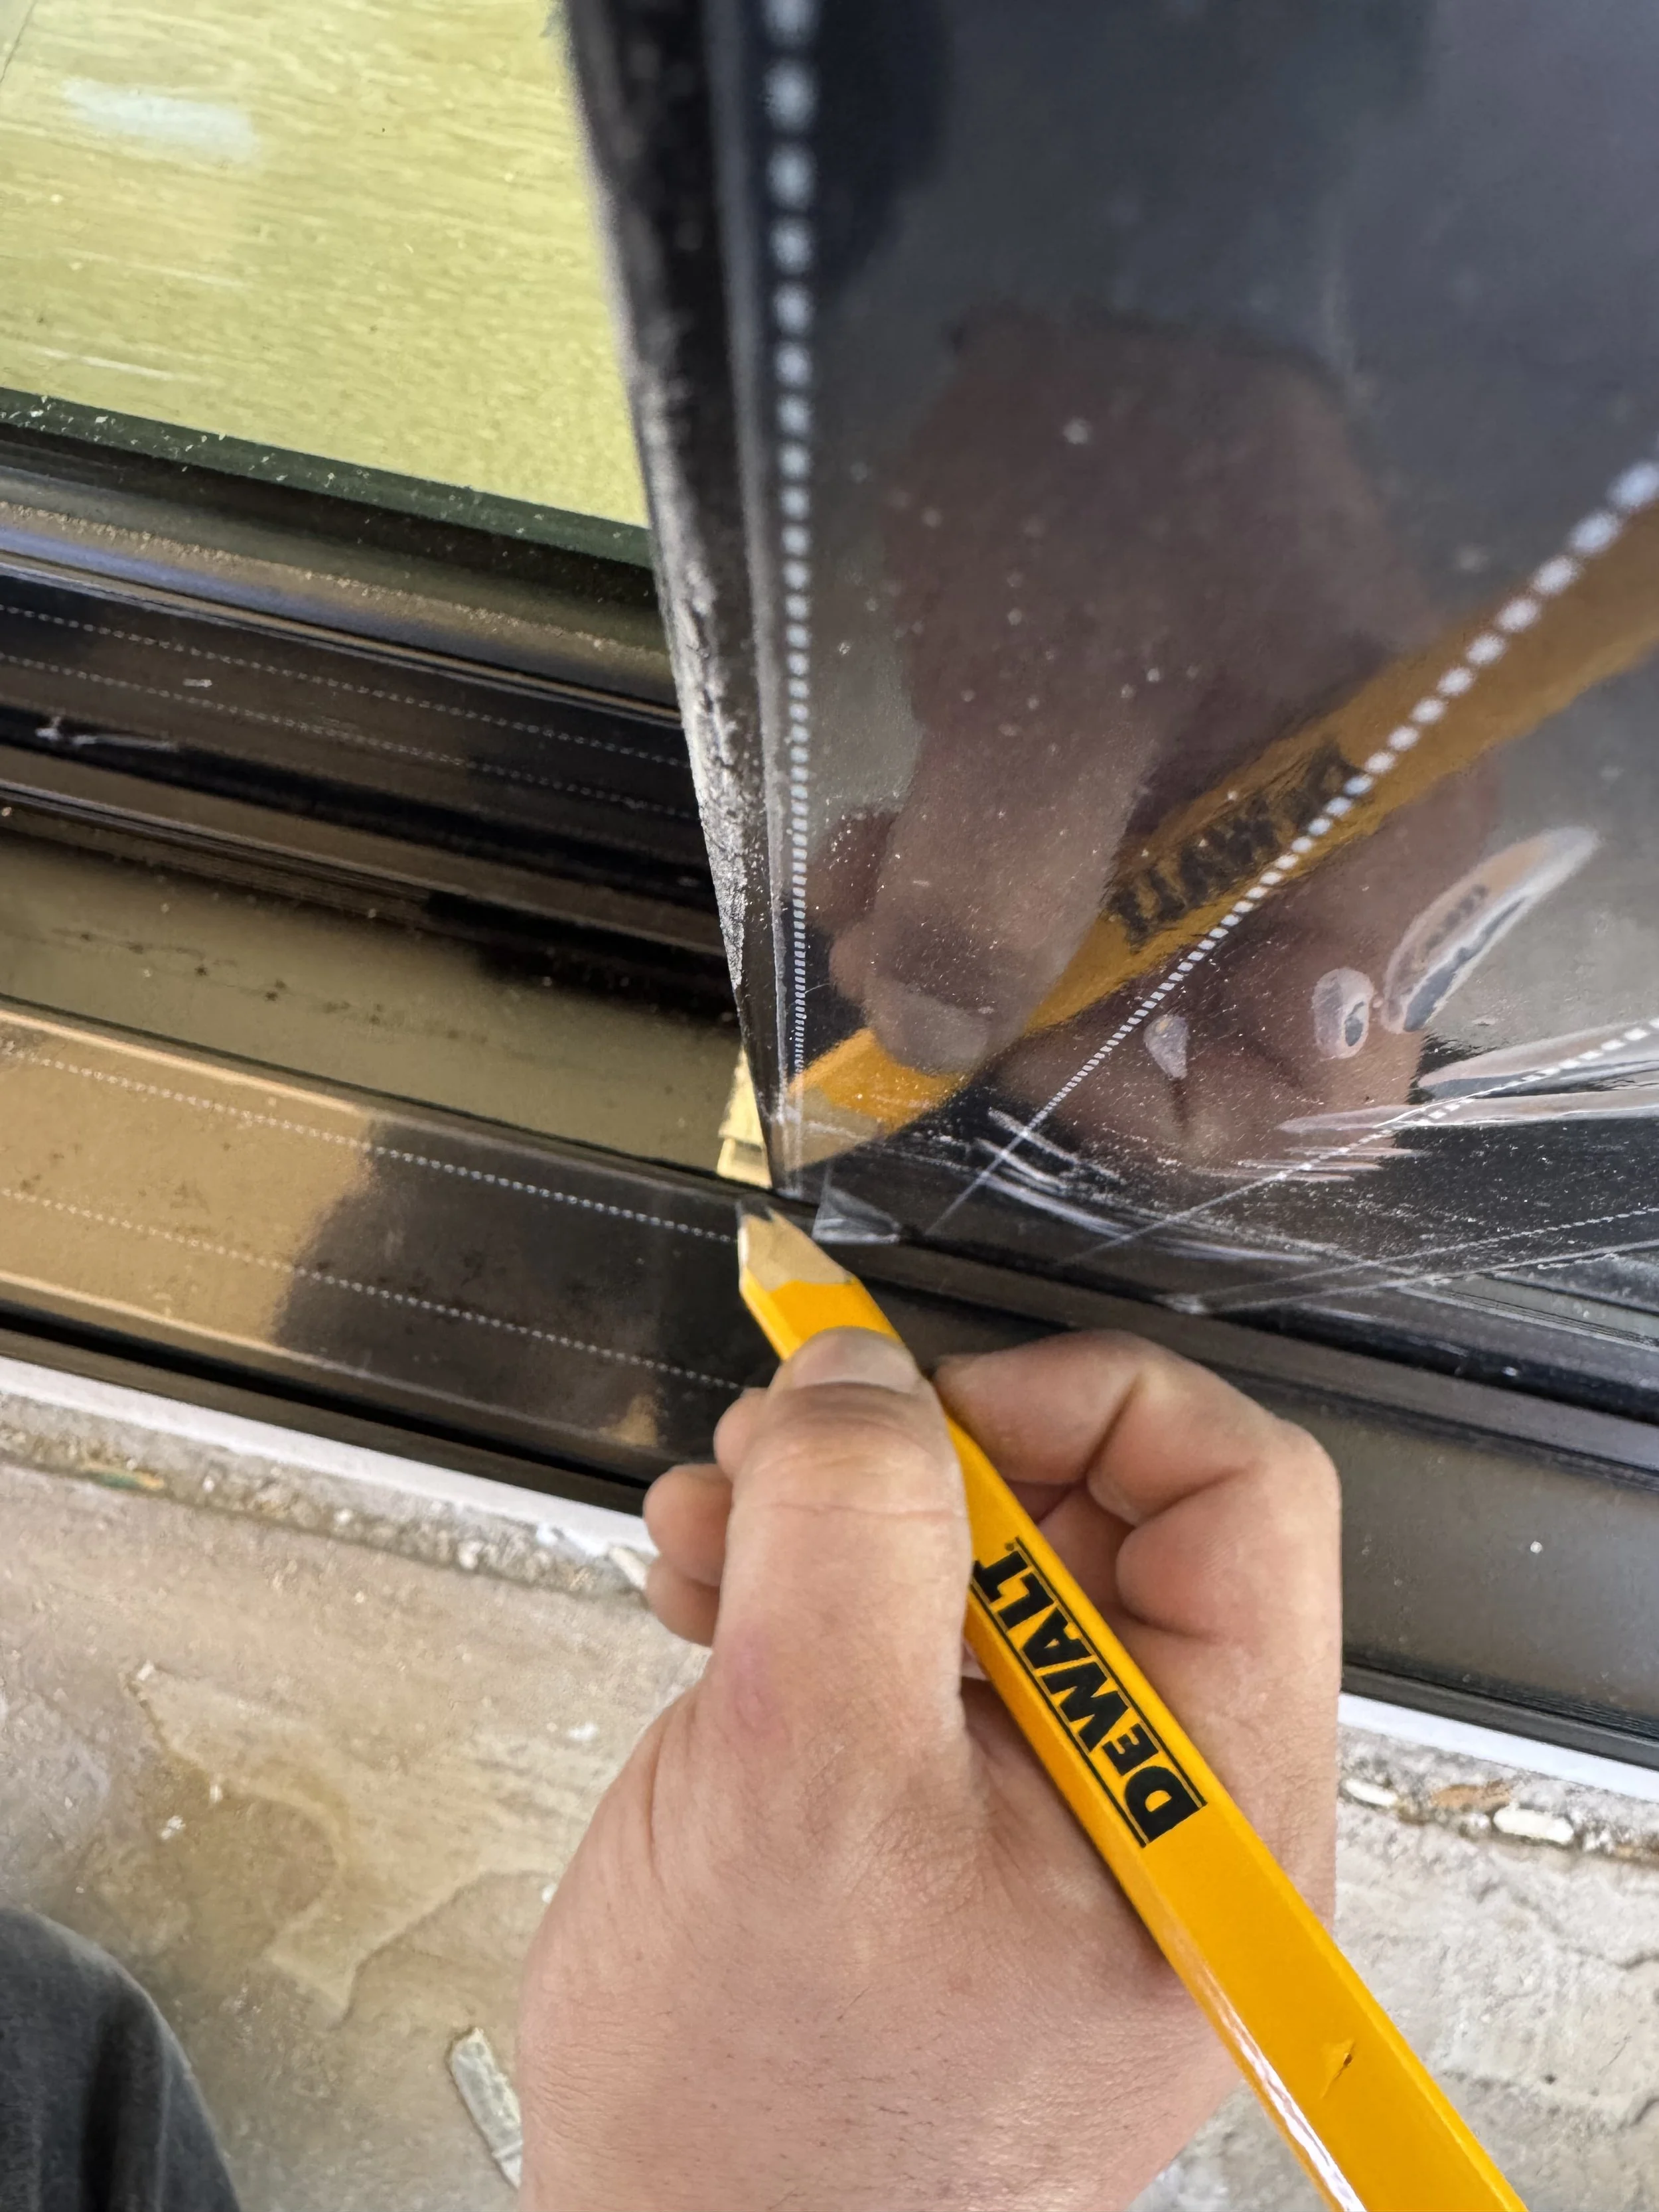
Measure, cut, and install the bottom and top covers to the exact length needed in the field.
Bottom and top covers are supplied longer than needed to allow field trimming.
Install the side covers (no cutting required, they are pre-sized).
Confirm all covers are securely installed and sit flush with the frame.
Tip: Always trim and install the bottom and top covers first, then install the sides for proper alignment and a clean finish.
11. Final Checks
Verify all panels are properly aligned and operating smoothly.
Confirm the track system, handles, and strikes are correctly installed and functioning.
Secure the fixed panel by installing screws through the main frame and into the fixed panel frame, per manufacturer specifications.
Ensure fasteners are properly set and do not interfere with panel operation.
Install the roller adjustment hole covers after final panel height and alignment have been set.
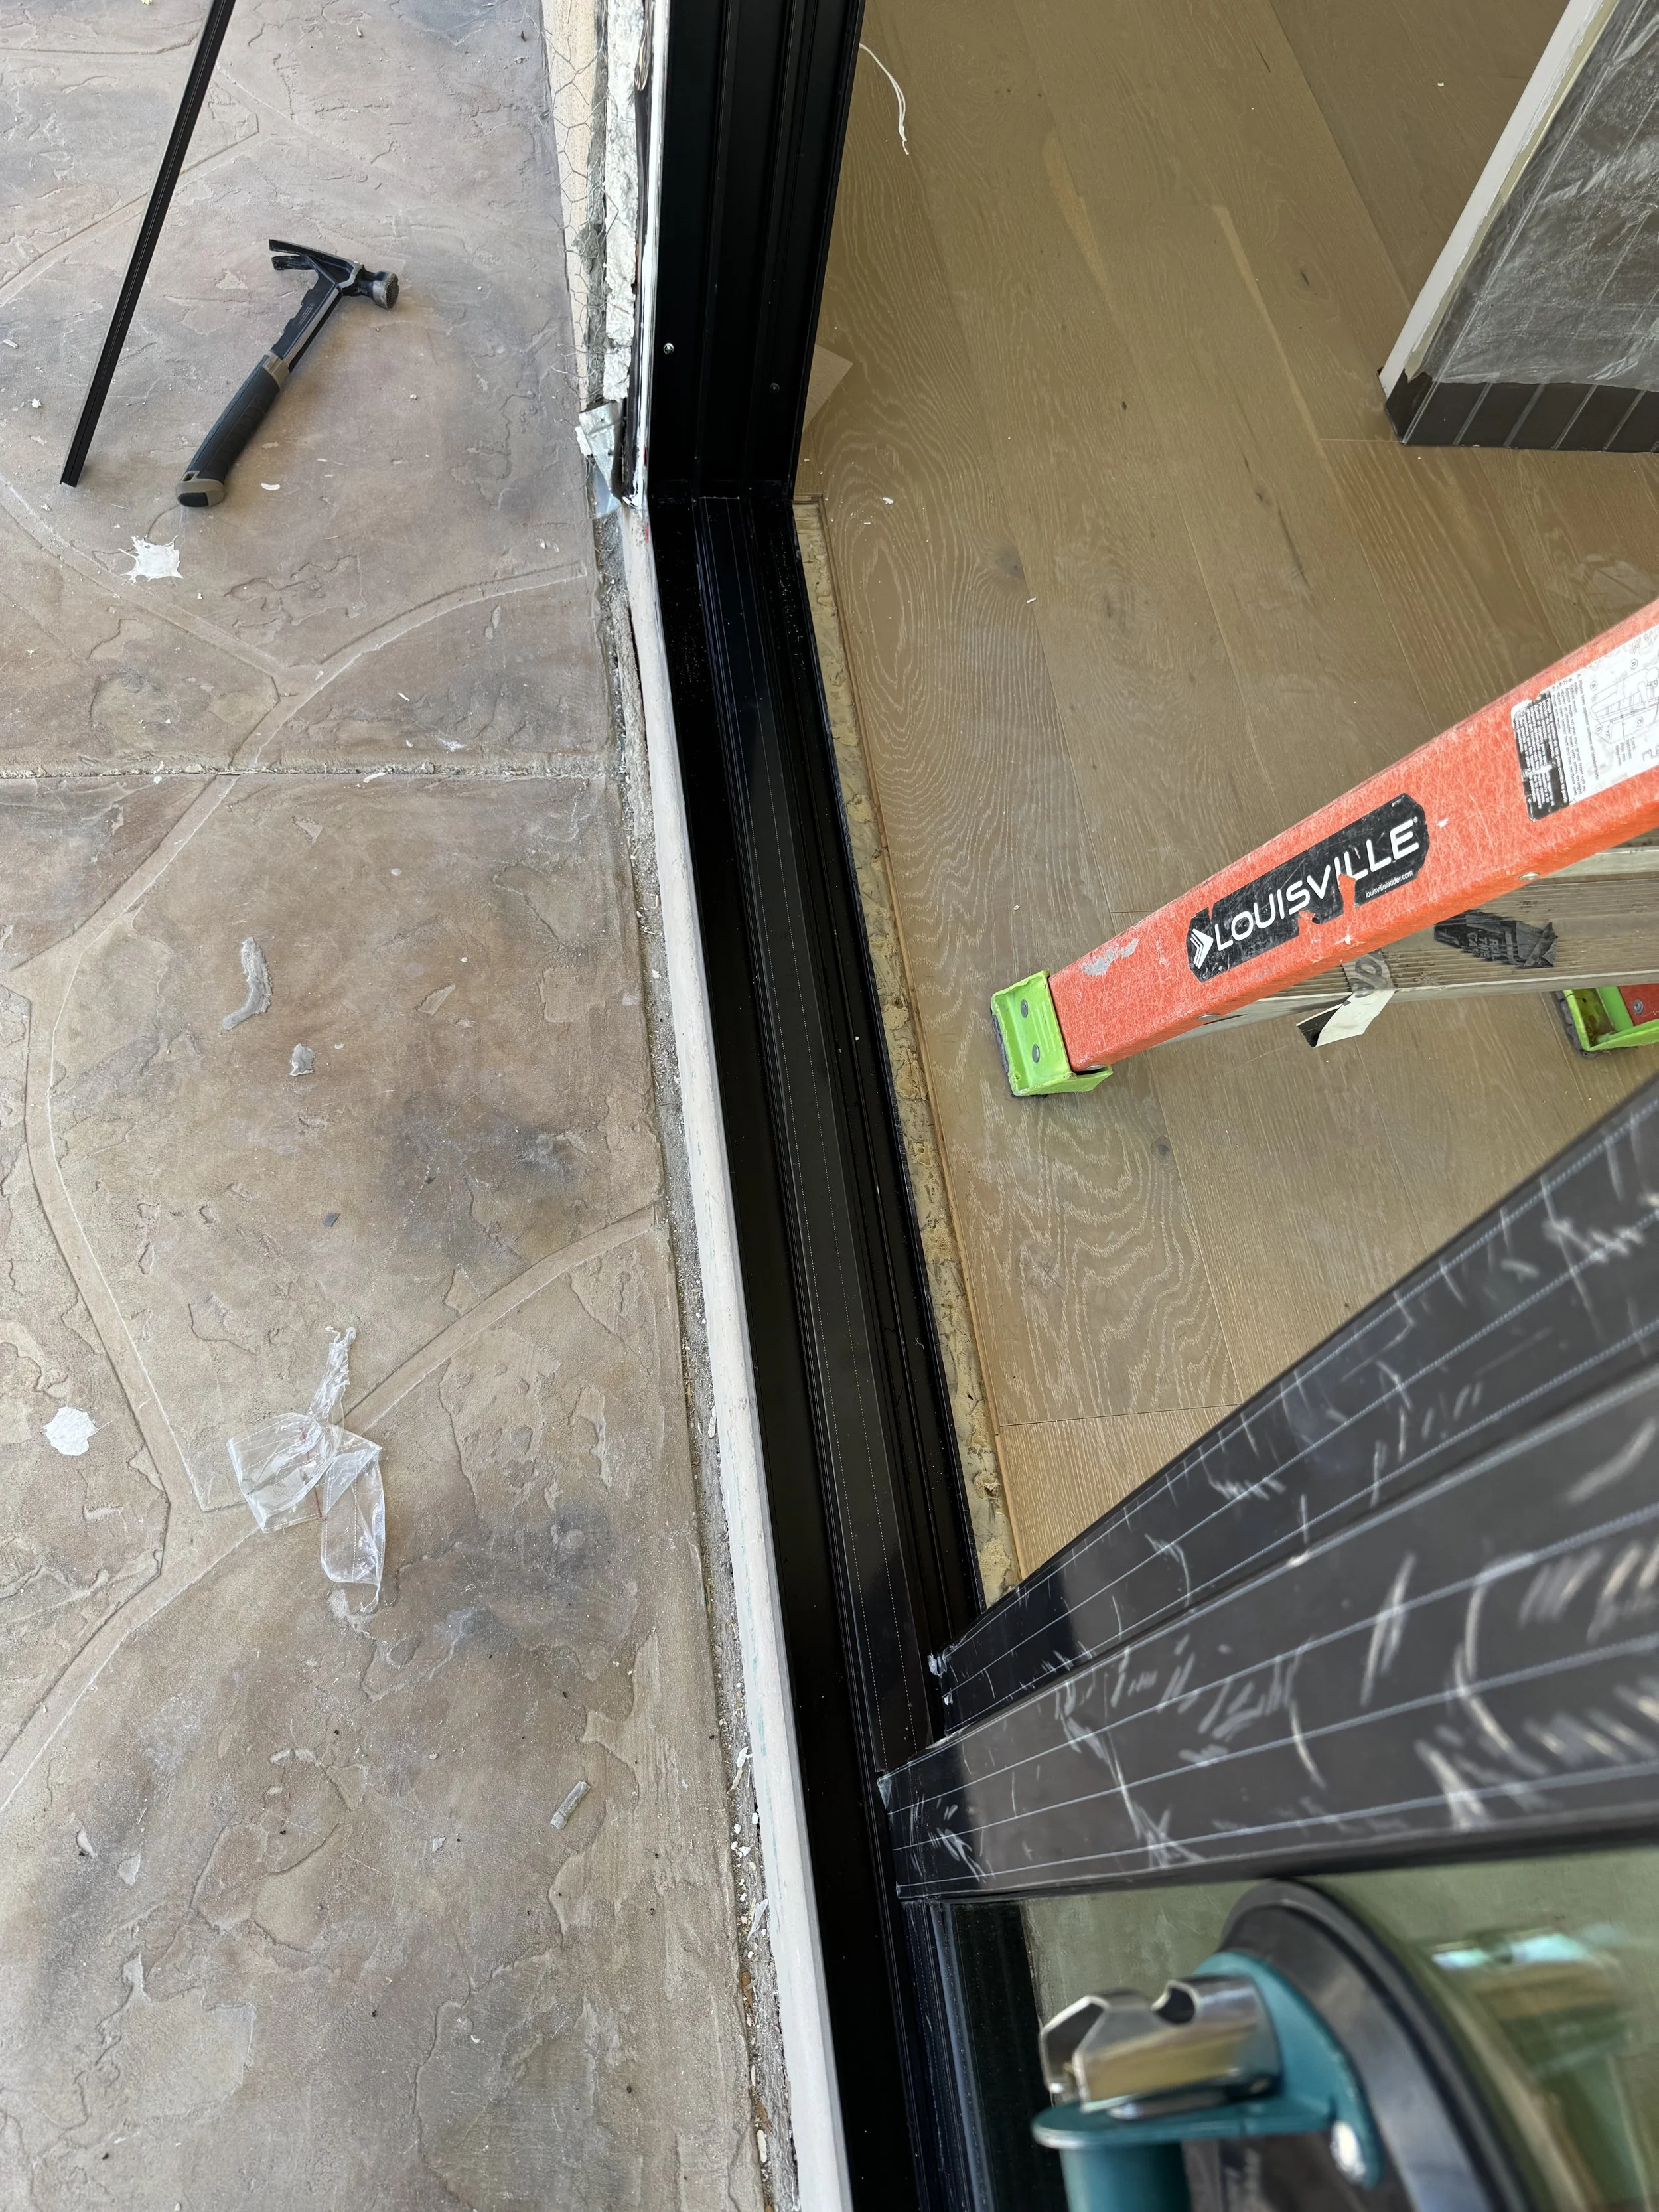
Clean the frame and glass, and remove any installation debris.